

Celestial Strings sent me a most gorgeous and special skein of yarn - beautiful, subtly variegated purples in a superwash merino - and named Moogly Berry! How could I resist? Well, ok, so I didn't even try. What I did do was turn it into a super cozy one-skein mini shawlette- the Berry Harvest Bandana Cowl!
Disclaimer: This post includes affiliate links.
Prefer an ad-free PDF? You've got options!


Prefer the free blog version? Keep scrolling!
Berry Inspired
The stitch pattern reminds me of ripe blackberries or strawberries, and the color just adds to the yum factor! The Berry Harvest Bandana Cowl can be draped lightly across the shoulders like a lacey shawl. But personally I like to add one button to hold it on for hands-free bandana cowl style! With a coat, sweater, or even a t-shirt, it is a great go-to piece for this autumn and winter!

Berry Harvest Bandana Cowl
Add this pattern to your Ravelry Queue and Favorites
US - H, 5.0mm hook - Furls
220 yds Celestial Strings Yarn (DK weight; 100% superwash merino; 246 yds)
Optional: 1 3/16" / 30mm button (Belle Buttons by Dritz, Item #BB752)
Gauge: 14 sts x 8 rows = 4" in dc
Finished size: 39" across the top, 19" long, 27" along the sides
Need a bigger, full size shawl? Add any multiple of 16 sts to the starting ch.

CLICK HERE for the Berry Harvest Video Tutorial and Crochet Symbol Chart
Klicken Sie hier für die Musterkin Deutsch, Übersetzung von Monique Viohl
INSTRUCTIONS
Row 1: Ch 122, skip the ch closest to the hook, *[sc in the next ch, ch 3, skip 1 ch] 4 times, sc in the next ch, ch 5, skip 3 ch, sc in the next ch, ch 5, skip 3 ch; repeat from * until 9 ch remain, [sc in the next ch, ch 3, skip 1 ch] 3 times, sc in the next ch, ch 1, skip 1 ch, dc in the last ch, turn.
Row 2: Ch 1, sc in the ch-1 sp, *[ch 3, sc in the next ch-3 sp] 3 times, ch 5, skip the ch-5 sp, dc in the next sc, ch 5, skip the ch-5 sp, sc in the next ch-3 sp; repeat from * until 3 ch-3 loops remain, [ch 3, sc in the next ch-3 sp] 2 times, ch 1, dc in the last ch-3 sp, turn.
Row 3: Ch 1, sc in the ch-1 sp, *[ch 3, sc in the next ch-3 sp] 2 times, ch 5, skip the ch-5 sp, (dc, ch 1, dc) in the next dc, ch 5, skip the ch-5 sp, sc in the next ch-3 sp; repeat from * until 2 ch-3 loops remain, ch 3, sc in the next ch-3 sp, ch 1, dc in the last ch-3 sp, turn.
Row 4: Ch 1, sc in the ch-1 sp, *ch 3, sc in the next ch-3 sp, ch 5, skip the ch-5 sp, (dc, ch 1, dc, ch 1, dc, ch 1, dc, ch 1, dc) in the ch-1 sp, ch 5, skip the ch-5 sp, sc in the next ch-3 sp; repeat from * until 1 ch-3 loop remains, ch 1, dc in the last ch-3 sp, turn.
Row 5: Ch 1, sc in the ch-1 sp, *ch 5, skip the ch-5 sp, [sc in the next dc, ch 3, skip the ch-1 sp] 4 times, sc in the next dc, ch 5, skip the ch-5 sp,** dc in the next ch-3 sp; repeat from * ending last repeat at **, sc in the last ch-3 sp, turn.
Row 6: Ch 5, sc in the next ch-3 sp, *[ch 3, sc in the next ch-3 sp] 3 times, ch 5, skip the ch-5 sp, dc in the next dc, ch 5, skip the ch-5 sp, sc in the next ch-3 sp; repeat from * until 3 ch-3 loops remain, [ch 3, sc in the next ch-3 sp] 2 times, ch 1, dc in the last ch-3 sp, turn.
Row 7: Ch 1, sc in the ch-1 sp, *[ch 3, sc in the next ch-3 sp] 2 times, ch 5, skip the ch-5 sp, (dc, ch 1, dc) in the next dc, ch 5, skip the ch-5 sp, sc in the next ch-3 sp; repeat from * until 2 ch-3 loops remain, ch 3, sc in the next ch-3 sp, ch 1, dc in the last ch-3 sp, turn.
Row 8: Ch 1, sc in the ch-1 sp, *ch 3, sc in the next ch-3 sp, ch 5, skip the ch-5 sp, (dc, ch 1, dc, ch 1, dc, ch 1, dc, ch 1, dc) in the ch-1 sp, ch 5, skip the ch-5 sp, sc in the next ch-3 sp; repeat from * until 1 ch-3 loop remains, ch 1, dc in the last ch-3 sp, turn.
Row 9 - 28: Repeat Rows 5 - 8.
Row 29: Ch 1, sc in the ch-1 sp, ch 5, skip the ch-5 sp, [sc in the next dc, ch 3, skip the ch-1 sp] 4 times, sc in the next dc, ch 5, skip the ch-5 sp, sc in the last ch-3 sp; turn.
Row 30: Ch 5, sc in the next ch-3 sp, [ch 3, sc in the next ch-3 sp] 2 times, ch 1, dc in the last ch-3 sp; turn.
Row 31: Ch 1, sc in the ch-1 sp, ch 3, sc in the next ch-3 sp, ch 1, dc in the last ch-3 sp; turn.
Row 32: Ch 1, sc in the ch-1 sp, ch 3, sc in the last ch-3 sp, do NOT turn.
Even Up the Left Edge... Edging: (NOTE: As you can see, the sides of the shawlette are not even looking - the ch 5 in the second row of each section creates a smooth looking edge on the right, but that's not the case on the left. So this row is to even that up before we work the final edging. See the photo below, where I've started to work this edging.) Working along the left edge, *[ch 1, sl st in side of next row] 3 times, ch 5, sl st in side of next row; repeat from * until you reach the foundation chain, working a sl st and ch 1 along the side of the final triangle (Rows 1 - 4).

Final Edging: Ch 1, sc evenly along the foundation chain to opposite corner, working an extra stitch in the end to turn the corner to work along the next side of the triangle. Sc in the first ch -3 loop, *dc in the next ch-3 loop, ch 1, work 2 sc around post of previous dc st, sc in the same ch-3 loop (one edge point made); repeat from * until you reach the point of the triangle, make 3 edge points in the ch-3 loop at the point of the triangle; repeat from * along final side of triangle; break yarn and weave in ends.

Block using water or steam to open up lace pattern, pinning as needed. Sew button to one end as shown below.

I hope you've enjoyed making the Berry Harvest Bandana Cowl, and enjoy wearing it as well! Use the button to close the back of the cowl - just use the holes in the lace to make it completely adjustable! Or leave the button off and use a shawl pin. Or make the whole thing in fingering weight and make a bandana for your hair! I can't wait to see what you all come up with!

The Fine Print
Written pattern and graphics copyright Tamara Kelly 2014. If you wish to make items for sale from this pattern, please visit the About page for details. Thank you to Celestial Strings for sponsoring the yarn for this pattern.


 Disclaimer: This post includes affiliate links.


 Disclaimer: This post includes affiliate links.

 Disclaimer: This post includes affiliate links.


 Row 1:


 Disclaimer: This post includes affiliate links.
 Disclaimer: This post includes affiliate links.


 Disclaimer: This post includes affiliate links.


 Disclaimer: This post contains affiliate links.
 Disclaimer: This post includes affiliate links.


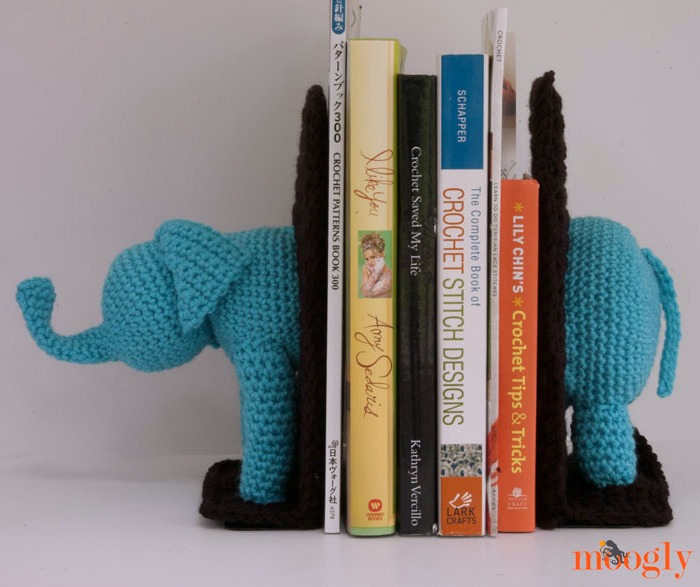
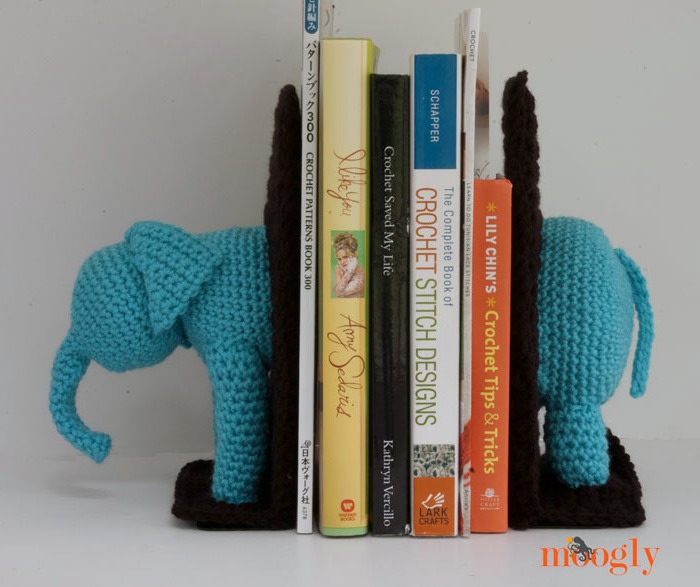
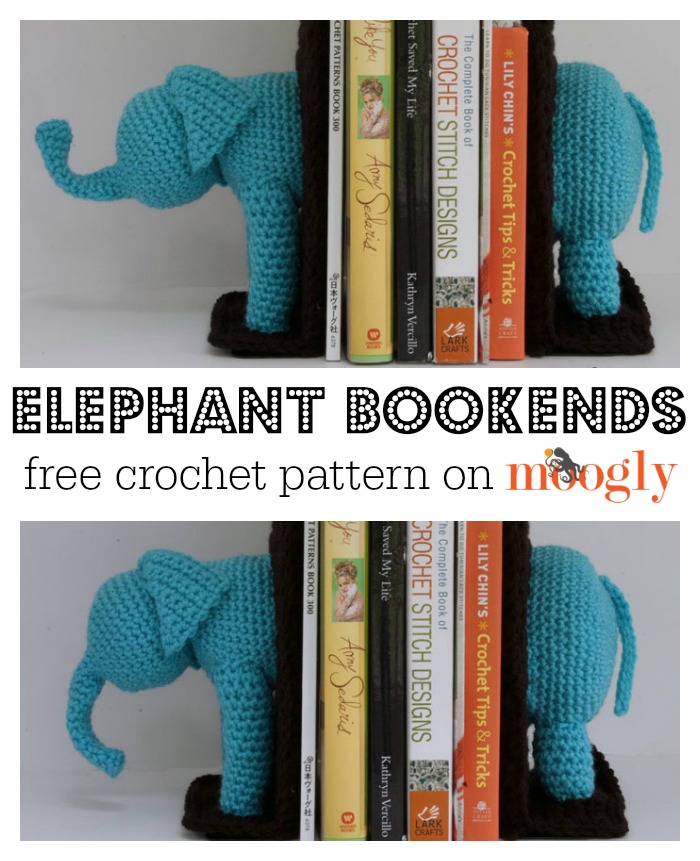
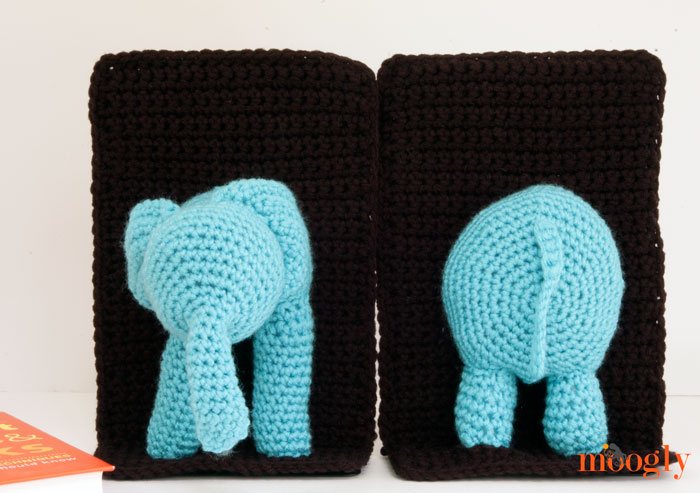
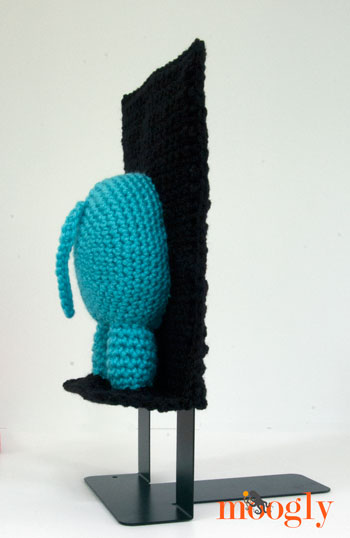 Make the Cover pieces - the black pieces that will act as the actual bookend covers, and that will hold up the elephant pieces. In the photos, these are in black.
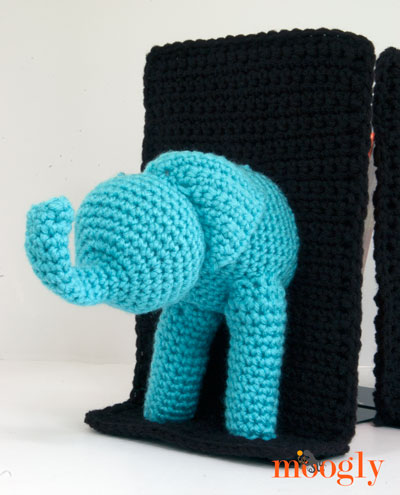
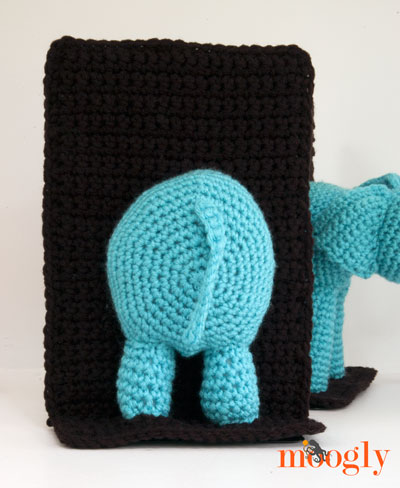 ELEPHANT BACK END INSTRUCTIONS:

 Disclaimer: This post includes affiliate links.