Welcome to Moogly, where you'll find the best step-by-step crochet patterns and tutorials for all skill levels.
Recent Posts


See more Recent Posts →
Explore...

Explore All Pattern Categories →
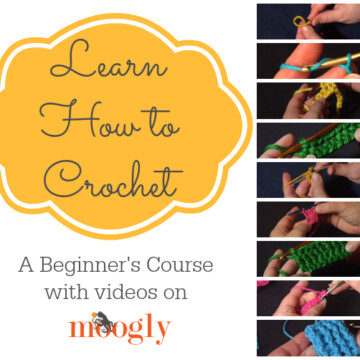
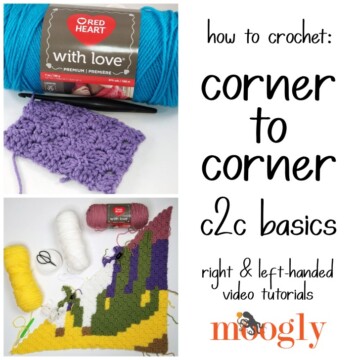
Top Tutorials
Here you will find comprehensive tutorials on popular patterns, as well as simple and advanced stitches and stitch patterns!


See more Tutorials →
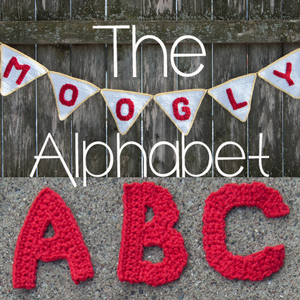
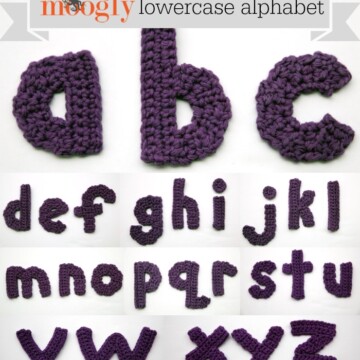
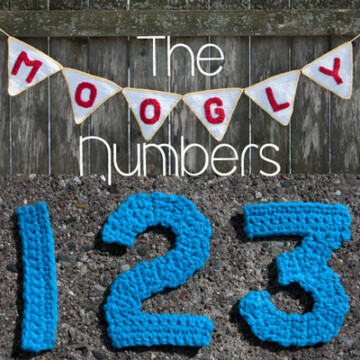
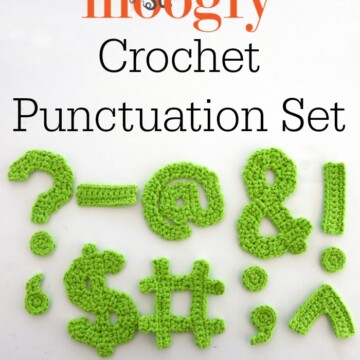
Moogly Crochet Alphabet
Personalize your projects using letters, numbers, punctuation marks, Greek letters, and even currency symbols.
See more The Moogly Crochet Alphabet →
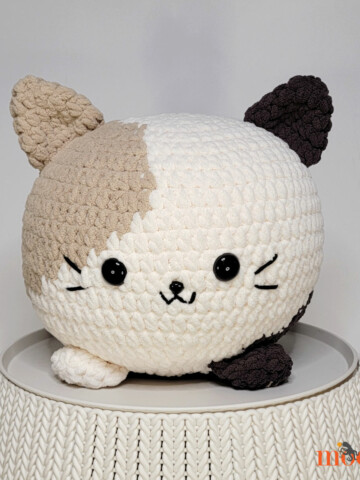
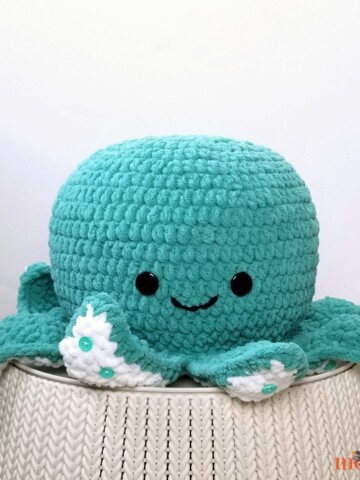
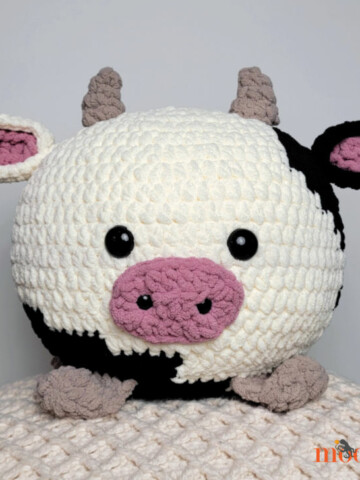
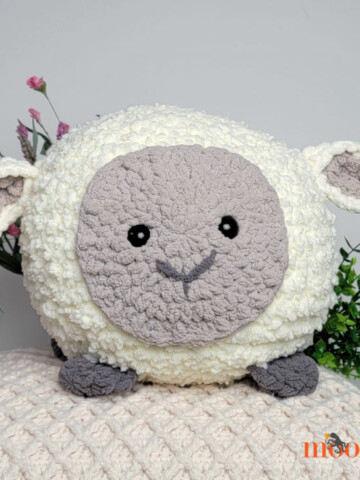
Squishes
Cuddly and round crochet amigurumi!
See more Squishes →

About Moogly
Moogly is world-famous for fresh. modern, and approachable crochet designs - as well as a little knitting and crafting here and there. On Moogly, you'll find several new free patterns every month, top quality video tutorials, giveaways, and more!
More to Explore...
Discover the latest giveaways, MooglyCAL, and Live videos!