The Ghost Squish is a cuddly, squishy, and just a little spooky free crochet pattern on Moogly! Featuring Bernat Blanket and part of the 2022 Halloween Crochet Along, you'll be busting out this crochet ghost in no time!
 Disclaimer: This post includes affiliate links; materials provided by Yarnspirations.
Part of the 2022 Halloween CAL on CAL Central
Every Monday and Thursday from August 22 through September 29, 2022, we’ll share a free crochet pattern for a Halloween-themed project. These patterns include decorations, toys, costume elements, and more.
Babé Crochet, Clover USA, Darn Good Yarn, GlassEyesOnline, Hooked for Life, KennyClayCo, KnitPal, Knitter’s Relief Balm, Unicorn, and WalnutFarmDesigns have generously provided us with fabulous prizes for our end-of-CAL giveaway. Don’t forget to enter the giveaway in this post on Underground Crafter by 11:59 p.m. on Sunday, October 2, 2022!

How To Join the 2022 Halloween CAL
- You can join in by crocheting the patterns as you have time.
- Share your progress and post pictures of your finished projects. Tag your projects and posts #CALCentralCrochet on all social media.
- If you’d like to chat with other crocheters, join the CAL Central Crochet Facebook group, or visit this thread in the CAL Central Ravelry group.
- By the end of the CAL, you’ll have up to 12 spooky Halloween projects.
Visit Underground Crafter to learn more about the prizes, enter the end-of-CAL giveaway, and to get links to each Halloween CAL pattern as it is released.
Cute and Cuddly for Kids and Adults
This crochet Ghost pillow is fun to make - and squeeze! It is made with *just* over one skein of Bernat Blanket. I tried to fit it in one but needed just a couple more yards! So if you only have one skein of white, I suggest using another color for the bottom - black would be fun!

Don't get too scary though! I used safety eyes, but this pattern has not been tested for safety for children under 3 years of age. If you are crocheting it for a baby or toddler, you may wish to embroider on the eyes instead and make sure that the pieces are sewn on quite securely. If using it as a photo prop, be sure not to leave the toy with a baby unattended.

Ghost Squish
Add this pattern to your Ravelry Queue and Favorites
8.0 mm hook, Susan Bates
230 yds Bernat Blanket (6 Super Bulky; 100% polyester; 300g/10.5 oz, 201 m/220 yds)
Color Shown: Whipped Cream (2 balls)
Small Amount of Coal used for Mouth
Filling Options:
10" Microbead Pillow Ball (preferred)
12" Fairfield Pillow Ball (remove filling to fit)
Gauge: 5"/10cm across after Rnd 3.
Size: approx 10" across/tall excluding bottom ruffle
HELPFUL LINKS AND TUTORIALS
FLO/BLO - Front/Back loop only
Bpdc - back post double crochet
NOTES:
Rnds are worked in a spiral.
Do not ch 1 at the beginning of a rnd or join any rnds with a sl st unless specifically directed in the pattern.
Move a stitch marker along the first st of each rnd as you work to keep track of your progress.
GHOST SQUISH INSTRUCTIONS:

Outer Body
Rnd 1: Make a magic circle, ch 1, sc in the ring, 9 hdc in the ring. (10 sts)
Rnd 2: 2 hdc in each st around. (20 hdc)
Rnd 3: *Hdc in the next st, 2 hdc in the next st; rep from * around. (30 hdc)
Rnd 4: *2 hdc in the next st, hdc in the next 2 sts; rep from * around. (40 hdc)
Rnd 5: *Hdc in the next 3 sts, 2 hdc in the next st; rep from * around. (50 hdc)
Rnd 6: *Hdc in the next st, 2 hdc in the next st, hdc in the next 3 sts; rep from * around. (60 hdc)
Rnd 7: Hdc in the next 5 sts, 2 hdc in the next st, *hdc in the next 9 sts, 2 hdc in the next st; rep from * until 4 sts rem, hdc in last 4 sts. (66 hdc)
Rnd 8: *2 hdc in the next st, hdc in the next 10 sts; rep from * around. (72 hdc)
Rnd 9: Hdc in the next 8 sts, 2 hdc in the next st, *hdc in the next 17 sts, 2 hdc in the next st; rep from * until 9 sts rem, hdc in last 9 sts. (76 hdc)
Rnd 10 - 15: Hdc in each st around.
Rnd 16: FLO hdc in each st around. Place stitch marker in unused blo of first st worked into.
Rnd 17: *Hdc in the next 18 sts, 2 hdc in the next st; rep from * around. (80 hdc)
Rnd 18: (see pleating tutorial linked above) *Hdc in the next 8 sts, bphdc in each of the next 2 sts, turn and FLO hdc in top of last 2 sts, turn and FLO hdc in same 2 sts; rep from * around. (112 sts)
Rnd 19 - 21: Hdc in each st around.
Rnd 22: Sc in next st, sl st in next st, break yarn and seamless finish.

Inner Rim of Body
Rnd 1: Join to marked unused blo of Rnd 16 with hdc, hdc in next 16 sts, hdc2tog, *hdc in next 17 sts, hdc2tog; rep from * around. (72 hdc) Use beginning tail to sew closed the small gap at the end of this rnd.

Rnd 2: Hdc in next 4 sts, hdc2tog, *hdc in next 7 sts, hdc2tog; rep from * around until 3 sts rem, hdc in last 3 sts. (64 sts)
Rnd 3: *Hdc2tog, hdc in next 6 sts; rep from * around. (56 sts)
Rnd 4: Sc in next st, sl st in next st, break yarn and seamless join.

Underbelly
Rnd 1 - 5: Rep Rnd 1 - 5 of Body. (50 hdc)
Rnd 6: *(Hdc in next 7 sts, 2 hdc in the next st) twice, hdc in next 8 sts, 2 hdc in the next st; rep from * around. (56 hdc)
Rnd 7: Sc in next st, sl st in next st, break yarn and seamless join leaving a long tail for sewing.
Final Ghost Squish Assembly
Add Safety Eyes: Add safety eyes to body, about 7-8 sts apart, around Rnds 12 and 13.

Insert Stuffing: Insert stuffing or pillow ball into body.
Note: If using a 12" pillow ball, be sure to insert the ball so that the zipper is at the bottom of the body and remove stuffing as needed. Zip up the ball and fold over the excess fabric. (Save the excess stuffing for another project!)
Set up for Sewing: Use stitch markers to attach last rnd of Underbelly to last rnd of Inner Rim of Body.

Whip Stitch: (see tutorial linked above) Using long tail of Underbelly, sew Belly to Body with the whip stitch.

More Patterns... and they're alive!
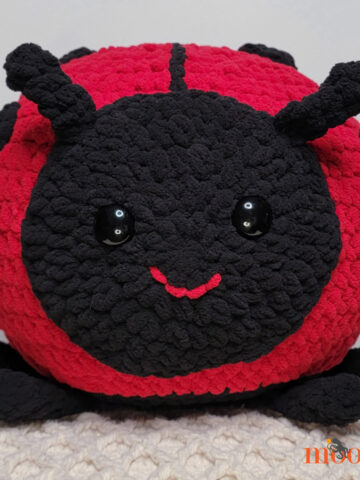
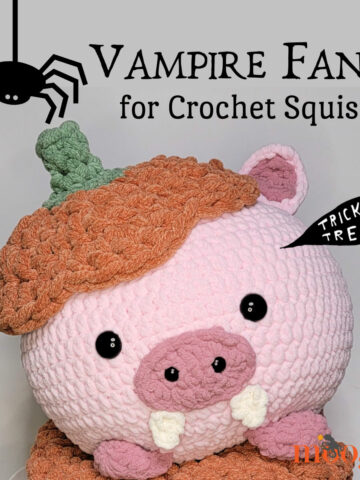
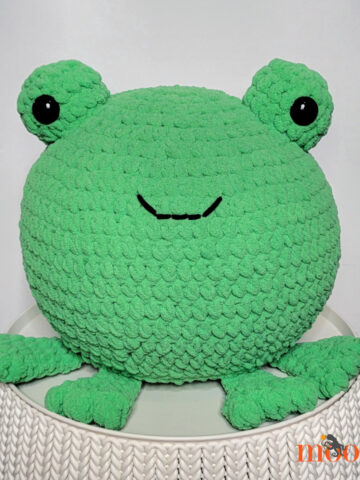
Check out the Pig Squish (not pictured), Octopus Squish, Narwhal Squish, Squid Squish, Jellyfish Squish, Bunny Squish, Lamb Squish, Cow Squish - and their cousin the Mushroom Stuffie! Looking for something else? Check out the Moogly Free Patterns Page or Ravelry!

If the Ghost Squish pattern inspires you to make your own project, and you post a photo on social media, be sure to tag #CALCentralCrochet and me @mooglyblog or #mooglyblog so I can check it out too!
THE FINE PRINT
Follow Moogly on Facebook, Twitter, Pinterest, TikTok, and Instagram! Thank you to Yarnspirations for providing the materials shown in this post. Written pattern copyright Tamara Kelly 2022, all rights reserved. Please do not reprint or repost this pattern, but please do link to this page to share this pattern with others.
If you wish to make items for sale from this pattern or translate it to another language, please visit the About page for details.


Victoria Stewart
When working row 18, is the pleat the length of the 8 hdc?
Tamara Kelly
Hi Victoria! The actual pleated bit is only worked over 2 sts, with 8 hdc in between each pleat.