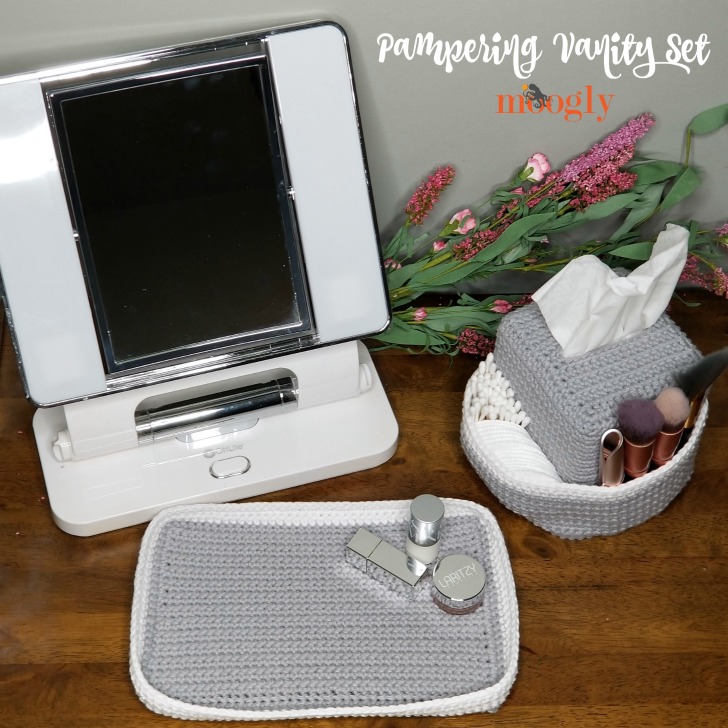
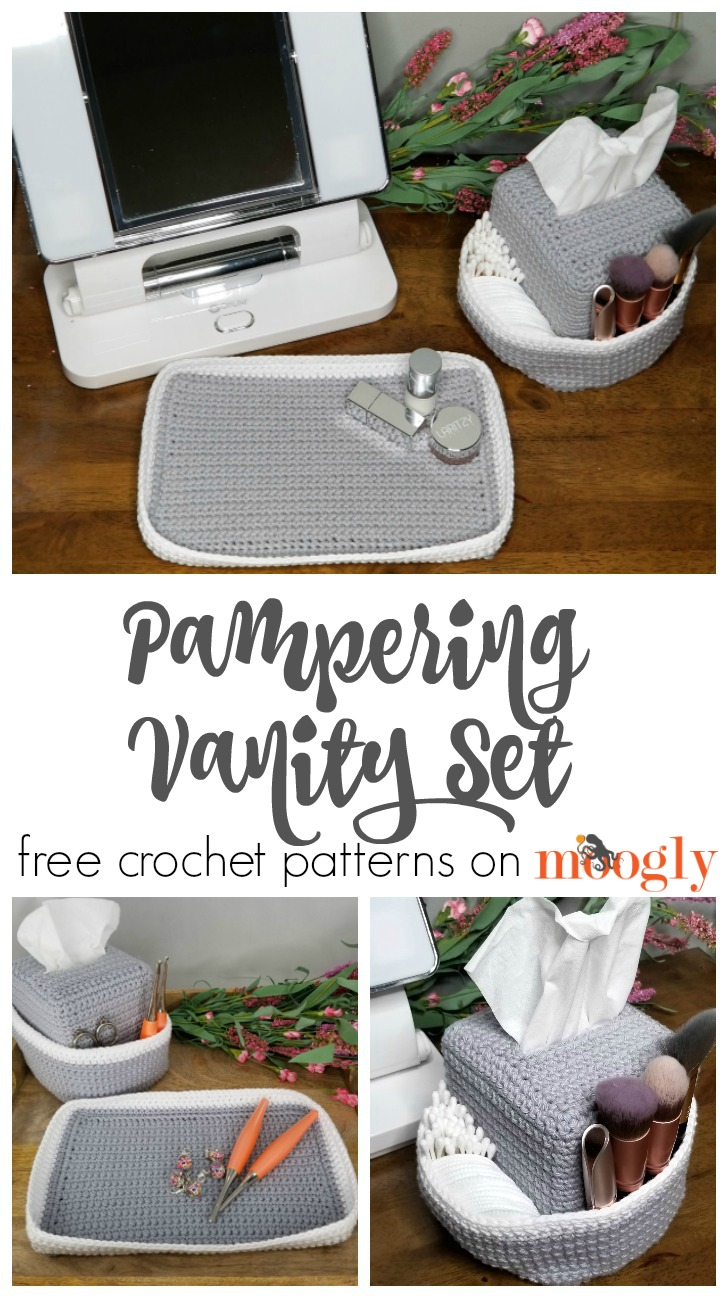
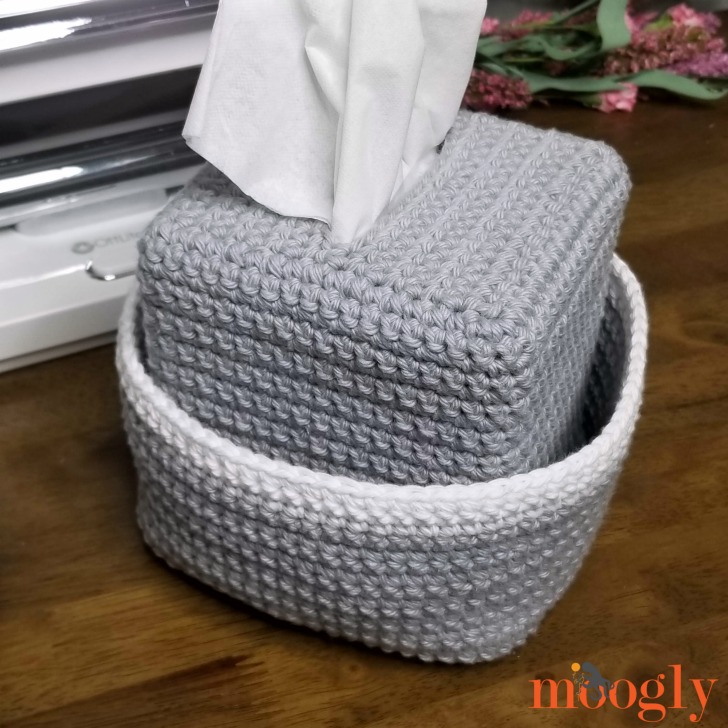
The Pampering Vanity Set features two perfect pieces - a Crochet Tissue Box Organizer and Tray to help you pamper someone special (and that includes you)! Make this crochet vanity set with this pattern set on Moogly!
Disclaimer: This post includes affiliate links; materials provided by Red Heart and Furls.

2019 Celebrate Mom Blog Hop on Pattern Paradise
The Pampering Vanity Set is part of the 2019 Celebrate Mom Blog Hop on Pattern Paradise! Thirty-one very talented designers have teamed up to bring you a new free pattern every day for the entire month of May! Each pattern will follow the theme of celebrating Mom, and there is a huge variety. Be sure to check out the Blog Hop for more free patterns and crochet ideas!

Easy Crochet for Beginners
The Pampering Vanity Set is very easy to make, simple enough for beginners who are ready to work in the round. In addition, while the Crochet Tissue Box Organizer pattern is written for a standard square box, I've also included instructions for adapting this pattern to fit any size - therefore, you can make a custom crochet tissue box organizer in any size!
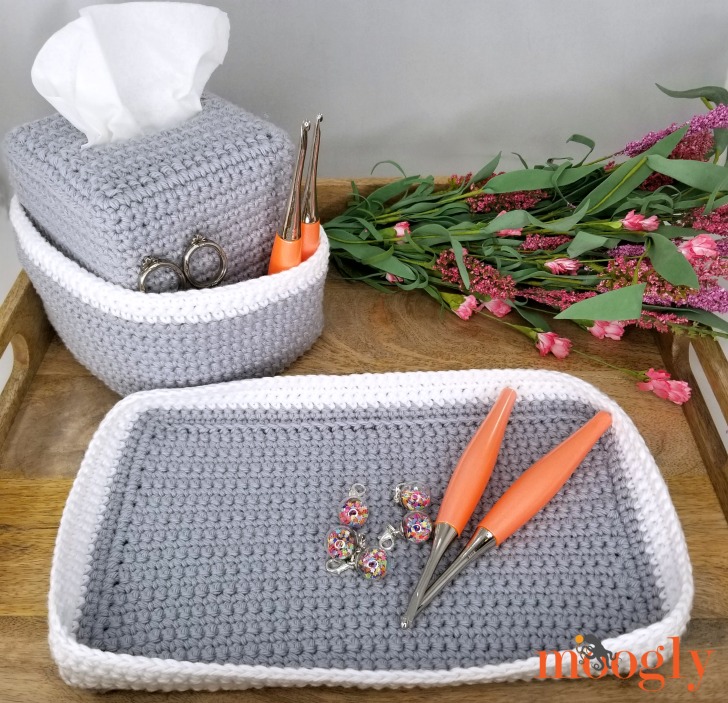
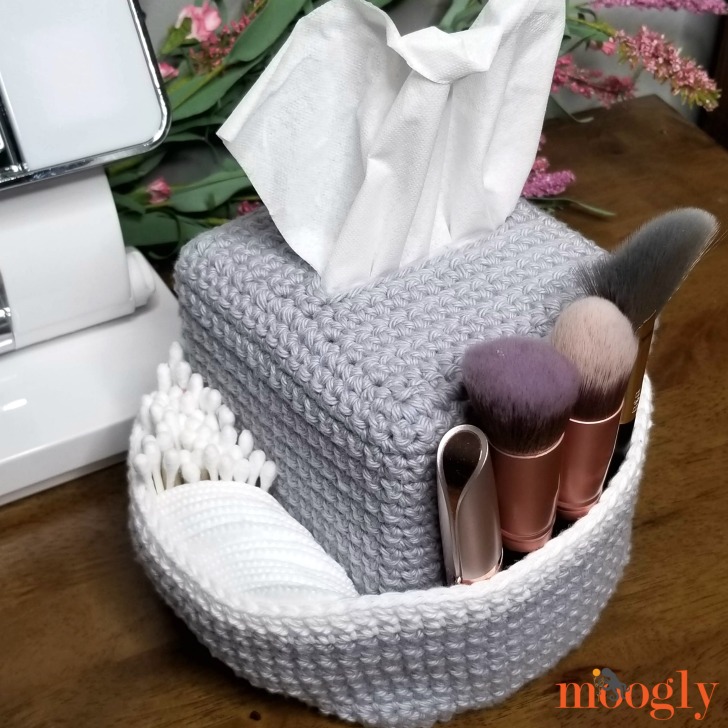
Of course, this Crochet Vanity Set doesn't have to be relegated to the bedroom or bath - it can also come in handy in the craft room or next to your favorite chair, to keep your crochet tools close at hand. Particularly helpful during allergy season!
My Inspiration
When I was asked to participate in this Blog Hop, I thought about what memories come to mind when I think of my mother. And one of the strongest is watching her get ready when I was a child - putting on her "face" before we'd go to town. I was so fascinated by the process, and couldn't wait to have my own vanity someday.
It's taken a few (dozen) years, but I finally have my very own vanity table, and making things like the Pampering Vanity Set to make it pretty has made me so happy - I hope this set makes you happy too!
Pampering Vanity Set: Crochet Tissue Box Organizer & Tray
Add this pattern to your Ravelry Queue and Favorites!
Hook: US - H, 5.0mm - Furls Odyssey
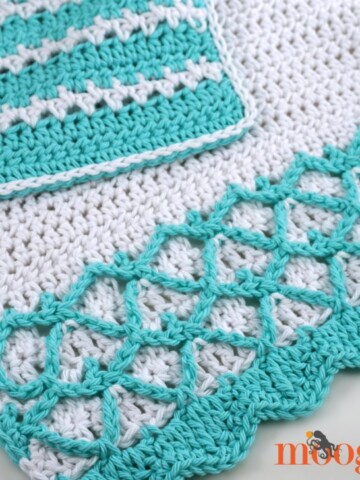
Yarn: 290 yds Red Heart Scrubby Smoothie (100% Cotton; “4”/Medium/Worsted/UK: 10-12 ply)
This yarn is discontinued. Recommended yarn: Lily Sugar'n Cream
Color A: Grey - 2 balls (250 yds)
Color B: White - 1 ball (40 yds)
Notions: Clover Stitch Markers
Gauge: 16 sts x 20 rows = 4"/10cm in sc
Sizes:
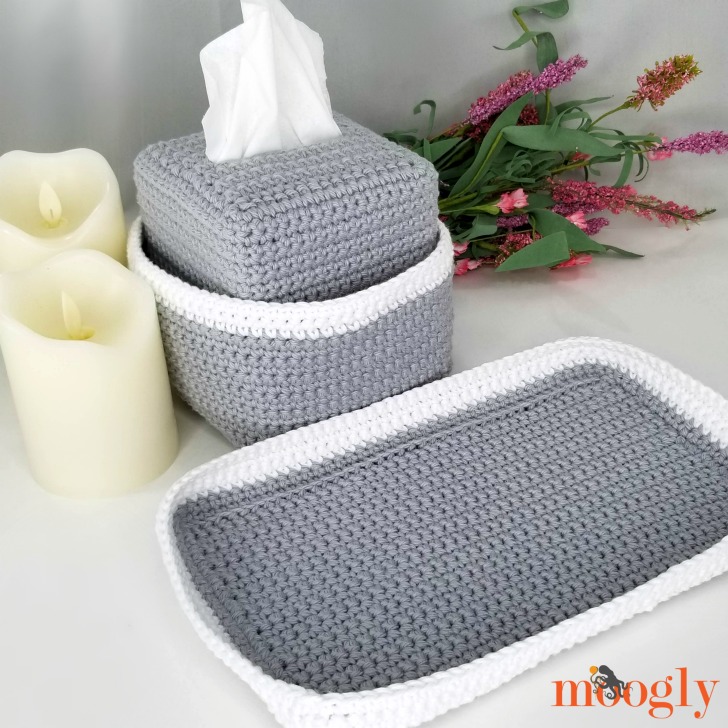
Tissue Box Organizer - fits a standard square box, approximately 4.25" square around x 5" tall
Tray - 6" x 10" x ⅞"
Helpful Links and Tutorials:
Crochet Tissue Box Organizer and Tray Tutorial
FSC - Foundation Single Crochet
NOTES
If you prefer not to use the FSC method for Row 1, then just ch 1 more than the number listed and sc in the second ch from the hook and each remaining ch across.
The Crochet Tissue Box Organizer is written for a standard square box - see dimensions above. For all other sizes of tissue boxes, please see the Any Size Tissue Box Organizer Instructions below.
Both patterns feature turned rounds or joined rows - this means that after joining with a sl st, you will turn your work to crochet from the other direction. Using stitch markers to mark the first and last stitch of each round is very helpful here.
Crochet Tissue Box Organizer Instructions - for Square Boxes
Row 1: With Color A, FSC 16; turn. (16 sts)
Row 2 - 8: Ch 1, sc in each st across; turn. (16 sts)
Row 9: Ch 1, sc in first 2 sts, ch 12, skip 12, sc in last 2 sts; turn. (4 sc, 12 ch)
Row 10: Ch 1, sc in each st and ch across; turn. (16 sts)
Row 11 - 17: Rep Row 2.
Rnd 18: Ch 1, 2 sc in first st, sc in each st across until 1 st rem, 2 sc in last st of previous row, sc 16 evenly along side of rows, 2 sc in the first foundation ch, sc in each foundation ch until 1 st rem, 2 sc in last foundation ch, sc 16 evenly along remaining side of rows; join with sl st and turn. (68 sts)
Rnd 19 - 43: Ch 1, sc in each st around; join and turn. (68 sts)
Rnd 44: Ch 1, working entire rnd in FLO, *sc 16, 2 sc in next st; rep from * around, join and turn. (72 sts)
Rnd 45: Ch 1, *sc 8, 2 sc in next st; rep from * around, join and turn. (80 sts)
Rnd 46 - 58: Rep Row 19. After Row 58, break Color A. (80 sts)
Rnd 59 - 61: With Color B, rep Row 19. After Row 61, break Color B. (80 sts)
Fold sides up at Row 44 to create storage pocket.
Any Size Tissue Box Organizer Instructions
If your tissue box is not a standard square size, you can adjust this pattern by working to the dimensions of your box as follows, referencing the pattern above:
Row 1 is the width of the top, with the tissue opening held horizontally - FSC as many sts as needed to just cover this width.
Repeat Row 2 until you are just under half way across the box top.
When it's time to make Row 9 (or it's equivalent), sc until the tissue opening begins, ch the number needed to get across the opening, and then sc the same number of sts at the end as at the beginning of the row.
Then, Repeat Row 2 again until you have covered the top of the box.
Work evenly along the sides for Rnd 18, and then rep rows as needed for the height of the box.
After reaching the height of the box, add 4 increases in the next round - 1 at each corner of the box.
Then, add another round of increases with approximately 8 sts evenly spaced.
Finally, work evenly to the desired storage pocket height, changing colors if and when desired.
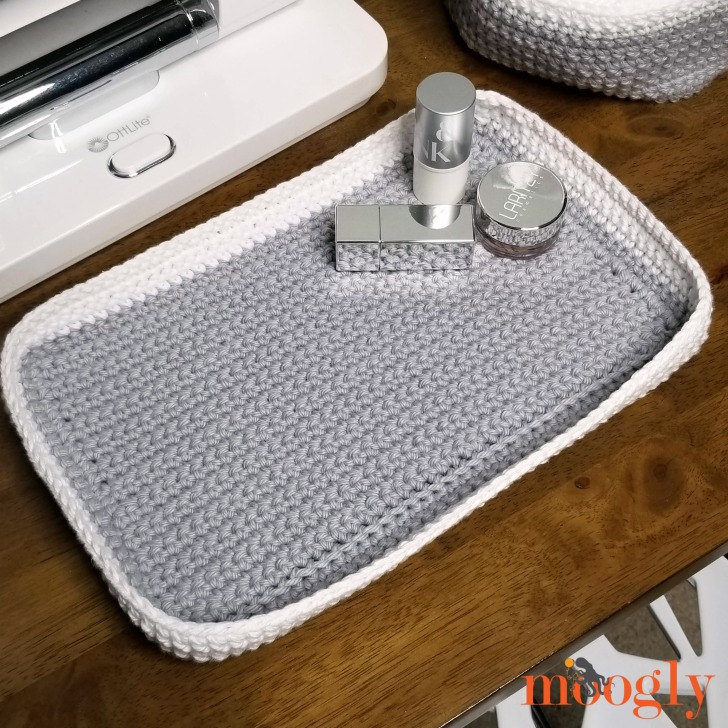
Crochet Vanity Tray Instructions
Row 1: With Color A, FSC 40; turn. (40 sts)
Row 2 - 30: Ch 1, sc in each st across; turn. (40 sts)
Rnd 31: Ch 1, 2 sc in first st, sc in each st across until 1 st rem, 2 sc in last st of previous row, sc 29 evenly along side of rows, 2 sc in the first foundation ch, sc in each foundation ch until 1 st rem, 2 sc in last foundation ch, sc 29 evenly along remaining side of rows; join with sl st and turn. (142 sts)
Rnd 32: Ch 1, sc in each st around; join and turn, break Color A. (142 sts)
Rnd 33 - 36: With Color B, ch 1, sc in each st around; join and turn. After Rnd 36, break Color B. (142 sts)
And that’s how to make Pampering Vanity Set! It's ready for your own favorite colors - and I can’t wait to see your versions! So if you make this free crochet organizer pattern and you post a photo on social media, be sure to tag me @mooglyblog or #mooglyblog so I can check it out too! And if you're loving the Celebrate Mom Blog Hop, be sure to tag #CelebrateMomBlogHop too!
Want More Free Crochet Patterns?
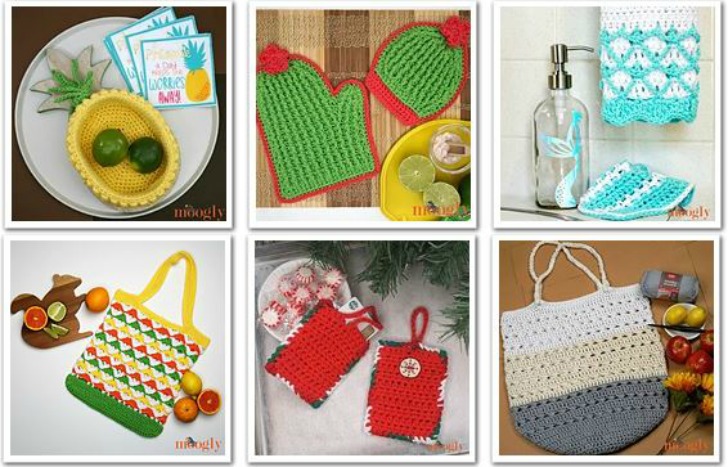
Looking for more free Red Heart Scrubby Smoothie crochet patterns, or patterns it's perfect for? Here are some great ones!
or any of these Free Patterns on Ravelry!
The Fine Print:
Follow Moogly on Facebook, Twitter, Pinterest, Instagram, and TikTok! Thank you to Red Heart Yarns and Furls for providing the materials shown in this post. Written pattern copyright Tamara Kelly 2019, all rights reserved. Please do not reprint or repost this pattern, however, please do link to this page to share this pattern with others. If you wish to make items for sale from this pattern or translate it to another language, please visit the About page for details.


Norrene Heine says
I was trying to find the pattern for the cupcake tee but cannot find it.
Tamara Kelly says
Hi Norrene! Here is a link: https://www.mooglyblog.com/cupcake-tee/
There is a search bar (on the right on desktop/laptop, towards the bottom on mobile) that should help for any future searches too! 🙂
Deb says
I’m looking for an orange needle case pattern you made any suggestions where to find the pattern? Thank you Deb
Tamara Kelly says
Hi Deb! Here's the link: https://www.mooglyblog.com/nifty-needle-case/ 🙂 I hope you enjoy the pattern!
Megan Garner says
Hi, I love your pattern! How would you go about making the tray 9×13 inches? I have a lone peice of tile that i use for crafting, but id like to make a back cover for it so it doesn't sit directly on the table. I'm sorry if this is inappropriate. Thank you!
Tamara Kelly says
Hi Megan! Not inappropriate at all! I would work 52 sts across, for 45 rows, before adding the sides. 🙂