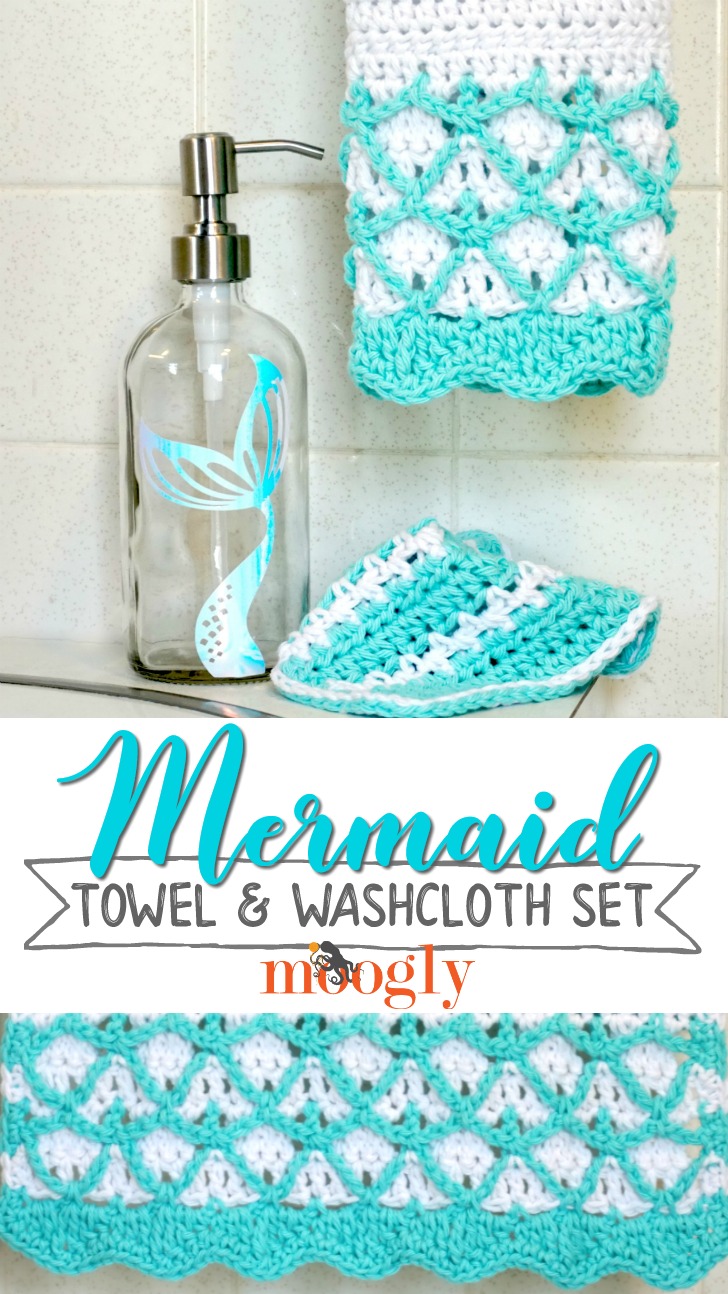
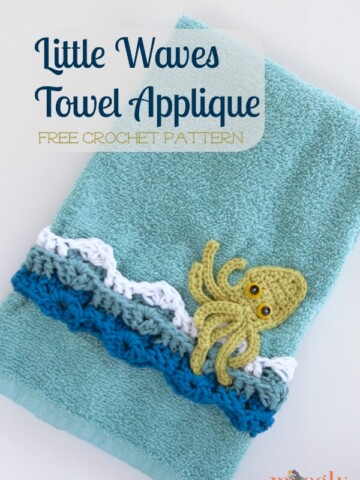
Mermaids are the perfect theme for a bathroom - and the Mermaid Towel and Washcloth Set is a great way to get this fun and fabulous look! So it's time to make the crochet Mermaid Bathroom Set - free on Moogly!
 Disclaimer: Material support provided by Red Heart Yarn and Brittany Needles.
This post includes affiliate links.

The Mermaid Towel and Washcloth Set are made with lovely Red Heart Scrubby Smoothie. This is 100% cotton yarn, smooth and soft as can be - and it's perfect for use all around the home!
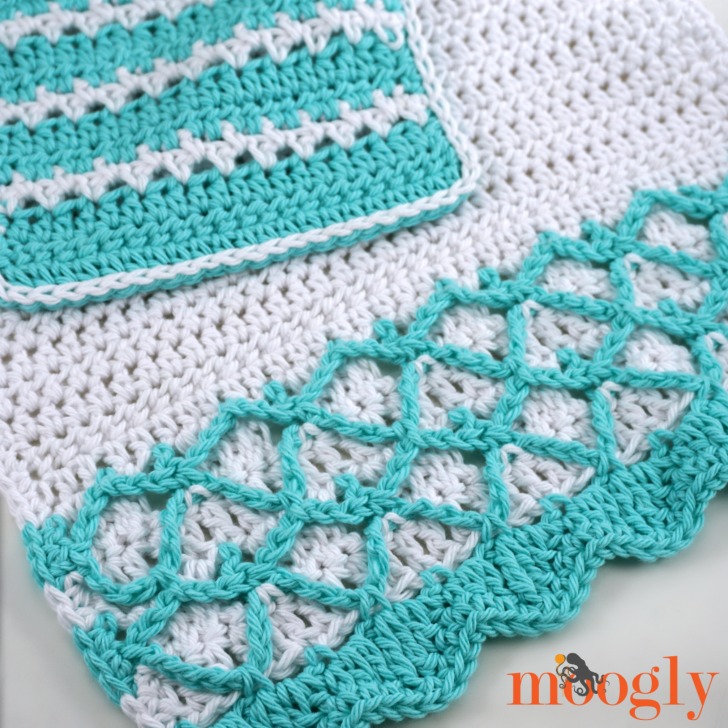
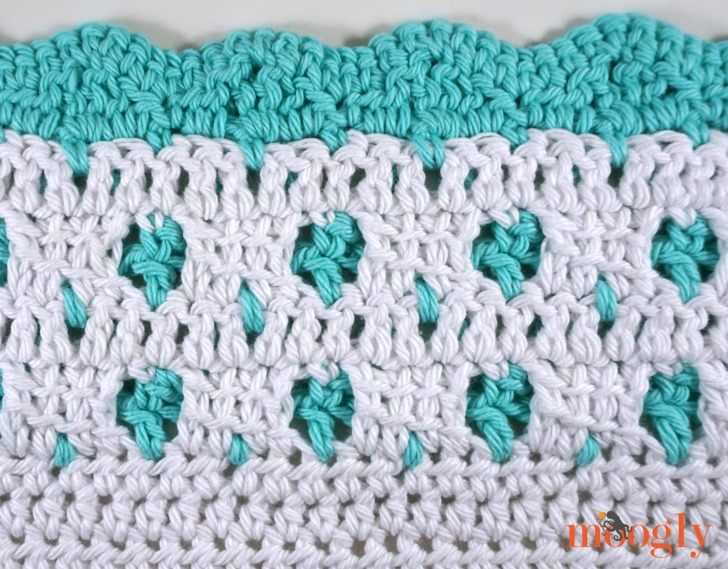
The stitch pattern for the free crochet Mermaid Towel is easier than it looks - and a tutorial is on the way! The pattern for the Washcloth is quite simple, but it compliments the towel well - and stands up on its own too!
Mermaid Towel & Washcloth Set
Add this pattern to your Ravelry Queue and Favorites
US - I, 5.5mm hook - Brittany Needles
250 yds Red Heart Scrubby Smoothie (100% Cotton; 4-Medium/UK: 10-12 ply; 3.5oz/100g; 153 yd/140 m)
Color A: White (1 ball)
Color B: Aqua (1 ball)

Gauge: 12 sts x 10 rows = 4"/10cm in hdc
Sizes
Towel: 13" x 20"
Washcloth: 7" x 7"
Stitch multiple for Towel: mult of 5, +1
Stitch multiple for Washcloth: any odd number of sts
Helpful Links & Tutorials:
Foundation Half Double Crochet (FHDC)
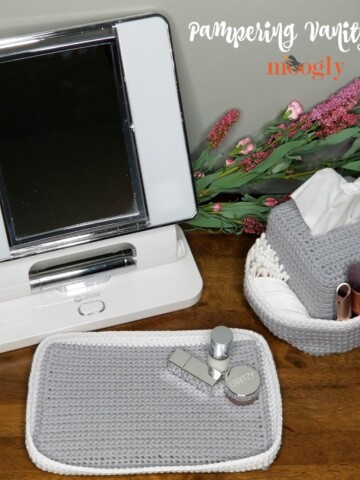
Matching Mermaid Soap Dispenser Tutorial
NOTES:
If you prefer not to use foundation stitches, you can begin the pattern with a ch of 37, skip the ch closest to the hook, and hdc in each rem ch across.
If desired, substitute a Chainless Starting Double Crochet for the Ch 3 at the beginning of Towel Row 28 and its repeats.
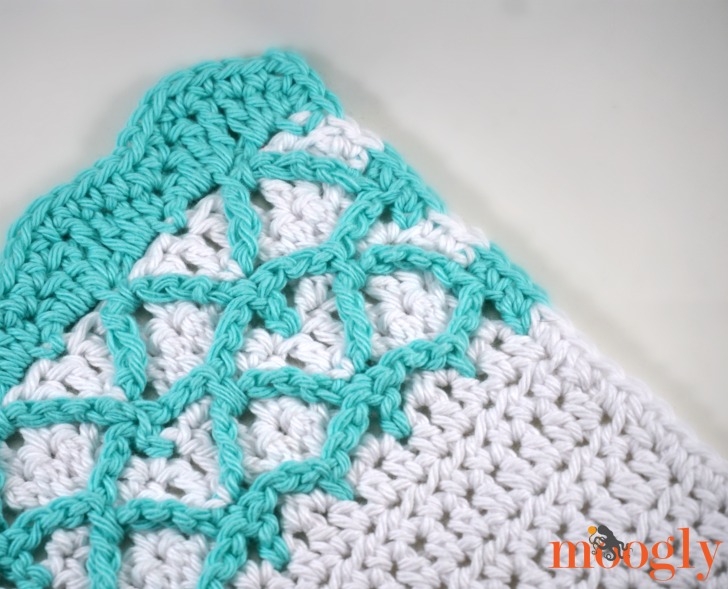
From Row 35 on, we are adding a second section of "mermaid scales" to the other edge of the towel. If only one decorative edge is desired, you can skip this portion, but you may wish to add more rows of Color A hdc before beginning Row 25, for overall length.
To make a matching bath mat, use the Towel stitch multiple above to determine width, and add more rows of Color A hdc for length.
MERMAID TOWEL INSTRUCTIONS
Row 1: With Color A, FHDC 36; turn. (36 sts)
Row 2 - 23: Ch 1, hdc in each st across; turn. (36 sts)
Row 24: Rep Row 2, finishing last st with Color B; turn. (36 sts)
Row 25: Ch 3 (counts as first dc), *ch 3, skip the next 2 sts, sc between the posts of the previous st and the next st, ch 3, skip the next 2 sts, dc in the next st; rep from * across, turn. (8 dc, 7 sc)
Row 26: Ch 1, sc in the first st, *ch 8, skip the next sc, sc in the next dc; rep from * across, finishing last st with Color A, turn. (8 sc)
Row 27: Ch 1, sc in the first st, *working in front of the previous 2 rows, tr in the first skipped Color A hdc below, LTR in the next 3 skipped Color A hdc, sc in the next Color B sc; rep from * across, turn. (8 sc, 7 tr, 21 ltr)
Row 28: Ch 3 (counts as first dc), working behind Color B rows, dc in each remaining st of the previous row across, finishing last st with Color B; turn. (36 sts)
Row 29: Ch 3 (counts as first dc), *ch 3, skip the next 2 sts, sc between the posts of the previous st and the next st enclosing the Color B ch-8 loop below, ch 3, skip the next 2 sts, dc in the next st; rep from * across, turn. (15 sc)
Row 30 - 32: Rep Row 26 - 28, after Row 32, break Color A.
Row 33: Ch 1, sc in the first st, *ch 2, skip the next 2 sts, sc between the posts of the previous st and the next st enclosing the Color B ch-8 loop below, ch 2, skip the next 2 sts, sc in the next st; rep from * across, turn. (15 sc)
Row 34: Ch 1, sc in the first st, *(hdc, dc) in the next ch-2 sp, 2 tr in the next st, (dc, hdc) in the next ch-2 sp, sc in the next st; rep from * across; break Color B. (7 scallops)
Row 35: With Color A, join to Right Side of towel at the foundation chain (base of FHDC sts), then Rep Row 2. (36 sts)
Row 36 - 45: Rep Row 25 - 34, but do not break yarns.
Edging: Continuing with Color B, turn towel 90 degrees and sc evenly along the edge, switching between colors to match the rows worked into. Work over the unused color to minimized ends, until reaching the long section of Color A. At that point, break Color B and reintroduce it as needed at the other end of towel. Ch 2 at each corner. When crocheting along the scallops of Rows 34 and 45, sc in each st and sc between the posts of the tr sts. Continue to sc along the other side of the towel, changing colors again as needed. After the final ch 2, join to the first sc of the edging and finish off.
MERMAID WASHCLOTH INSTRUCTIONS
Row 1: With Color B, FHDC 21; turn. (21 sts)
Row 2: Ch 1, hdc in each st across, finish last st with Color A; turn. (21 sts)
Row 3: Ch 1, sc in the first st, *ch 1, skip the next st, sc in the next st; rep from * across; turn. (11 sc)
Row 4: Ch 1, sc in the first st, sc in the next ch sp, * ch 1, skip the next st, sc in the next ch sp; rep from * until 1 st rem, sc in the last st finishing st with Color B, turn. (12 sc)
Row 5: Ch 1, hdc in each st and ch sp across; turn. (21 sts)
Row 6: Repeat Row 2.
Row 7-14: Repeat Rows 3-6 twice, do not turn after last row and do not change to Color A. Break Color A.
Edging Round 1: Turn 90 degrees to work along the side, sc evenly along sides of rows, ch 2, hdc evenly along foundation chain, ch 2, sc evenly along sides of rows, ch 2, hdc evenly along Row 14, ch 2, join and break Color B.
Edging Round 2 (optional): With Color A, sl st in each st and ch around; join and break yarn.

Ready to add some - or more - Mermaid to your bath? I had a lot of fun making this set - be sure to see the DIY Mermaid Soap Dispenser tutorial to complete the look!
If you make the Mermaid Towel & Washcloth Set I’d love to see a photo. So if you share it on social media, be sure to tag me @mooglyblog or #mooglyblog – and happy crocheting!

Written pattern copyright Tamara Kelly 2018, all rights reserved. Please do not reprint or repost this pattern, but please do link to this page to share this pattern with others. To print or download, use the Print Friendly button below, or go to PrintFriendly.com, or right-click to copy and paste it into a word processing document if those options do not work for you (please note that Print Friendly is a free outside website that the button links to, and you can click here for a tutorial on how to use it, but I cannot provide additional technical support for this service). If you wish to make items for sale from this pattern or translate it to another language, please visit the About page for details. Thank you to Red Heart Yarn and Brittany Needles for providing the materials for this pattern.


Tracy King says
Gorgeous! Can you make a blanket similar? Ha ha sorry I know you’re a busy lady but I also know lots of littles obsessed with mermaids. Thanks for these!
Tamara Kelly says
😀 Thank you! And absolutely! The stitch counts are included above, so you could really go just as big as you like!
Tracy King says
Thanks 😊. I think I will try a throw size.
PATRICIA says
LIKE THE MERMAID STUFF ALSO DO YOU HAVE A VIDEO FOR SOAP DISPENSER AS NOT SURE HOW TO DO
GOING TO MAKE MY NIECE THE TOWEL SET
PATRICIA says
HI TAMERA JUST COMMENTED IF YA HAD A VIDEO ON MERMAIL SOAP DISPENSER TO GO WITH THE SET TOWEL AND WASHCLOTH BUT NOTICD YA USED A CRICUIT SORRY I SHOULD OF READ BETTER AS I DONT HAVE A CRUCUIT UNLESS THERE IS ANOTHER WAY TO DO THE SOAP DISPENSER
Tamara Kelly says
Hi Patricia! You could try using scissors, but I actually just found that there are a bunch of Etsy sellers selling the tail decals too! Here are some fun ones: http://shrsl.com/xjo6
Lane says
Rhonda I really appreciate your fun patterns . I love them all . I have been following you a long time . I started with your beautiful angels . Thank you so much . 💗
Goody says
So for the towel, we stitch the entire length and one edging, then flip around for just the other edging?
Tamara Kelly says
Yes! In order to keep the "scales" going the right direction, that's how it's done. 🙂
LYNDA says
Tammara; I've been completely addicted to your YouTube channel from the moment I viewed your first tut. Fabulous teacher and love the projects.
Ever Grateful, LYNDA in Utah
Tamara Kelly says
Hi Lynda! Thank you so very much! ♥