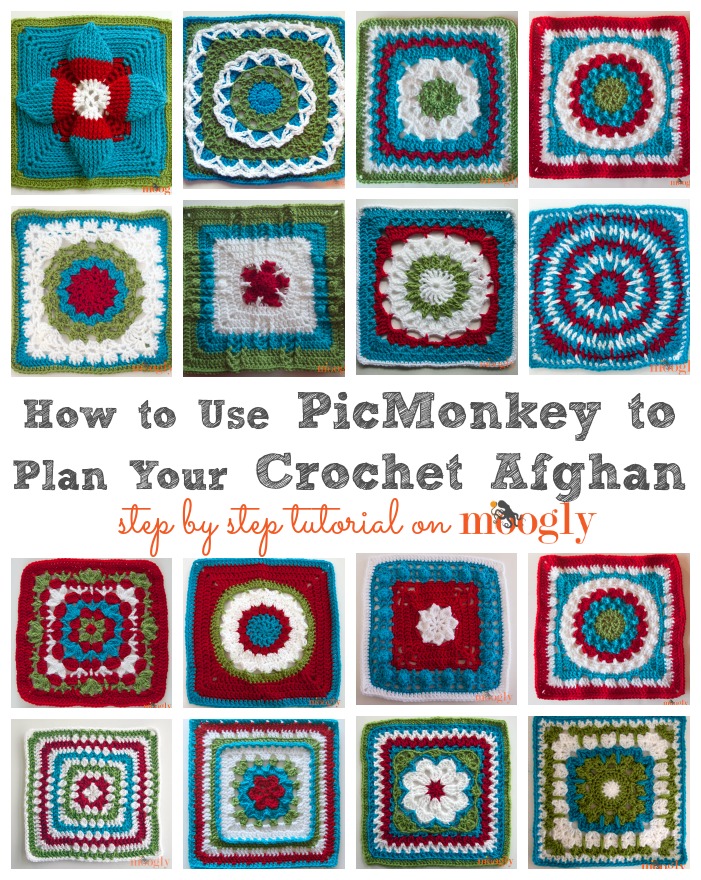
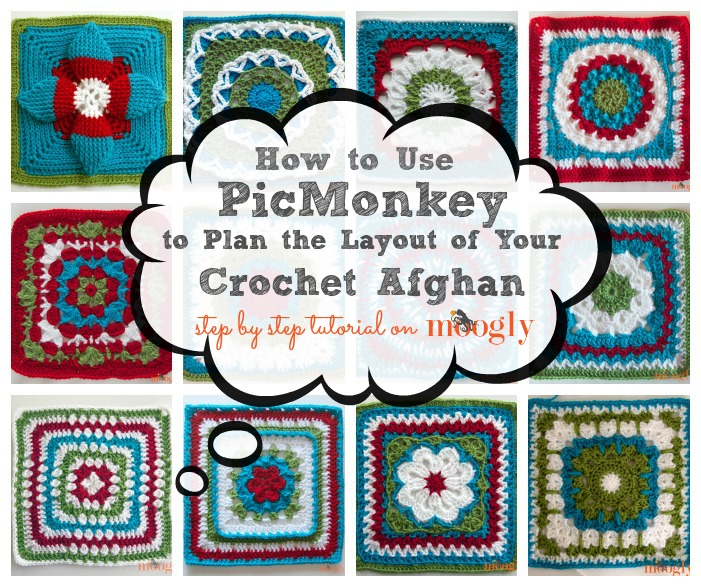
If you've been keeping up with the Moogly Afghan Crochet-a-Long, you have a great big stack of squares sitting somewhere right now! There are only 7 more patterns to go - we'll finish up in November, then spend December putting them together. Now whether you've started planning your layout or are waiting til you have all the blocks in hand, PicMonkey is a great tool to use - I'll show you how!
 Disclaimer: This post contains affiliate links.
I love PicMonkey, and use it for almost every picture and graphic you see on Moogly. I've even put their ad in my sidebar! It's all online, nothing to download, and super easy to use. Because I use it and love it so much, I wanted to share how I'm using it to plan my Afghan CAL layout. And how you can do the same - for free!
First though, the why. Why would I use a website to plan my layout, when I could just lay the squares on the floor or dining room table? Well, because there are kids and a dog on the floor (and the resulting dirt and lint, let's be honest). And we need to eat off that table! Which means the squares could only stay for a couple hours at most - assuming no one else is home to "help."
By using PicMonkey to plan my layout, the squares themselves stay neat and clean, I can move them around at the click of a button, and when I've got my final plan I can save and print the picture. This printed picture will then be my guide as I assemble them - no trying to remember which one came next!

I have the paid version, which has some great bonus fun stuff, but you don't have to pay to use PicMonkey for this project - the free version works just fine! If you've been taking photos of your finished squares all along (which I know from Facebook and Ravelry many of you have!), then you're all set to jump in. Otherwise, you'll want to take a photo of each square individually first. Don't worry, I'll wait! You can pin this post and read it later. Now... let's begin!
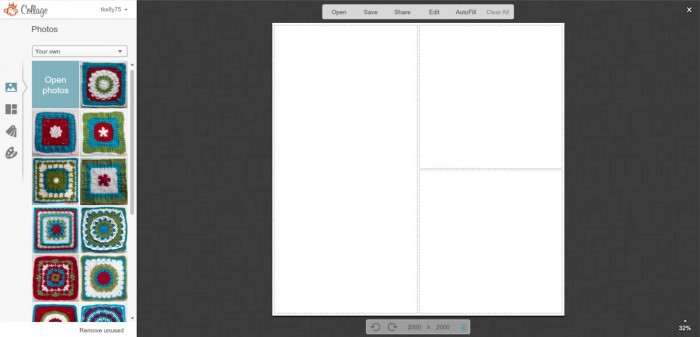
- Click here: PicMonkey ...and then click on the Collage button at the top of the screen. Choose your photos and "open" them.

- Upload all your photos by clicking on the Open Photos square until all your blocks are shown.
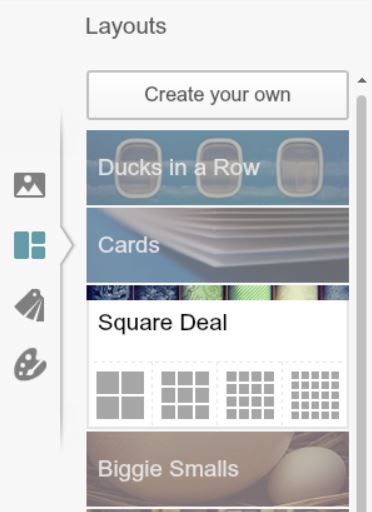
- Pick a layout. For this CAL we're making 24 squares, which is perfect for a 4 x 6 afghan - yours may be different! Starting with the biggest "Square Deal" is easiest.
- Then customize your layout! When you hover your cursor in the corner of a square, a little x will show up - click that to delete it. Click on all the squares on the right to make it 4 x 5.
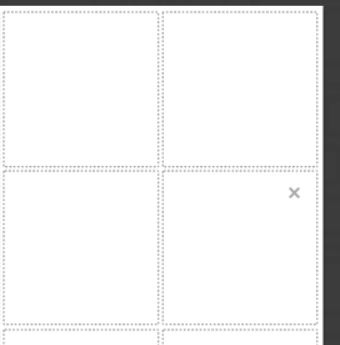
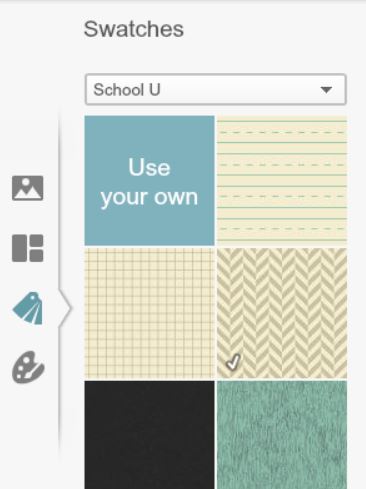
- You can then add more cells using the Swatches option - drag and drop any swatch to the bottom of each column, then click the x in the corner to delete the swatch itself, but leave the empty cell.
You should now have a 4 x 6 layout! You can use your cursor to move the sides in, until each cell is square, rather than rectangular.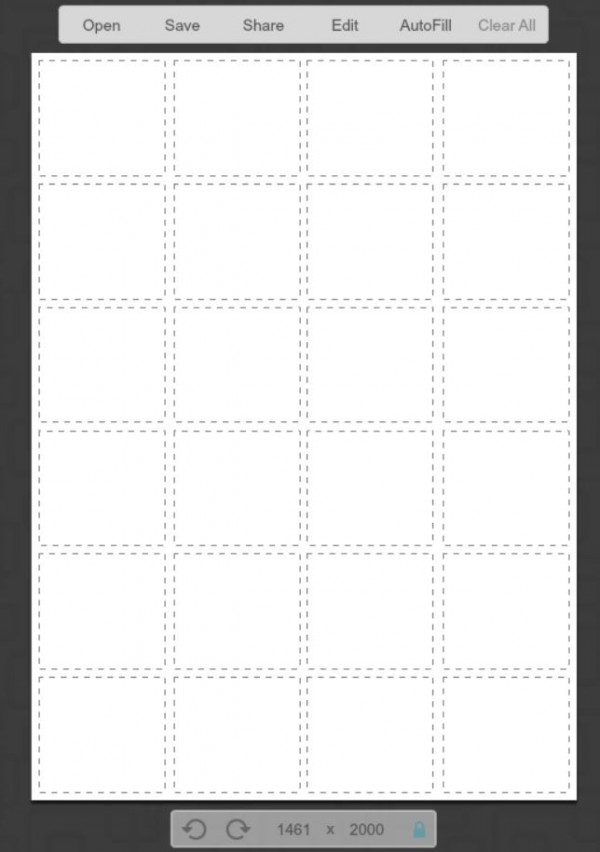
- Now go to the Paint Palette on the Left. Adjust the Spacing to zero - the squares will be touching after all!

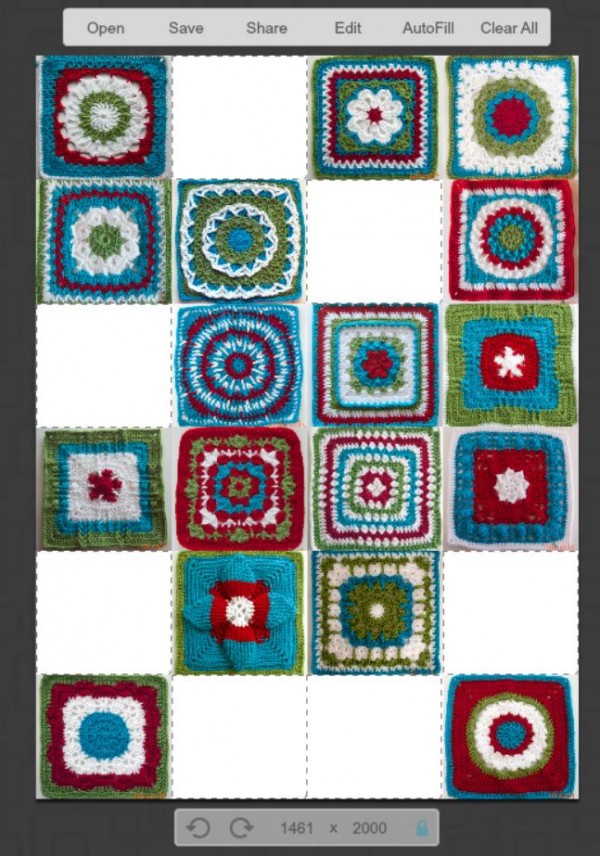
- Drag and drop your squares into the spaces! Pick them up and move them around, switch them out, play!
- If your photos need to be zoomed in so that the squares fill the cells, click the Edit button that appears when you hover over a filled cell.
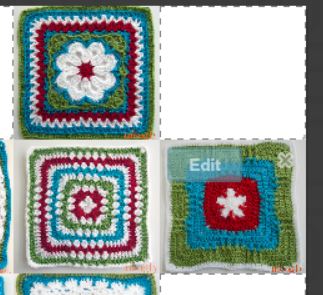
- Keep playing til you're happy! I like to space out like blocks, find a balance, think about where I want heavier ones vs lighter ones. This is the plan so far... subject to change of course!
- Finally, when your plan is all set, it's time to save and print! Just click the Save button at the top of the screen, and save your finished collage.
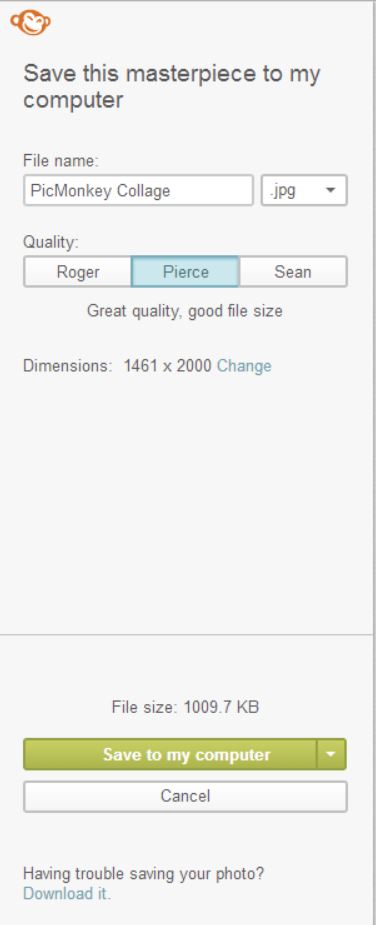
And that's it! How you print it out will depend on your own computer system, but with a printed plan in hand, you'll be ready to start joining your squares with confidence. Now how to join them? That's a future post - stay tuned!
You can do lots of other fun things with PicMonkey too! Like I mention above, I use it for photo editing and graphic creation for Moogly - it's very easy to get the hang of, and I love all the options. It's great for fixing up family photos too. And I adore the way Corina at Stitch11 uses it to create color palettes - be sure to check out her tutorial HERE!

Thanks for watching! Get more Moogly goodness in your life by checking out the social media links at the top of the page! While I am a PicMonkey affiliate, this is not a sponsored post and all opinions are my own.

Stephanie says
This is perfect!! I have quite a few granny squares that I don't know how to put together! This will make it so much easier! Thank you so much!
Tamara Kelly says
😀 You're very welcome Stephanie!
Stacy McDonald says
Aaaaahh...I've looked at so many patterns and of course, decided on these. Why I looked elsewhere, I don't know. Lol. This is the best crochet site ever. So in love with Moogly. Do you have online classes for sale?
Tamara Kelly says
Hi Stacy! 😀 Thank you! I don't have any classes for sale currently, but you can check out my free tutorials here: https://www.mooglyblog.com/category/video-tutorials/ 😀
Judi says
What a wonderful tool!! I will get busy right now photographing all my squares. Thank you so much Tamara!! You are the GREATEST!!
Tamara Kelly says
😀 Thanks Judi, I'm so glad you think so!
Toni says
Wonderfully useful tool!! Thank you
Tamara Kelly says
😀 Thanks Toni, I'm glad you think so!
rachael says
Love this! Can't wait to finish and get it all put together
Tamara Kelly says
😀 Thank you Rachael!
Clotilde/Craftybegonia says
That looks great! I usually use Gimp for everything, but have been looking at Picmonkey and Canva with the intention of learning them for awhile, you're inspiring me to get closer to those sites!
Tamara Kelly says
😀 I really do enjoy it a lot! I still use Photoshop to convert my photos from RAW to jpegs, but it's made editing so much easier!
Zarnaz says
Hi! I'm definitely going to try PicMonkey... Currently I'm using BeFunky, but PicMonkey sounds more fun! Anyway, I wanted to ask you about the squares, is it definitely necessary to block them? Most of the squares have turned out very straight, can I just block the ones which look a bit wonky?
Tamara Kelly says
I'd just block the ones that are wonky! 🙂 Thanks!
Zarnaz says
Thank you! Now I'm going to take out the ones which are a bit weird and block them... and I'm desperately waiting for a joining squares post! I guess we all are! 🙂
Sylvia says
I love your blog! You have such great patterns and give out so much good information. Thanks for all you do!
Tamara Kelly says
😀 Thank you so much Sylvia!
Marnie Faulkner says
Hey Tamara,
I'm looking for a tool that does exactly this however Pic Monkey doesn't have a free version, only a 7 day free trial. Do you know of any other useful tools which are free? I've tried searching but it's not proved fruitful, there's too many varying things that don't explain their functions without you having to download and try many apps!
Thanks
Marnie :]
Tamara Kelly says
Yes, unfortunately they've updated a few times since this post and so a few things have changed. Canva.com might be a good alternative!
Hildegunn Kjæledyr says
a very good vay to putt the sqares together
Tamara Kelly says
😀 Thank you Hildegunn!
Angi Cavaliere says
Thank you for this tutorial! I am going to get PicMonkey 😀
Tamara Kelly says
😀 I'm glad you enjoyed it Angi!
Andrea says
any way we can start getting some guidance on joining. I'd like to give this CAL afghan as a gift in early December and fear I won't have enough time to join and trim. Please help!!! Thanks.
Tamara Kelly says
I hope to have the joining info up soon! 🙂
Liz says
This is really helpful!
Tamara Kelly says
😀 So glad you think so Liz!
Marsha says
So what happens if I have a blanket that is 138 squares do I have to take 138 pictures if I only have five different styles of squares is there a way to keep using the same image for the squares or copy and pasting?
Tamara Kelly says
You can definitely use the same picture multiple times! 🙂
Martina says
SO COOL!! Have to try this today. I am to make an afghan for my Mom and cannot decide which patterns looks bestf or my grannies - till yesterday, I tried to make it visible per copy-and-paste in an Excel sheet. Now yay to PicMonkey 😀 Thanks for sharing!
Tamara Kelly says
😀 I'm so glad you found it helpful Martina! Thank you!