
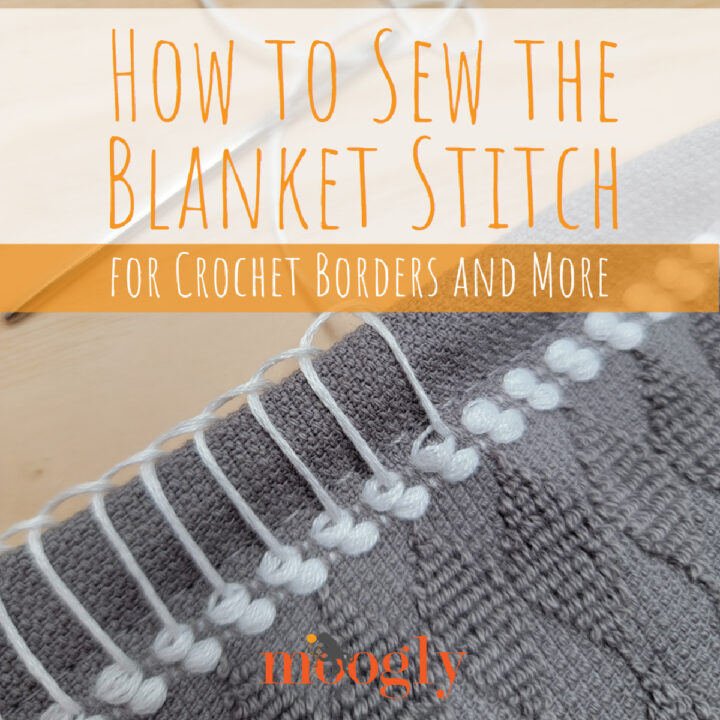
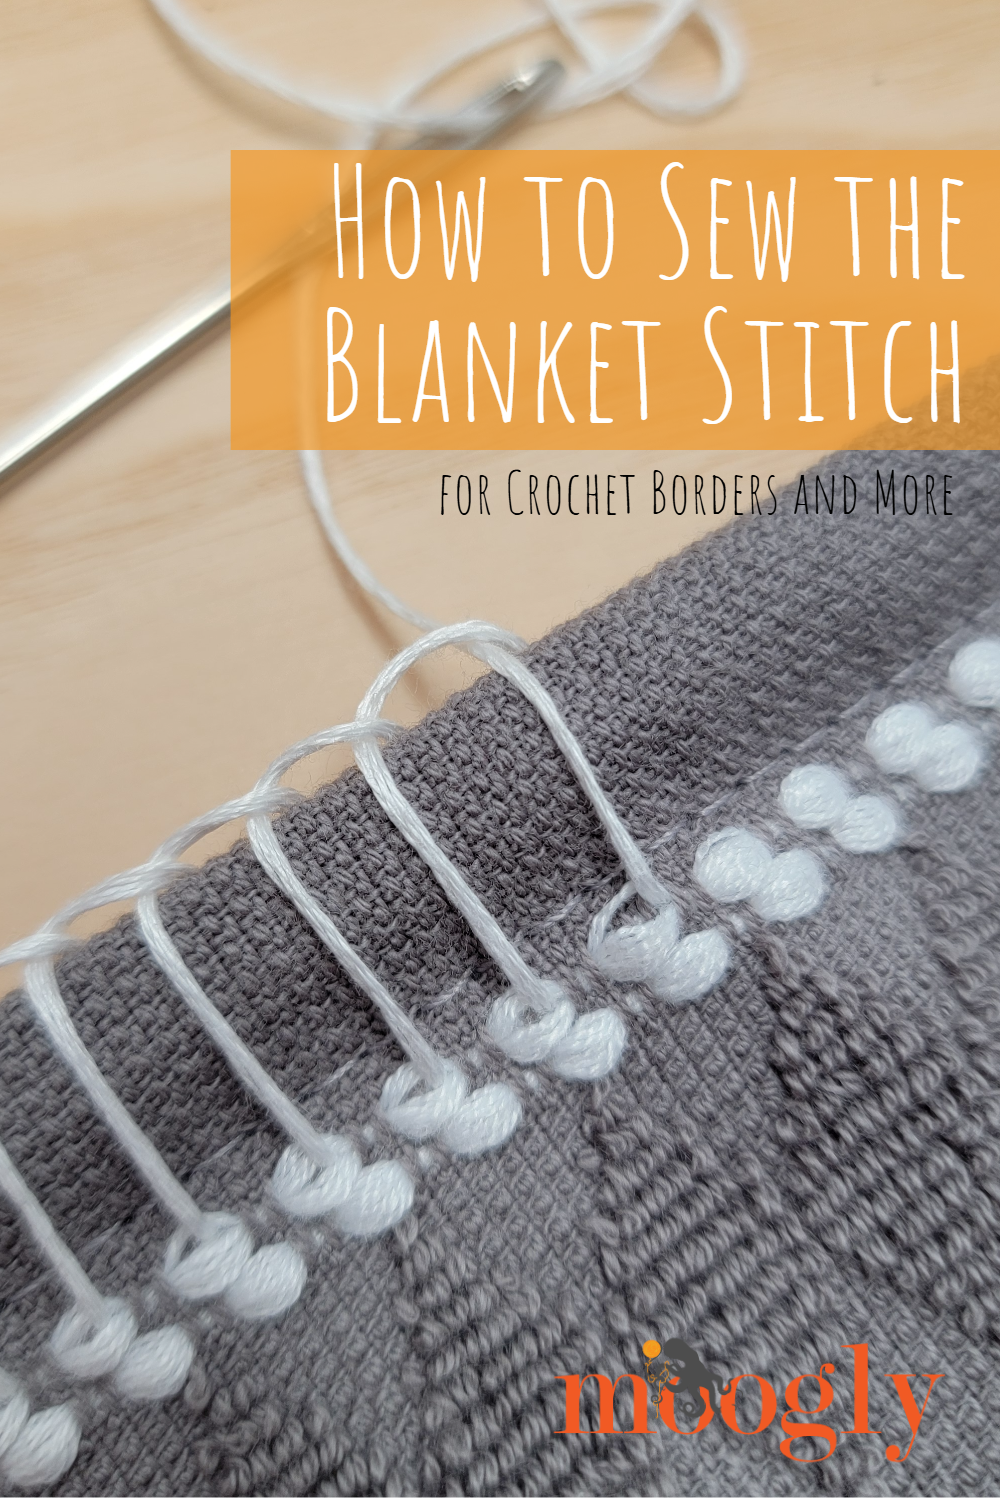
Have you ever wanted to add a crochet edging to a dish towel? Or maybe you've admired beautiful crocheted borders on quilts or fleece blankets and wondered how they got there without punching hundreds of holes first. What about those T-shirts with crocheted sleeves and hems? The answer is the blanket stitch! See how to sew the blanket stitch for crochet borders and add-ons in the right and left-handed videos below!
Disclaimer: This post includes affiliate links.
Why Use the Blanket Stitch
Sewing the blanket stitch into fabric creates a sturdy, evenly spaced foundation that makes adding a crochet border (or more) easy. It's a simple hand-sewing technique that opens up all sorts of possibilities, from baby blankets and tea towels to accessories, wearables, and more. Once you've learned it, you'll find yourself looking at all kinds of fabric with crochet potential - and possibly rethinking your wardrobe!
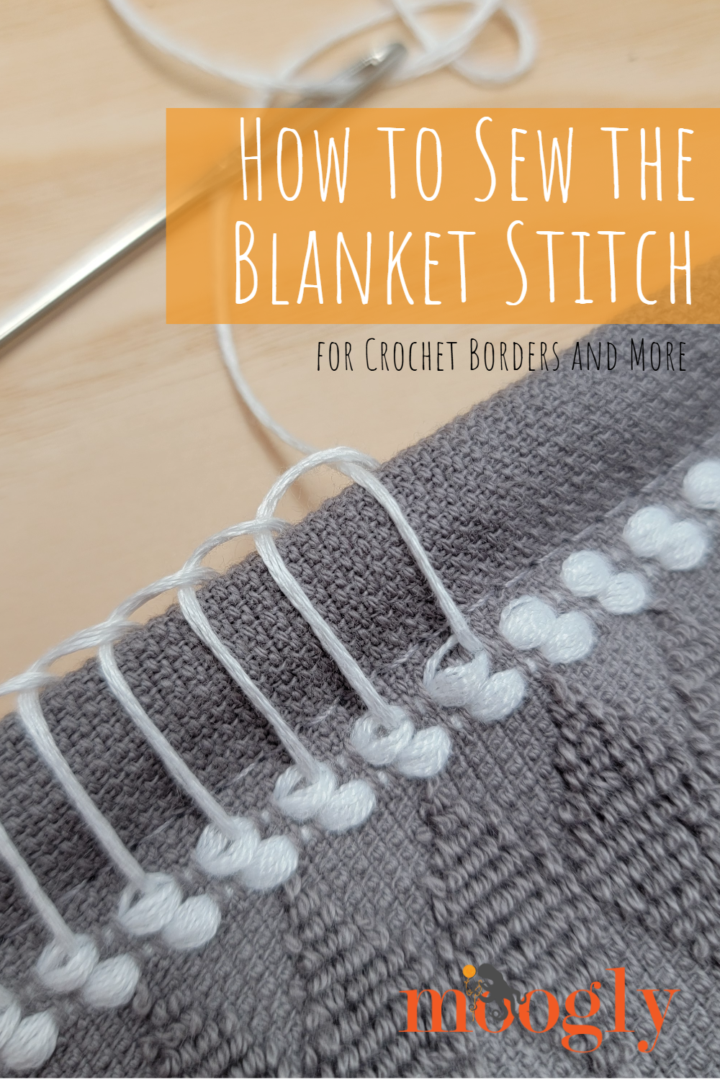
Crochet stitches need somewhere to go, and most woven fabrics don't naturally have spaces large enough for a crochet hook. While you can use specialty tools like sharp hooks or a skip blade to make holes, the blanket stitch is one of the easiest and most beginner-friendly methods because it reinforces the edge while creating consistent places to crochet.
The blanket stitch also:
- Creates evenly spaced loops for consistent crochet stitches.
- Reinforces the edge of your fabric to reduce fraying.
- Works on a wide variety of fabrics, from cotton to fleece.
- Requires only basic sewing supplies.
- Gives your finished project a polished, handmade look.
Whether you're making gifts or adding a special touch to something for your own home, it's a technique you'll use again and again.
Supplies You'll Need
To sew a blanket stitch for crochet borders, you'll need:
- Fabric or finished fabric project
- Embroidery floss or crochet thread (the thicker the fabric, the thicker the thread)
- Sharp hand sewing needle
- Small scissors
- Ruler or measuring tape (optional)
- Washable fabric marker or chalk (optional)
Choose a thread color that either blends into your fabric or complements your planned crochet edging - blend in or add more color; it's up to you!
How to Sew the Blanket Stitch Video Tutorial:
How to Sew the Blanket Stitch - Right Handed
How to Sew the Blanket Stitch - Left Handed
How to Sew the Blanket Stitch In Words:
Step 1: (Optional) Mark out the spacing of your stitches on your fabric using a fabric marker or chalk. The spacing depends on the weight of your yarn and the crochet border you plan to add. In general, spacing them about ¼ inch apart works well for many worsted weight crochet borders.
Step 2: Cut a length of thread or floss, long enough to complete your project - 3-4 times the length of the border being sewn should be enough. Thread your needle and tie a knot at the opposite end of the thread.
Note: You can start from the left or the right - it's up to you. In the videos above, I worked in the same direction as we typically crochet. To see it worked the other direction, watch the other video!
Step 3: Beginning on the wrong side of the fabric, bring the needle up to the front near the corner (at your first mark), at the depth you want your sewn stitches to be. Then, bringing the thread over the edge, send your needle from back to front through the same spot. Now, send your needle under the front of that stitch, so that it is at the top edge of your fabric. (I like to take a tiny stitch through the edge of the fabric here to really anchor this first stitch down.)
Step 4: Make your next stitch by inserting the needle from back to front a short distance away (at your next mark). As you pull the thread through, send the needle through the loop formed by the stitch, so that it forms a small loop that sits neatly along the edge of the fabric.
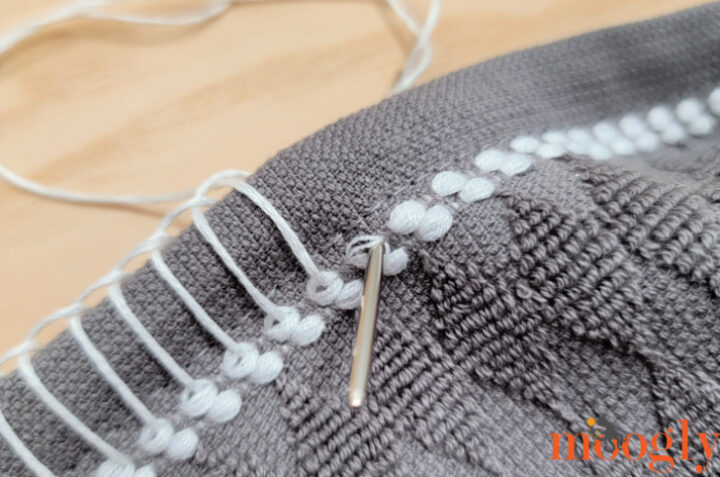
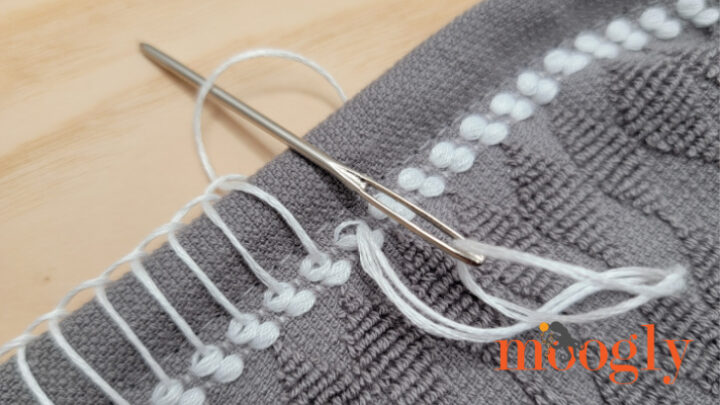
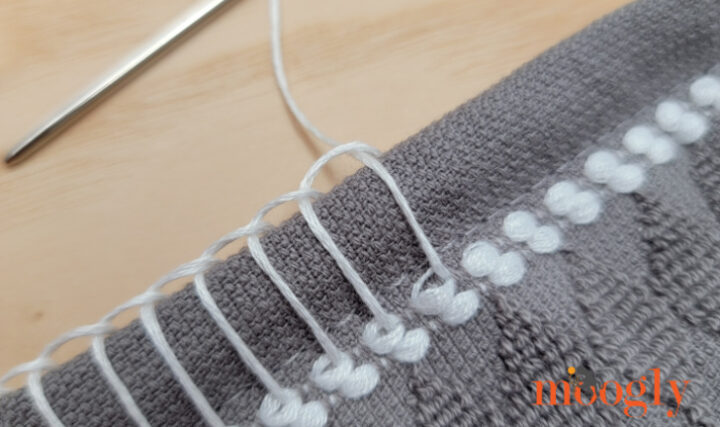
Continue making blanket stitches across the edge as in Step 4, keeping both the spacing and stitch depth as consistent as possible. These along-the-top-edge loops will become the places where you'll insert your crochet hook, so taking your time here will make crocheting the border much easier later.
Step 5: After making the last stitch, bring the needle from front to back through the same mark. Secure the thread on the back of the fabric with a small knot and trim the excess.
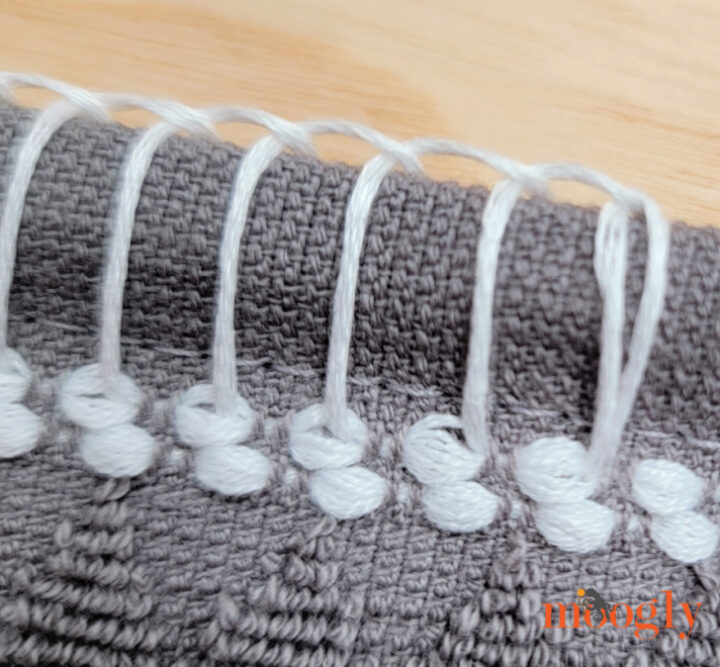
Now your project is ready for the first round of crochet! You can work something simple, or add as many rounds or rows as you like!
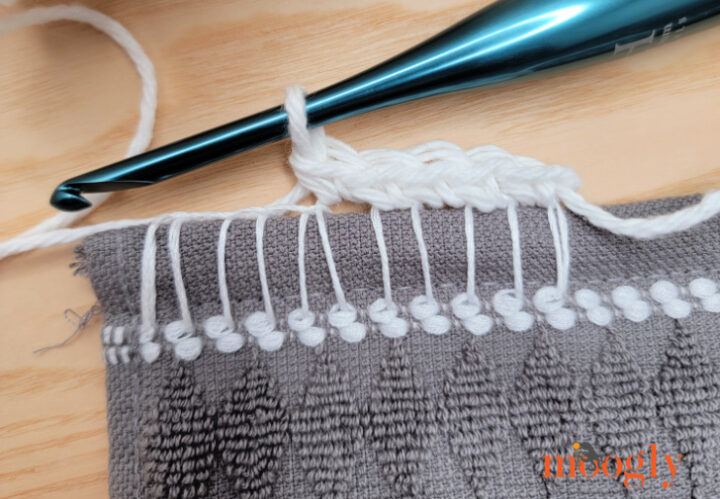
Final Tips for Using the Blanket Stitch for Crochet Borders or Add-Ons
Like any new technique, blanket stitch gets easier with practice. Here are a few tips to help you get the results you're looking for:
- Practice on a fabric scrap before working on your finished project.
- Keep your stitches evenly spaced for the neatest crochet border.
- Don't pull the thread too tightly, or the fabric edge may pucker.
- Use enough strands of embroidery floss to create sturdy loops that won't break during crocheting.
- Plan your stitch spacing to match the stitch pattern you'll be using for your crochet border.
- For corners, add an extra stitch or two to help the crochet edging turn smoothly.
Remember, your crochet border will hide much of the stitching, so don't worry if your first attempts aren't absolutely perfect. Follow along with the video above as I demonstrate exactly how to sew the blanket stitch, keep your spacing even, and prepare your fabric for a beautiful crochet edging!
I hope you enjoy this tutorial on How to Sew the Blanket Stitch for Crochet Borders! If this video doesn't answer all your questions, please ask in the comments below - I'm always happy to help.
And here's a Pin for your Crochet Pinterest Board! Make sure you are following Moogly on Pinterest for all the best knit, crochet, and craft pins!
If you make use this tip or make any Moogly pattern, please tag me in your photos so I can see them too, @mooglyblog or #mooglyblog!
Get Moogly on your favorite social media sites: YouTube, Facebook, Pinterest, Tik Tok, Bluesky, and Instagram! And sign up for the free newsletter at the bottom of the page so you don’t miss a thing!


Leave a Reply