
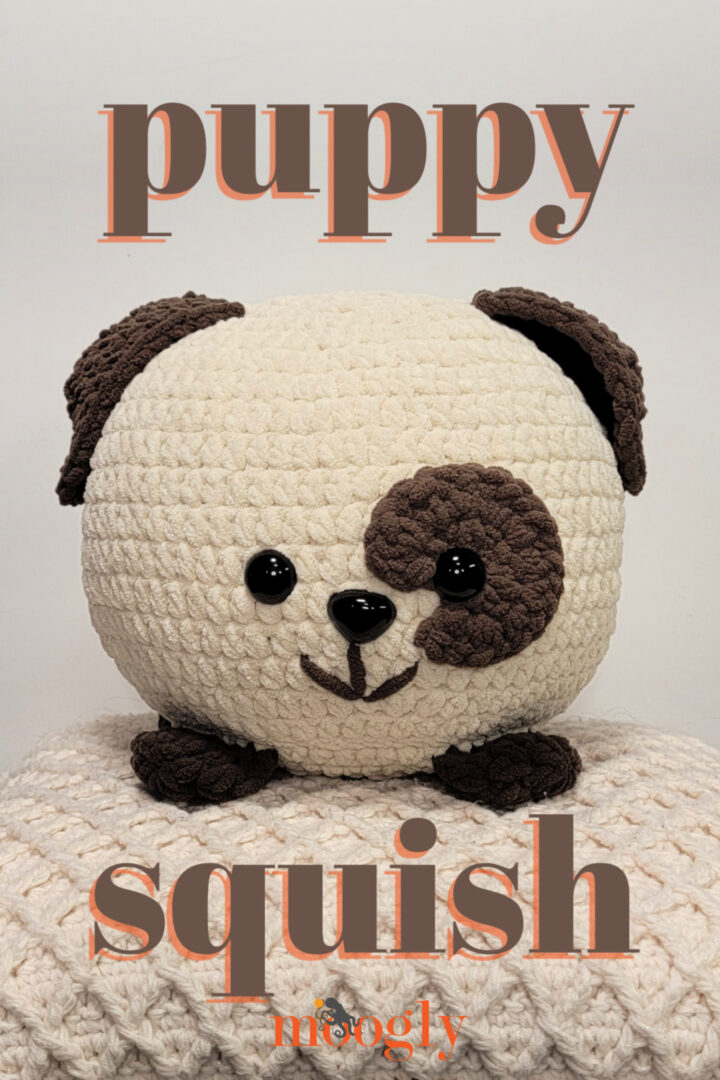
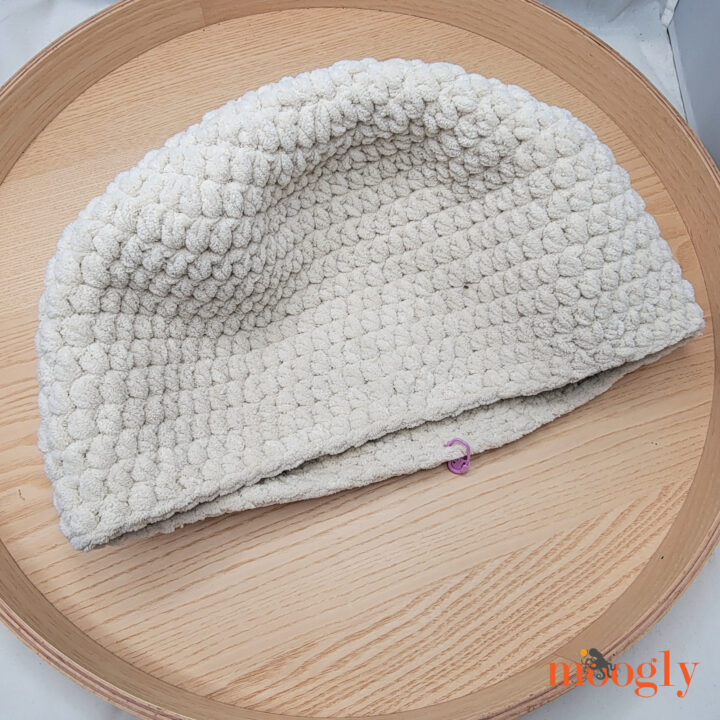
The Puppy Squish is the most requested of our Squish series - and now you can make your own dog stuffed toy! Dogs have a wide variety of features, so you can customize the Puppy Squish with a variety of ear styles, with and without spots, eye patches, and tails. This stuffed puppy pattern is the perfect project for confident beginners and seasoned stitchers alike. Keep reading to crochet your own here on Moogly!
Disclaimer: This post includes affiliate links; materials provided by Yarnspirations.
Prefer an ad-free PDF? You've got options!


Prefer the free blog version? Keep scrolling!
A New Squish, With the Help of the Originals
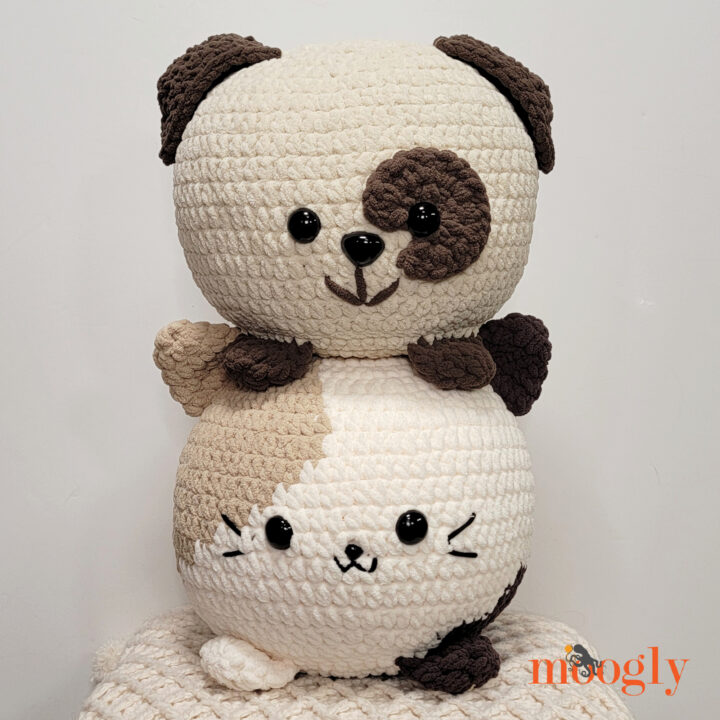
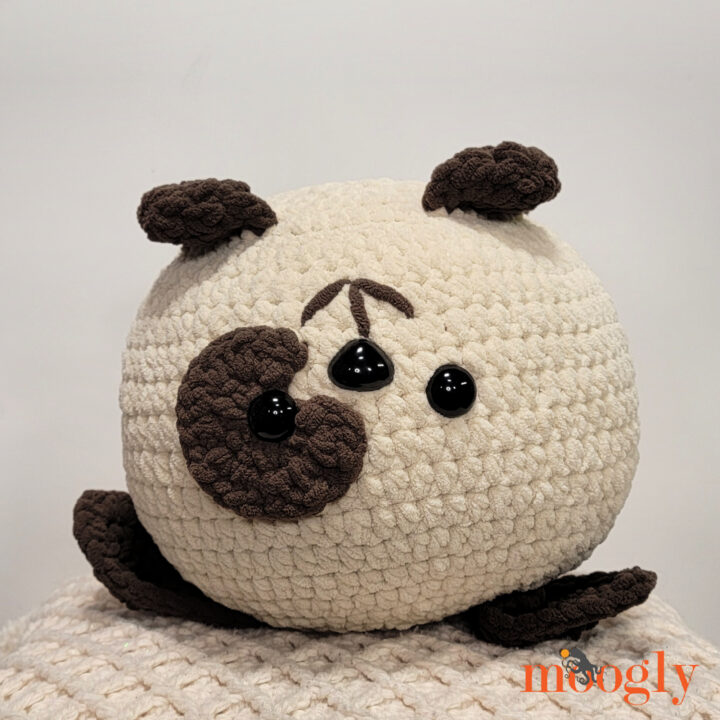
There are now over 20 different Squish patterns on Moogly, and it's always fun to add a new one to the collection! A dog version has been requested for a while now - but with such a wide variety of breeds out there, it was hard to pick just one look. So to start, I've designed two new ear styles - a long "hound" version, and a folded-over "terrier" version. The hound version is shown, but patterns for both are included below.
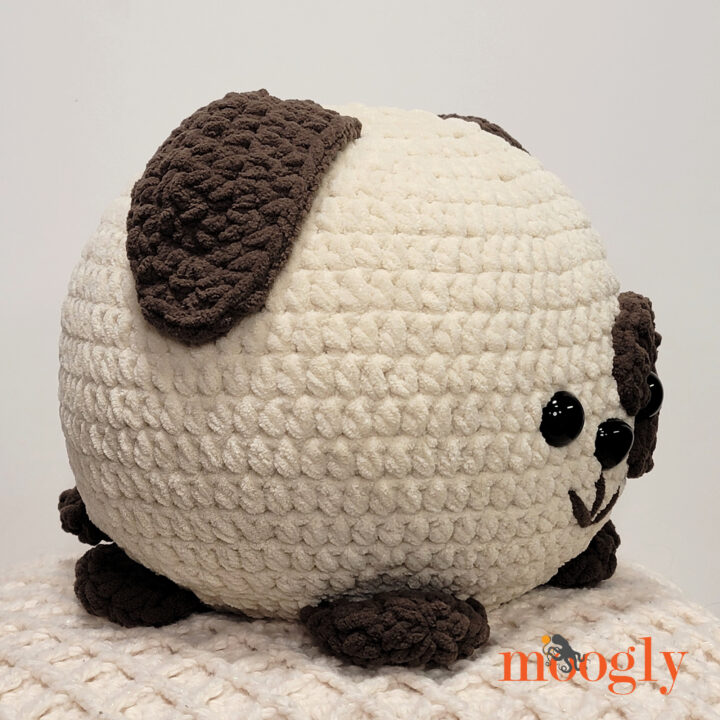
But before the Puppy Squish, I put out a lot of other animals first - that give us tons of options with our doggos! You can swap in the ears from the Cat Squish, Fox Squish, or Raccoon Squish - as well as their tails - to achieve the pedigree you're going for. The color split in the Fox Squish is great for Corgies and other breeds. Looking for large patches of color? Follow the Body and Belly pattern for the Cat Squish or Cow Squish! Be sure to customize all your colors - including the feet and tail.
Can We Talk About Size?
The first Squish I designed - the Octopus Squish - was made with a 7mm crochet hook, with a 10" Microbead Pillow Ball for stuffing. I loved the result, so I continued to purchase 10" microbead pillow balls from the same company for years, using them to fill each new Squish... But then suddenly, the balls were getting too big. So I went up to an 8mm crochet hook, and that seemed to work for a while, but things were getting a bit too *tight* for my taste.

Recently, I went searching again and found that the same company that makes the microbead balls has also started making a 10" Soft Round Pillow Ball - and after ordering a couple, I can say they are much closer in size to the original microbead balls and a true 10"! So for the Puppy Squish, I went back to the 7 mm crochet hook and used this new style of pillow ball. You can choose to use whichever hook and stuffing combo makes you happy! I've included info for both below.
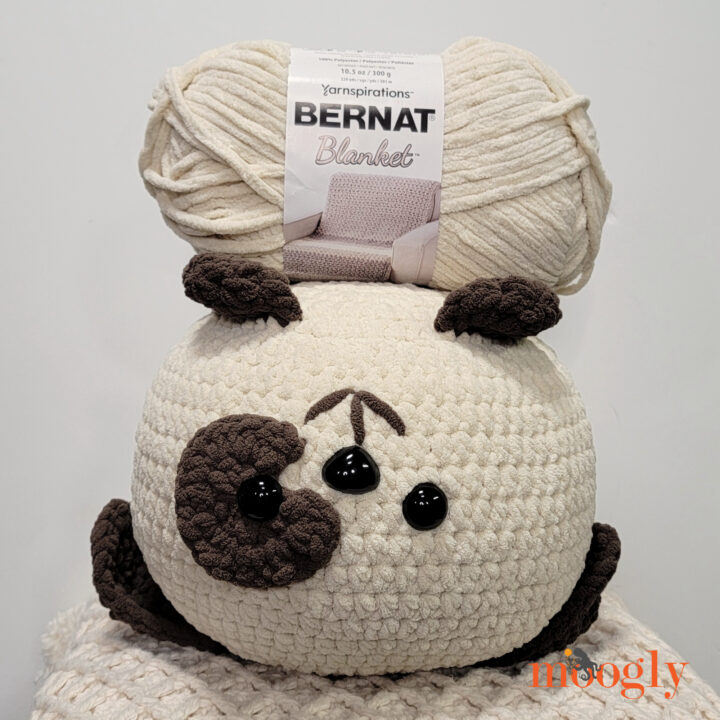
Made in Quick and Easy Bernat Blanket!
As always, I chose to make the Puppy Squish with Bernat Blanket, so there are lots of colors to choose from to customize your new friend! As it's a 6-Super Bulky yarn, this pattern creates a 10" toy - a little bigger once it's stuffed! If you'd like to make it smaller - or even bigger - choose whatever yarn you like, and use whatever hook gets you a nice, tight fabric. Bernat Maker Minis are a lot of fun for amigurumi!
Cute and Cuddly for Kids and Adults
This crochet dog pillow is fun to make - and pet and squeeze! I used safety eyes and a safety nose, but this pattern has not been "tested for safety for children under 3 years of age." If you are crocheting it for a baby or toddler, you may wish to embroider on the features and make sure that the pieces are sewn on quite securely - especially that tail! If using it as a photo prop, be sure not to leave the toy with a baby unattended.
Puppy Squish
Add this pattern to your Ravelry Queue and Favorites
7.0 mm or 8.0 mm hook (see pillow ball info below) - Furls Odyssey II used
280 yds Bernat Blanket (6 - Super Bulky; 100% polyester; 300g/10.5 oz; 201 m/220 yds)
A: Birch - 200 yds
B: Taupe - 80 yds
10" Microbead Pillow Ball for 8mm hook or 10" Soft Round Pillow Ball for 7mm hook, OR Fiberfill
Breaking in with a great deal on the balls I found on Etsy!
Gauge: With 7mm hook: 4"/10cm across after Rnd 3; with 8mm hook: 5"/10cm across after Rnd 3
Size: approx 10" across/tall excluding ears and tail
HELPFUL LINKS AND TUTORIALS
NOTES:
Some rounds are worked in a spiral. Do not ch 1 at the beginning of a rnd or join any rnds with a sl st unless specifically directed in the pattern.
Move a stitch marker along the first st of each rnd as you work to keep track of your progress.
Some pieces move from Rounds to Rows.
The stuffing used may affect which hook size you use. The microbead pillow balls run large, so I currently recommend using the larger hook size if you choose that option. In my experience, the soft stuffed pillows are more consistently sized, so I recommend using the smaller hook size. If the pillow ball is still too large, you can remove some of the stuffing through one of the seams, and then sew it closed, or use standard fiber fill.
PUPPY SQUISH INSTRUCTIONS:
Body - Make 1 with Color A
Rnd 1: Make a magic circle, ch 1, sc in the ring, 9 hdc in the ring. (10 sts)
Rnd 2: 2 hdc in each st around. (20 hdc)
Rnd 3: *Hdc in the next st, 2 hdc in the next st; rep from * around. (30 hdc)
Rnd 4: *2 hdc in the next st, hdc in the next 2 sts; rep from * around. (40 hdc)
Rnd 5: *Hdc in the next 3 sts, 2 hdc in the next st; rep from * around. (50 hdc)
Rnd 6: *Hdc in the next st, 2 hdc in the next st, hdc in the next 3 sts; rep from * around. (60 hdc)
Rnd 7: Hdc in the next 5 sts, 2 hdc in the next st, *hdc in the next 9 sts, 2 hdc in the next st; rep from * until 4 sts rem, hdc in last 4 sts. (66 hdc)
Rnd 8: *2 hdc in the next st, hdc in the next 10 sts; rep from * around. (72 hdc)
Rnd 9: Hdc in the next 8 sts, 2 hdc in the next st, *hdc in the next 17 sts, 2 hdc in the next st; rep from * until 9 sts rem, hdc in last 9 sts. (76 hdc)
Rnds 10 - 15: Hdc in each st around.
Rnd 16: *Hdc in the next 17 sts, hdc2tog; rep from * around. (72 sts)
Rnd 17: *Hdc in next 10 sts, hdc2tog; rep from * around. (66 sts)
Rnd 18: Hdc in next 5 sts, hdc2tog, *hdc in next 9 sts, hdc2tog; rep from * around until 4 sts rem, hdc in last 4 sts. (60 sts)
Rnd 19: Sc in next st, sl st in next st, break yarn and seamless join. Set Body aside.
Feet - Make 4 with Color B
Rnd 1: Make a magic circle, ch 1, sc in the ring, 6 hdc in the ring. (7 sts)
Rnd 2: 2 hdc in each st around. (14 sts)
Rnd 3: Hdc in next st, sc in next 5 sts, hdc in next 2 sts, sc in the next 5 sts, hdc in next st. (14 sts) Secure active loop with a stitch marker and weave in your first end now.
Row 4: Fold piece flat, ch 1, sc through next st and last st, sc through next 6 sets of sts; break yarn and finish off.
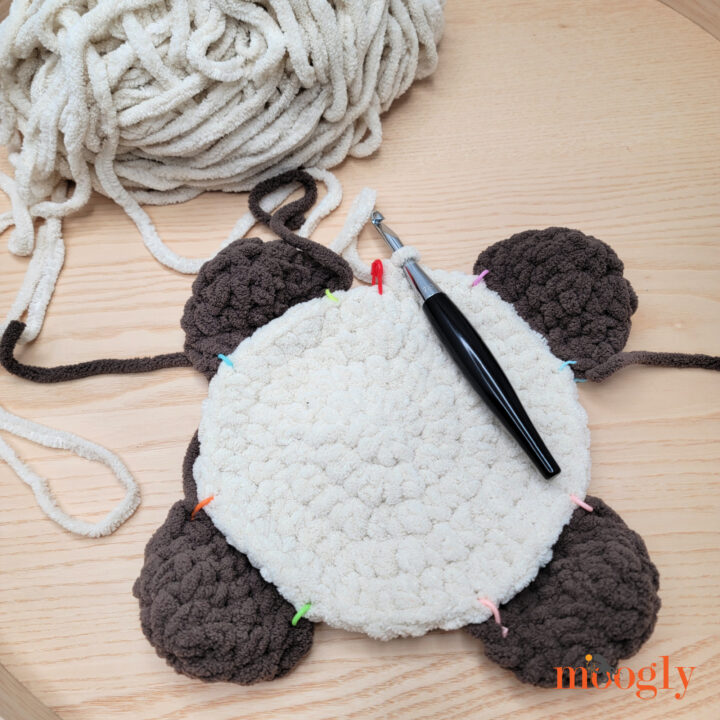
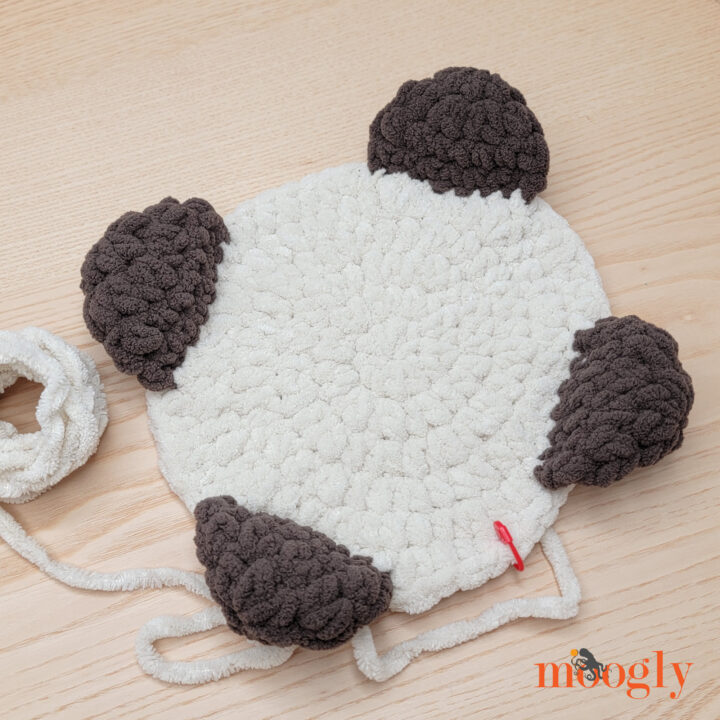
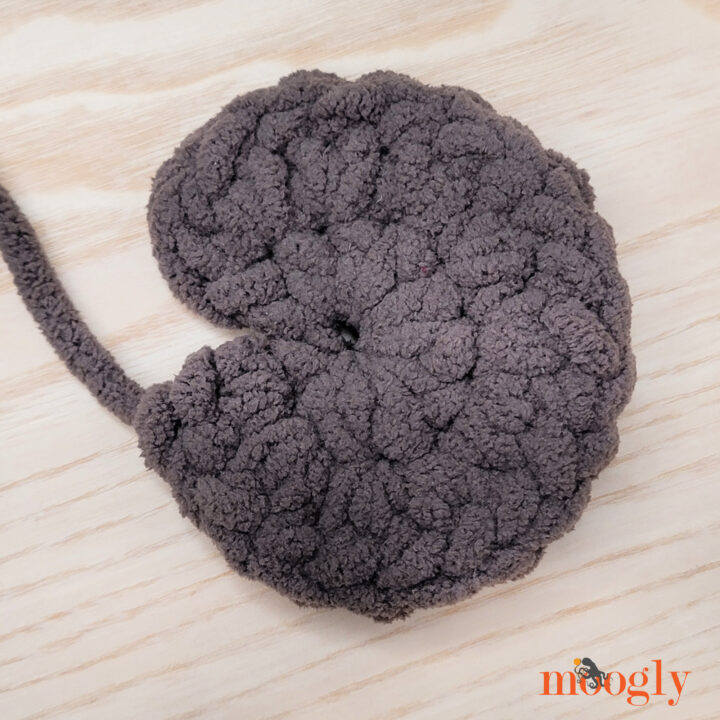
Belly - Make 1 with Color A
Rnd 1 - 5: Rep Rnd 1 - 5 of Body. (50 hdc)
Add Feet: Place stitch markers at st #3 and 9 (first foot), 15 and 21 (second foot), 28 and 34 (third foot), and 40 and 46 (fourth foot). Use these stitch markers to attach the last row of each foot to the RS of the belly.
Rnd 6: Working through both layers as needed, *hdc in the next st, 2 hdc in the next st, hdc in the next 3 sts; rep from * around. (60 hdc)
Rnd 7: Sc in next st, sl st in next st, break yarn and seamless join, leaving a long tail for sewing.
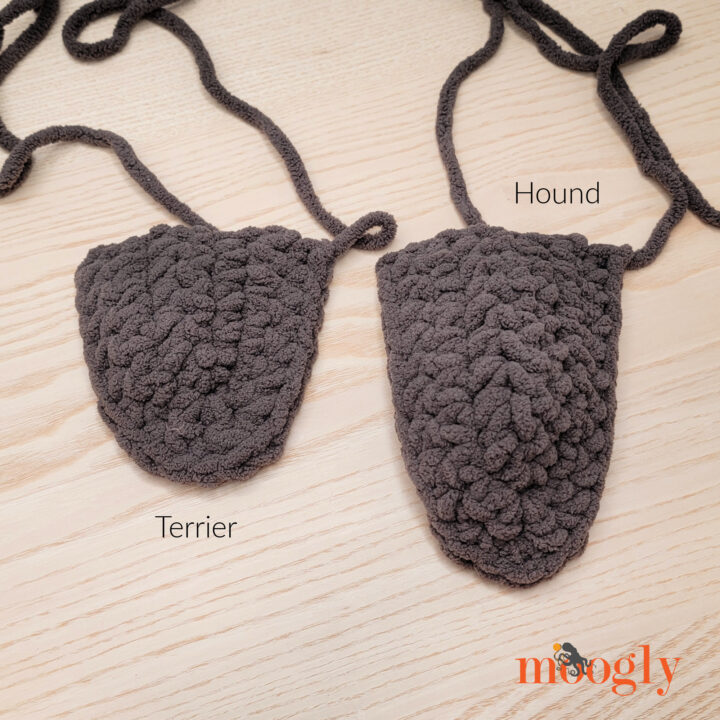
Ears - Make 2 with Color B in desired style
FOLD OVER VERSION (Terrier):
Row 1 (RS): Ch 6, skip the ch closest to the hook and pm in skipped ch, sc in each rem ch; turn. (5 sc)
Row 2 (WS): Ch 1, sc in first 5 sts, 3 sc in marked ch, pm in center of 3 sts just made, sc in base of each st; turn. (13 sts)
Row 3: Ch 1, sc in first 6 sts, 3 sc in marked st, pm in center of 3 sts just made, sc in each rem st across; turn. (15 sts)
Row 4: Ch 1, sc in first 6 sts, 2 sc in next st, 3 sc in marked st, 2 sc in next st, sc in each rem st across; turnbreak yarn, leaving a long tail for sewing. (19 sts)
LONG FLOPPY VERSION (Hound) - SHOWN:
Row 1 (WS): Ch 9, skip the ch closest to the hook and pm in skipped ch, sc in each rem ch; turn. (8 sc)
Row 2 (RS): Ch 1, sc in first 8 sts, 3 sc in marked ch, pm in center of 3 sts just made, sc in base of each st; turn. (19 sts)
Row 3: Ch 1, sc in first 9 sts, 3 sc in marked st, pm in center of 3 sts just made, sc in each rem st across; turn. (21 sts)
Row 4: Ch 1, sc in first 9 sts, 2 sc in next st, 3 sc in marked st, 2 sc in next st, sc in each rem st across; turn break yarn, leaving a long tail for sewing. (25 sts)
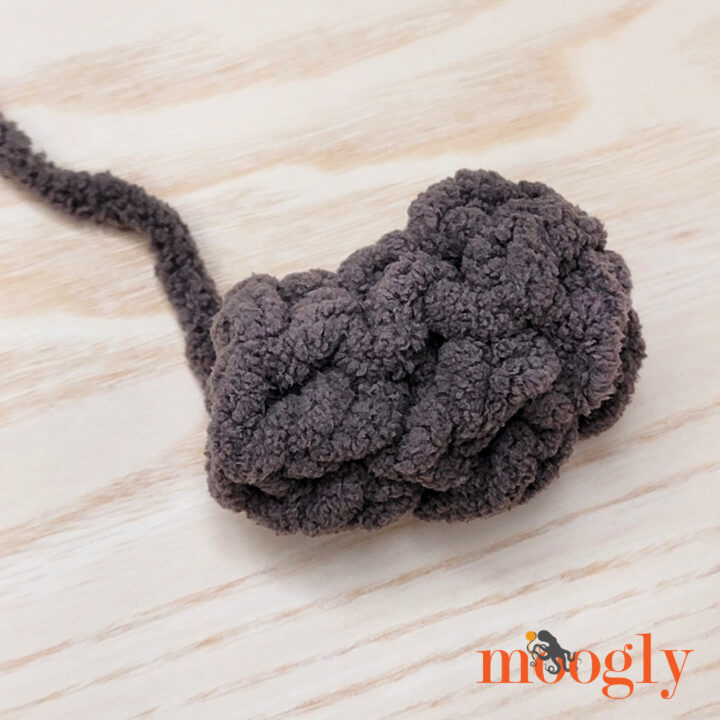
Tail - Make 1 with Color B
Rnd 1: Ch 2, skip the ch closest to the hook, 6 dc in the last ch; join with sl st in the first dc. (6 dc)
Rnds 2 - 3: Ch 1, sc in first 3 sts, dc in last 3 sts; join and break yarn, leaving a long tail for sewing. (14 dc) Use the first end to stuff the tail.
Eye Patch - Make 1 with Color B
Row 1 (RS): Make a magic circle, ch 1, sc in the ring, 9 hdc in the ring; turn, do NOT join. (10 sts)
Row 2 (WS): Ch 1, 2 hdc in each st across, break yarn leaving a long tail for sewing. (20 hdc)
Puppy Squish Assembly
The marked sts of the Body and Belly (sc at beg of last rnd) mark the center back of the Puppy. Use these markers to orient the other pieces. Be sure to check placement before adding safety eye backs or weaving in ends. Feel free to adjust the placement of pieces to get the look desired.
Step 1: Add Ears
Fold Over/Terrier Version: Use the tails to sew the ears to the top of the head, from Rnds 4 - 8 of the Body. Sew along the straight edge (ends of rows). Keep this line straight to cause the ear to fold over towards the front of the Body.
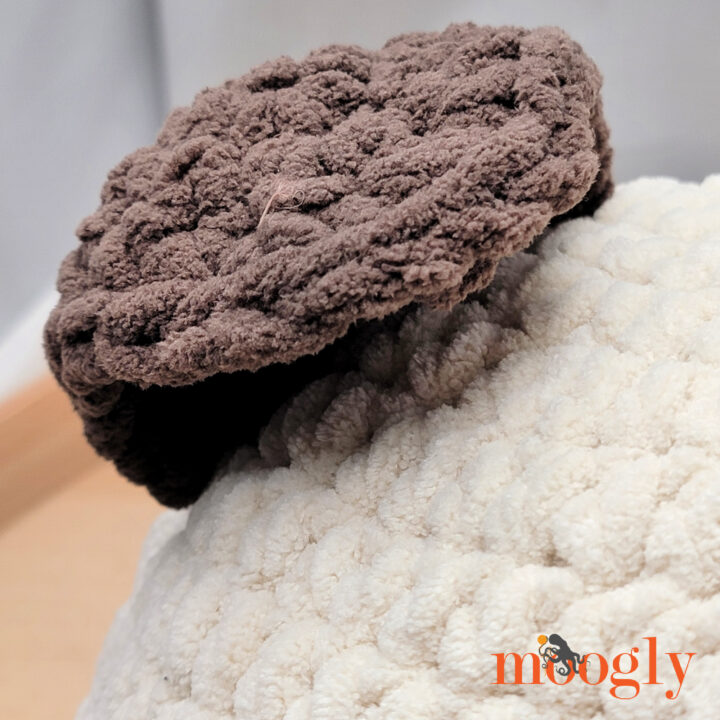
Long/Hound Version: Use the tails to sew the ears to the top of the head, working along Rnd ⅘, on the sides of the head. Sew along the straight edge (ends of rows). Angle the ears toward the opening at the bottom of the Body.
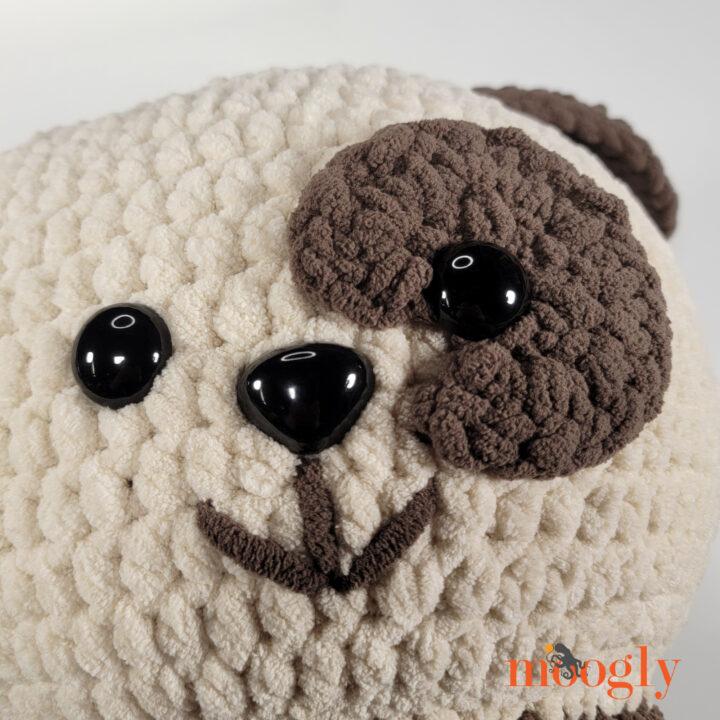
Step 2: Add the Face
Create the face between the ears, on the front of the body. Play with the placement of the eyes, nose, and eye patch to create the look desired, and secure in place. As shown, the Nose is between Rnds 14 and 15, and the Eyes are centered between Rnds 13 and 14. Depending on the length of the shaft of your Safety Eyes, you may need to secure one Eye to the Eye Patch only, rather than going through both layers of fabric with the Safety Eye. Use an additional length of Color B to add a smile and nose line if desired.
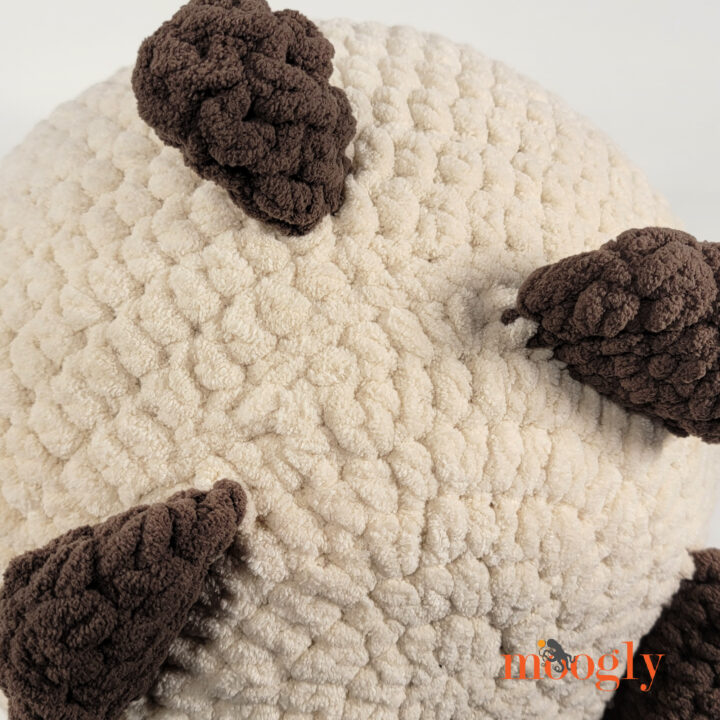
Step 3: Add the Tail
Sew the Tail between the ears, opposite the face, above the back stitch marker, or as desired. As shown, the tail is located on Rnds 17/18.
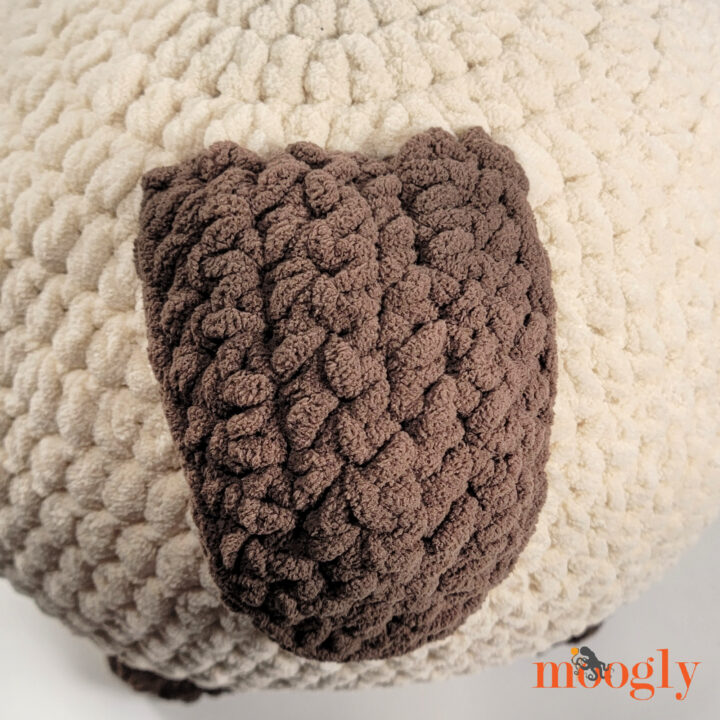
Step 4: Stuff and Sew on the Belly
Insert your pillow ball or add stuffing to the Body so that a smooth round shape is achieved. Match the Belly stitches to the last rnd of the Body, putting back (last rnd sc) sts together. Use stitch markers to connect every few stitches around. Use the long tail of the Belly to whip stitch through each pair of Body and Belly stitches. Weave in final end.
Need More Squish in your Life?
Ready for your next project? Get all the Squishes Here! Check out the Moogly Free Patterns Page or Ravelry!
If any of the Squish patterns inspire you to make your own project, and you post a photo on social media, be sure to tag me @mooglyblog or #mooglyblog so I can check it out too!
The Fine Print
Follow Moogly on YouTube, Facebook, Twitter, Pinterest, TikTok, and Instagram! Thank you to Yarnspirations for providing the materials shown in this post. Written pattern copyright Tamara Kelly 2026, all rights reserved. Please do not reprint or repost this pattern. Please do link to this page to share this pattern with others. If you wish to make items for sale from this pattern or translate it to another language, please visit the About page for details.


Leave a Reply