Punch needle is a fun and super easy craft with yarn that anyone can do - and punch needle with the Cricut Maker is even easier! You can create any design you like, quickly and easily, and transfer it in minutes! See how to use your Maker for punch needle and more below!
 Disclaimer: This post includes affiliate links.
What Is Punch Needle?
If you haven’t tried punch needle before, it’s a very simple technique! You use a special tool, called a punch needle, to poke yarn through a woven fabric. The fabric grabs the yarn, and you draw your design! CLICK HERE to see a demo!

The One Tricky Part
The hardest part of punch needle is transferring the design onto the fabric. You can use a bright window and pencil to try to trace it - that seems to be the standard recommendation. But inevitably things shift, lines get messed up, and when you're done, the pencil lines are really hard to see!
So I came up with a solution - the Cricut BrightPad is a great light table (much brighter than a window), and I can tape both the design and the monk's cloth to the pad - no more shifting!
And then, rather than using a pencil, I use the Cricut Washable Fabric Pen! It's much easier to see than pencil, and you can wash it right out when you're done.

A Revelation - Use the Cricut Maker!
Then I had my eureka moment! The Cricut library is full of designs that are great for punch needling. And Cricut Design Space is a great tool to create your own custom images. But even better, the Cricut Maker can draw whatever design you desire directly on the fabric! It does all the transferring for you!!

How to Transfer Punch Needle Designs Using the Cricut Maker
Step 1: Pick a Design
The first thing you'll want to do is find a design - one from Cricut, or upload your own. Whatever it is, be sure that the lines are well spaced. Here's what I mean - and how I screwed up my first attempt.

This is the first design I tried - there are two problems. The lines are too close together, so the image is muddied. While I might be able to use embroidery floss, these lines are too close for yarn to fit.
The second problem is that it's too close to the edge of the fabric. I can't get that inside an embroidery hoop securely.
Step 2: Get It Lined Up
So once you've picked an appropriate image (I used Cricut Access image #MCF3505D), go ahead and apply your cloth to your FabricGrip Machine Mat. While we won't be using the Maker to cut the fabric, this mat is designed to hold cloth securely.
Then, use your embroidery hoop choice to determine how big to make the design, and how far in you'll need to place it from the edge. Leave at least an inch or two on each edge of your hoop.

Now you can go back to Design Space, and adjust the size of your image. Make sure it's set to draw, not cut!

When you get to the layout page, you can move your design to the right place on the board, so that you have enough margins. Then be sure to set your material to monk's cloth - yes, it's on there!


Step 3: Draw!
Finally, make sure that you have inserted the Washable Fabric Marker - and let the Maker do the work!

In just minutes, you have a perfect design transfer, ready to punch needle!

Step 4: Do the Punch Needling
To to the punch needling on this design, I used Red Heart Chic Sheep by Marly Bird in Polo!

I punch needled the outlines and used a yarn needle to sew in the "needles" - quick and easy and cute.

Step 5: Remove the Excess Marker
Somehow I always have a little bit of the marking showing right outside my yarn lines. But that's part of the joy of using the Washable Fabric Marker! Just soak your finished project in water for about 10 minutes, then rinse - all gone!

Let it dry, and your design is ready for display!

When I was using the yarn needle to do the finishing on the cactus though, I had yet another realization...
Not Just for Punch Needle
Punch Needle with the Cricut Maker is so fun and easy, but that's not all! This method of design transfer has so many applications! You can just as easily transfer designs for embroidery. And if you do cross-stitch or needlepoint, you can have the Cricut Maker draw your straight guidelines rather than using a running stitch. Just make sure all your materials are water safe if you want to rinse it out afterward, and you're all set!
More Quick Cricut Crafts
I hope you enjoyed this Quick Cricut Craft Idea! Is there another craft I didn't think of that this would be a big help for?
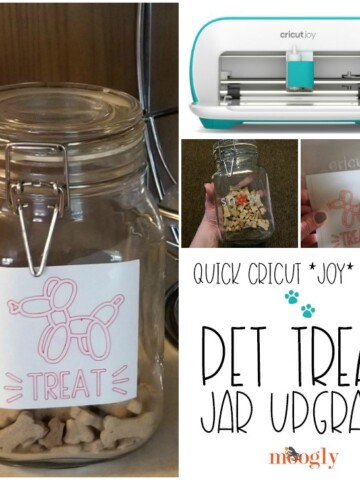
I love finding even more things I can make and do with my Cricut Maker and Cricut Joy! Check out my Cricut Joy Unboxing, Pet Treat Jar Upgrade, and my Top 5 Maker Projects here on Moogly!

Have a great day, all! Follow all the Moogly fun on your favorite social media sites: Facebook, Twitter, Pinterest, Instagram, and Tumblr!


Luz Nertha Cervantes says
Excelente información