The Bunny Pom Pouch is a fun and festive quick Cricut craft project that requires no crochet or knitting skills - but still features yarn in a fun way! See how to make your own Bunny Pom Pouch in minutes on Moogly!
 Disclaimer: This post includes affiliate links; some materials provided by Cricut and Yarnspirations.
Perfect for Spring, Easter, and Just for Fun
The Bunny Pom Pouch is super quick to put together using your favorite Cricut machine and a few simple supplies! Iron-on glitter vinyl, glue, and pom-poms dress up any bag or pouch - and the tails are irresistibly pet-able!

Bunny Pom Pouch Supplies
You can use your favorite Cricut machine, and the iron-on glitter vinyl you like. I used the Cricut Joy and Smart Iron-On Glitter in Fluorescent Pink.

You'll also need a pouch and poms! I found a great deal on these canvas pencil pouches on Amazon US. As for the poms, you've got a couple of options!

One suggestion is to use the Red Heart Pom and Tassel Maker and your favorite fuzzy yarn (like Red Heart Hygge, seen below) to create the poms - you can make a bunch at once!

Alternatively, pick up some Red Heart Pomp-a-doodle! You can cut out the specific poms you want to use, and have lots of fun colors to use on other projects, like the No Prob-llama Tote!

Finally, you'll need an iron or Cricut Easy Press, and some glue - I like using E6000 as it's strong and great for crafts (but be sure to open a window and watch the kids!).
How to Make the Bunny Pom Pouch
Step 1: Set Up the Cut
Cricut tends to update their Design Space software a lot... so hopefully, when you CLICK HERE you'll be taken right to the project that you can customize!
If that link didn't work for you, grab the Bunny Back (#M1EA3ADB3) image from Cricut Access. Use the Weld tool to merge the two portions of the image. Make it the right size for your pouch, and then duplicate so you have as many bunnies as you like.

Then, use the Attach tool to set up the cuts so they stay lined up together. Make sure it *is* set to cut and you're good to go! With this design, you won't have to mirror your image.

Step 2: Cut. It. Out!
If you're using the Cricut Maker or Cricut Explore Air 2, you'll need to put the iron-on on a mat to cut. With the Cricut Joy, I was able to use the Smart Iron-On - no mat needed! Just be sure to put it glitter side down, white side up.

The Cricut Joy is so easy to use - and I love that I can do the designing in Cricut Design Space on my desktop, and then open that project in the Design Space app on my smartphone to make the cut!

Step 3: Weeding and Ironing - Yay?!
This is my favorite kind of weeding and ironing! These bunnies are super easy to weed, you just peel off the excess iron-on material, leaving the clear layer and bunnies. You can use the Cricut BrightPad, but the tools are probably plenty here.

Then, line up the bunnies on the pouch or project, and iron them on! I always consult the Cricut Heat Guide to determine the time and temp for each project. I used a Cricut Easy Press, but you can use a household iron too!

Step 4: Add the Pom Tails
A simple dot of glue on the vinyl, and then press on the poms - and done!

I ended up using the Red Heart Pomp-a-doddle poms, as they really do make the perfect bunny tails!

Hop Into Your Next Quick Cricut Craft
I hope you enjoyed this Quick Cricut Craft Idea! I've got more pom pouch ideas for the future too. Here's a Pin for your Cricut or Easter or Spring Pinterest board!

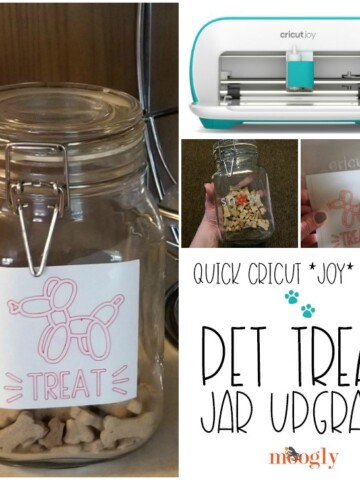
I love finding even more things I can make and do with my Cricut Maker and Cricut Joy! Check out my Cricut Joy Unboxing, Pet Treat Jar Upgrade, and my Top 5 Maker Projects here on Moogly!

Have a great day, all! Follow all the Moogly fun on your favorite social media sites: Facebook, Twitter, Pinterest, and Instagram!


Leave a Reply