The Wrap Around Stitch isn't so much a particular stitch - more so a technique, or class of stitches. So I cannot demonstrate every one out there - because someone will always be inventing a new variation! But the idea behind it, the basic technique, should transfer to any pattern. So with that in mind, here's how to crochet Wrap Around stitches!

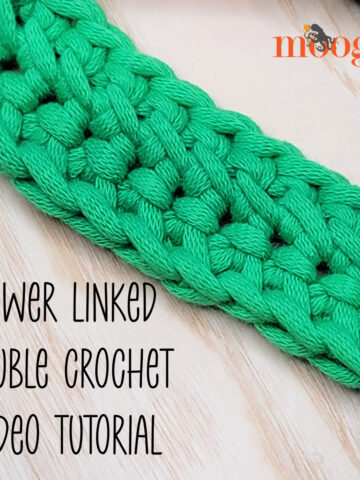
How to Crochet Wrap Around Stitches Video Tutorial
How to Crochet Wrap Around Stitches Photo Tutorial
For both the video and the photo tutorials, I used worsted weight cotton yarn and an I hook by Furls Crochet (CLICK HERE TO ORDER YOUR OWN ♥).
There are many kinds of wrap around stitches, but the basic idea is a sort of a cross between post stitches and spike stitches. This particular wrap around stitch is worked in multiples of 3, made with a dc2tog cluster, and is seen as part of the stitch pattern in the Wrapped Ombre Tote Bag pattern. However other wrap-around stitches will have different stitch counts and details, so always be sure to read your pattern closely.
Step 1: Crochet the stitches you will be wrapping around. In this case, 2 dc sts.

Step 2: For this wrap around stitch, we'll be working a dc2tog cluster. Yo, and working to the right of the first of the 2 dc sts, insert your hook around the posts, yo, and pull up a loop nice and tall, to the same height as where you started the stitch. You'll have 3 loops on the hook. Yo and pull through the first 2 loops, leaving 2 loops on the hook.


Step 3: Repeat Step 2, working this wrap around under the first one, and being sure to pull it up to height again. You'll have 4 loops on the hook this time, so yo and pull through 2, and then yo and pull through 3 to finish the stitch.


And that's about it! That's the basic idea. Sometimes you'll work a single dc around the posts, sometimes it will be a whole bunch, sometimes, the wrapped stitch might be anchored in another stitch. Wrap around stitches are like post stitches in that they generally go around the posts of previous stitches, but they are also like spike stitches, in that you are pulling them up nice and high, keeping the working yarn in back.

Thanks for watching! Get Moogly on your favorite social media sites: Facebook, Twitter, Pinterest and Tumblr, and sign up for the Newsletter so you don’t miss a thing!

Paulette says
Great stitch
Love to Learn knew stuff.
I'm intrigued with your crochet hook....where can I get one?
Tamara Kelly says
Thank you Paulette! It's a Furls: http://furlscrochet.com/collections/crochet/products/handmade-wood-furls-crochet-hook-alpha-series#oid=1009_5 😀
Andrea says
Great tut! Thanks for sharing. 😀
Tamara Kelly says
Thanks so much! 😀
Sheri says
When I 1st saw this stitch, I THO'T that it would be great used in a VEST pattern! Thank YOU!
Tamara Kelly says
😀 Fun idea Sheri!
Genevieve says
I was wondering how much you like the furls hook as a ''pencil holder'' crocheter? I was looking at them myself and I hold my hook the same way as you. Does your hand get less tired?
Tamara Kelly says
Hello Genevieve! Yes, I definitely have less hand fatigue! I find that it's comfortable in both positions, and while my first instinct on picking it up was to do the knife hold, I got used to the feel of it in the pencil hold quite quickly. It's very comfortable, and I was completely used to it within minutes! Now I feel funny when I have to put it down and pick up a metal hook lol!
Josie says
Thank you. This explanation of the type of technique was clear and easy to understand.
Tamara Kelly says
I'm so glad to hear it, thank you Josie!