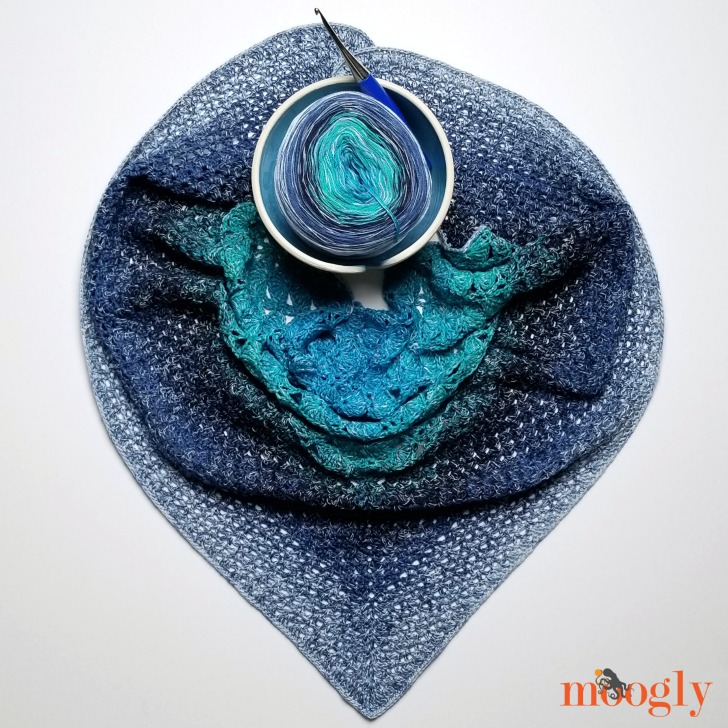
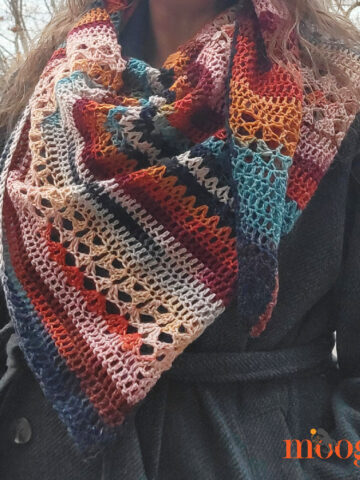
Let's finish the Ripley Shawl - the Moogly Fall 2019 Crochet Along pattern! We've made shells, and the granny stitch, and now it's time to wrap things up with the final section and edging - here are the instructions for Part 3!
Disclaimer: Materials for this pattern provided by Yarnspirations and Furls. This post includes affiliate links.
Prefer an ad-free PDF? You've got options!

Prefer the free blog version? Keep scrolling!
The Ripley Shawl CAL Schedule
The Ripley Shawl pattern was released in 3 parts, with 3 right and left-handed video tutorials. Here is the posting schedule (sorry for the typo!) - all that's left after today is the final video tutorial!

Relax with Part 3 of the Ripley Shawl
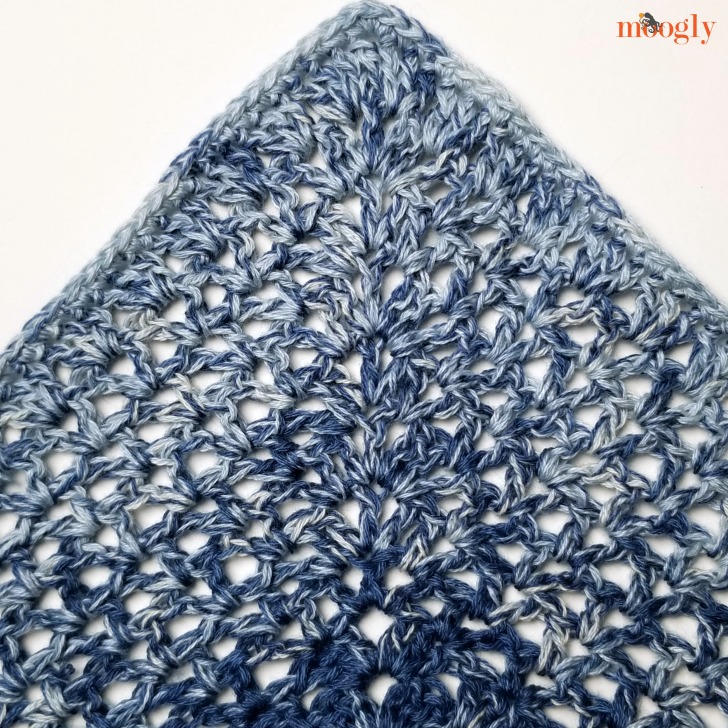
Part 1 of the Ripley Shawl pattern was definitely the toughest part - but those beautiful shells were worth it! In Part 2 we relaxed with the classic granny stitch. And in Part 3, it's time to visit another classic - V stitches!
Want to go bigger still?
Made with Red Heart It's a Wrap Sprinkles, this shawl is a one-cake pattern. But if you've got a second cake available, you may have added more rows in Part 2. And Part 3 is another place to add more rows if desired! Just repeat Row 40 to your heart's desire before moving on to the last row and edging.
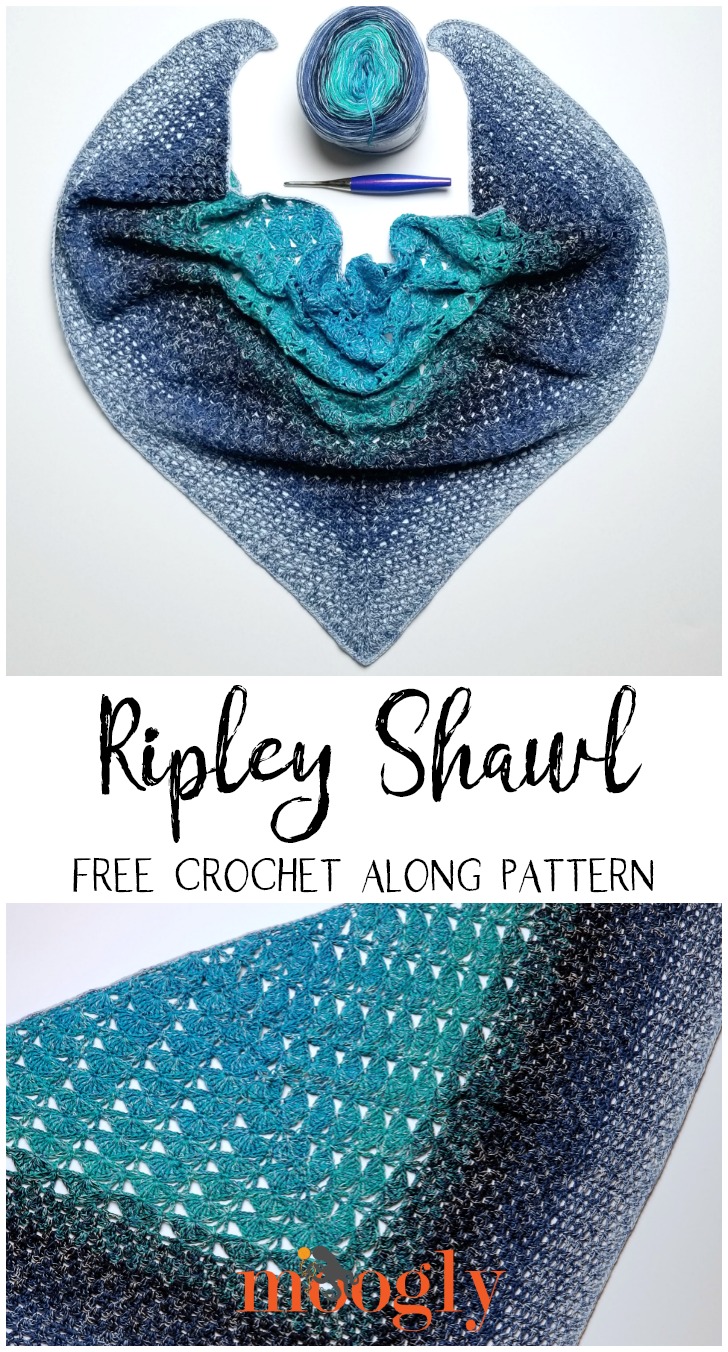
Ripley Shawl - Part 3
Add this pattern to your Ravelry Queue and Favorites
US-F, 3.75mm hook - Furls
615 yds Red Heart It’s A Wrap Sprinkles ("2" - Fine, UK: 5 ply; 5.29 oz/150 g/623 yds)
Colorway Shown: French Macaron - 1 cake
Gauge: First 6 rows of shell st = 7” along straight edge, 3.75” deep from center
18 sts x 13 rows = 4” in Granny Stitch
Size: 44” wide at top x 24” at center point
Helpful Links
Ripley Shawl Part 1 Instructions
Ripley Shawl Part 2 Instructions
Ripley Shawl - Part 2 Tutorial
Special Stitches and Abbreviations:
Pm - place stitch marker in st or ch sp just made
Part 3 Instructions
Row 39: Ch 4 (counts as dc and ch-1 here to end), dc in first st, (dc, ch 1, dc) in next st, *skip 2 sts, (dc, ch 1, dc) in next st; rep from * to marked ch-2 sp, (dc, ch 1, dc, pm, ch 1, dc) in ch-2 sp, skip 1 st, (dc, ch 1, dc) in next st, rep from * to end, (dc, ch 1, dc) in last st; turn. (179 dc)
Move marker up to center dc in each following row.
Row 40: Ch 4, dc in first st, (dc, ch 1, dc) in each ch-1 sp to marked st, (dc, ch 1, dc, ch 1, dc) in marked st, (dc, ch 1, dc) in each remaining ch-1 sp to end, (dc, ch 1, dc) in last st; turn. (185 dc)
Rows 41 - 45: Repeat Row 40. (215 dc)
Continue in pattern if desired for a larger finished shawl.
Row 46: Ch 3, 2 dc in first st, 3 dc in each ch-1 sp to marked st, tr in marked st, 3 dc in each rem ch-1 sp to end, 3 dc in last st; do NOT turn. (330 dc, 1 tr)
Edging Rnd: Ch 1, sc evenly across the sides of the rows (the top of the shawl), ch 2 at the corner, sc in each st to marked tr, 3 sc in tr, sc in each remaining st to corner, ch 2; break yarn and seamless join to first st of edging. Weave in ends and block.
And we're done!
I can’t wait to see your finished Ripley Shawls! If this free shawl pattern does inspire you to make your own, and you post a photo on social media, be sure to tag me @mooglyblog or #mooglyblog so I can check it out too! I love seeing what you make!

THE FINE PRINT
Follow Moogly on Facebook, Twitter, Pinterest, Instagram, and YouTube! Thank you to Yarnspirations and Furls for providing the materials shown in this post. Written pattern copyright Tamara Kelly 2019, all rights reserved. Please do not reprint or repost this pattern, but please do link to this page to share this pattern with others.
If you wish to make items for sale from this pattern or translate it to another language, please visit the About page for details.


Pat says
Question: Row 39 I end with the specified 179 dc. However, Row 40 following the tutorial I end up with 187 dc, not 185. 46 v st on each side plus the w. (46 x 2 x 2) + 3 = 187 So what have I done wrong?
Tamara Kelly says
I'm not sure, have you checked the video tutorial?