Things you'll love about the Sideways Sampler Shawl: gorgeous drape, engaging stitch patterns, and unique construction! This project lets you explore texture in manageable sections, all while creating a wearable piece you’ll reach for again and again. Keep scrolling for the instructions for Part 3!
Disclaimer: This post includes affiliate links. Materials provided by Furls and Katia.
Prefer an all-in-one ad-free PDF? You've got options!


Prefer the free blog version? Keep scrolling!
The Moogly March 2026 Crochet Along
At least once a year, I try to host a month-long crochet along - and this year it's the Sideways Sampler Shawl! I've been working on this design for several months now, and it has been so much fun.
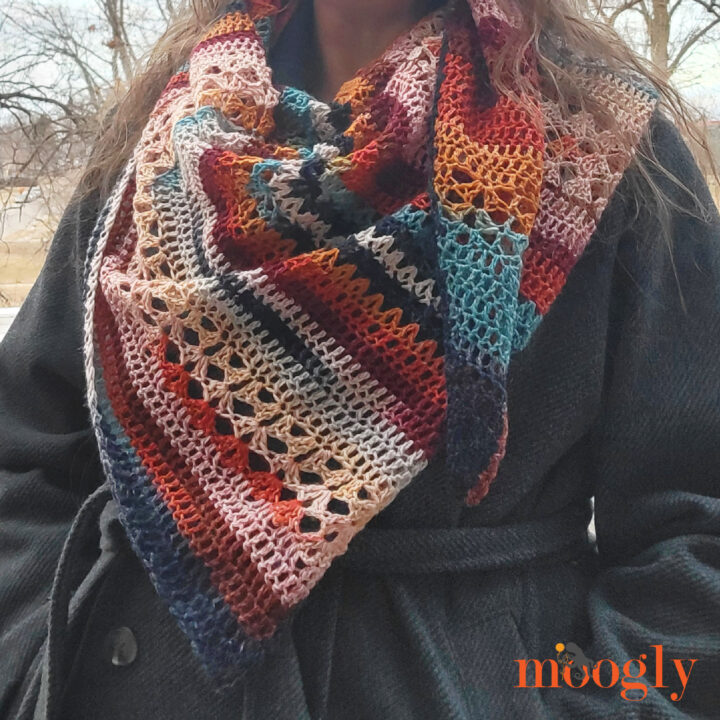
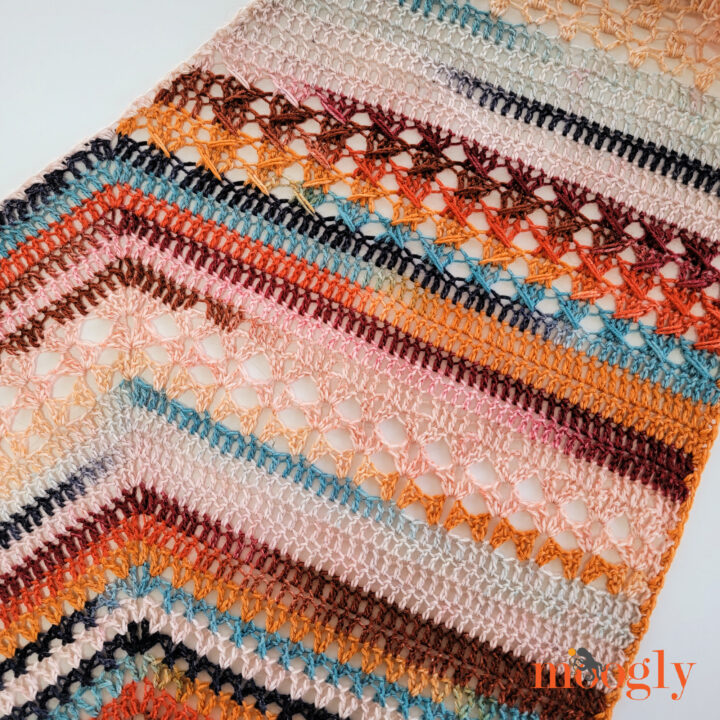
Worked from side to side, this asymmetrical triangular shawl keeps things interesting from the very first stitch. Instead of working from the top down or bottom up, we’ll build our shape gradually across, letting the stitches and color changes shine as the fabric flows outward. Just as the rows get long, it's time to start decreasing and race to the finish.
And because this is a sampler, each section introduces some new stitch patterns to keep you interested and motivated. The result is a beautifully textured shawl that feels cohesive, even as the stitches change along the way.

Each part builds directly on the last, so there is no sewing pieces together at the end. Just one continuous, satisfying project from start to finish.
New instructions will be posted right here on Moogly each week, so you can crochet at your own pace. Join in on release day or catch up when it fits your schedule. This CAL is designed to be flexible and fun - for weeks, and even years to come!
The Schedule:
March 9 - Part 1 of the Sideways Sampler Shawl written pattern
March 10 - Video Tutorial for Part 1 of the Sideways Sampler Shawl
March 16 - Part 2 of the Sideways Sampler Shawl written pattern
March 17 - Video Tutorial for Part 2 of the Sideways Sampler Shawl
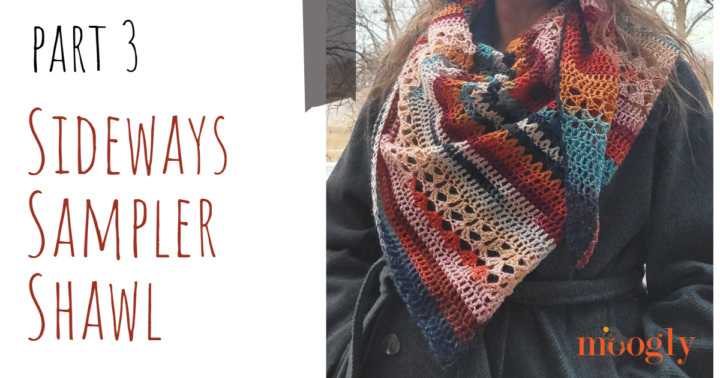
March 23 - THIS POST, Part 3 of the Sideways Sampler Shawl written pattern
March 24 - Video Tutorial for Part 3 of the Sideways Sampler Shawl
March 30 - Part 4 of the Sideways Sampler Shawl written pattern
March 31 - Video Tutorial for Part 4 of the Sideways Sampler Shawl
How to Join
Just make the pattern as we go - no need to sign up or do anything other than enjoy the CAL and stitch along with us! If you do share your projects online, I'd love it if you tag me @mooglyblog so I can see them too! ♥
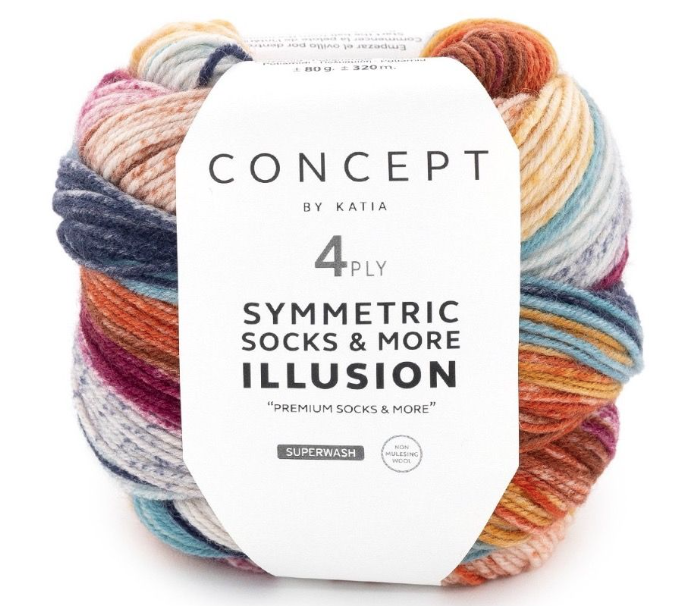
Made with Concept by Katia 4ply Symmetric Socks + More Illusion - or whatever you want!
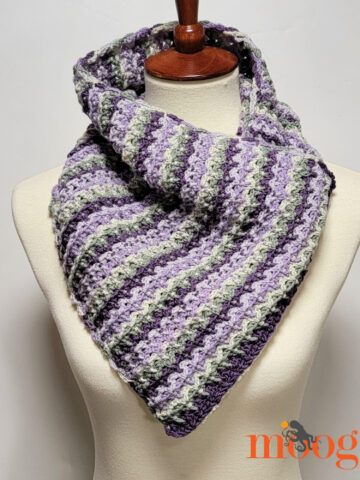
Katia was kind enough to send me two balls of Concept by Katia 4ply Symmetric Socks + More Illusion late last year, and I fell in love. I then spent the next several months, off and on, working on this shawl. The self-striping was super motivating, and the yarn was a joy to stitch.
And then other people discovered the yarn - and they promptly sold out. Luckily, there are lots of gorgeous substitutes you can use. If you've got 2 hanks of fingering or sport weight yarn in your stash, this just might be the pattern they were waiting for!
Why fingering or sport? Well, this yarn is European, and they list it as a Sport weight yarn. But then, if you look at the Ravelry listing for this yarn, it's a Fingering weight! Which is "correct"? Depends who you ask, I'm sure. The great thing is that this is a shawl, and if you hit gauge (or a bit larger) and like the fabric you're getting, it's all good!
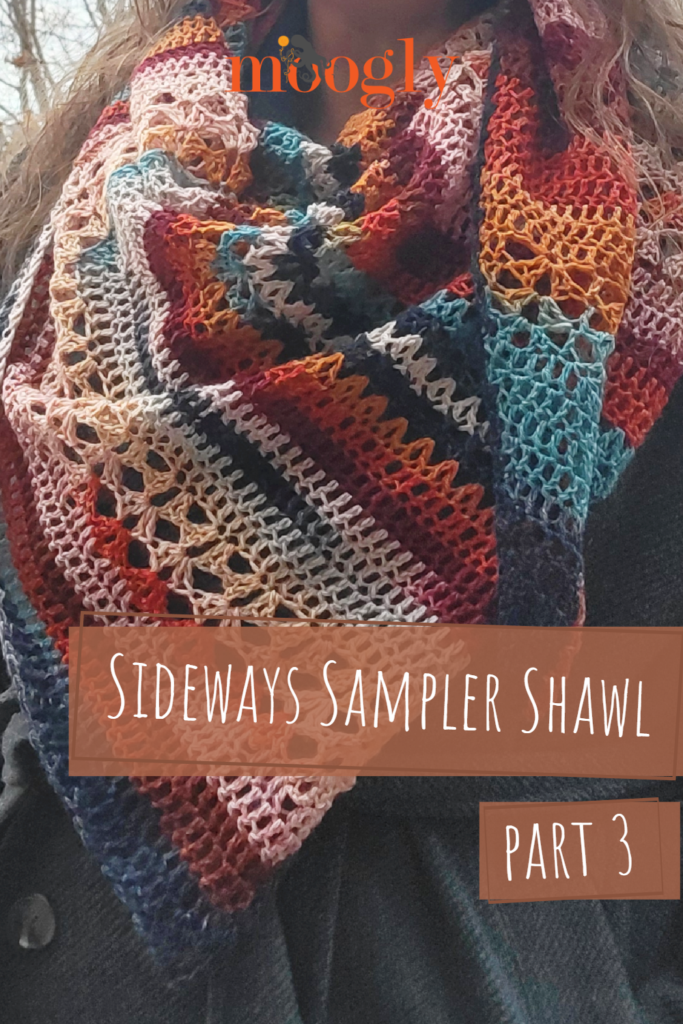
Sideways Sampler Shawl - Part 3
Add this pattern to your Ravelry Queue and Favorites
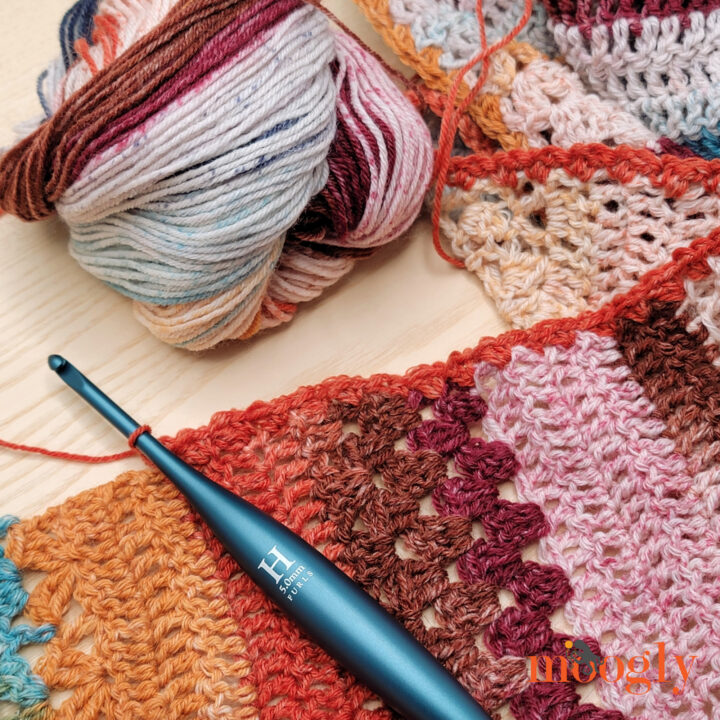
US - H, 5.0 mm - Furls Streamline
620 yds Concept by Katia 4ply Symmetric Socks + More Illusion (Superwash Wool 75%, Polyamide 25%; 320m/349yd; 80g/2 ⅘oz)
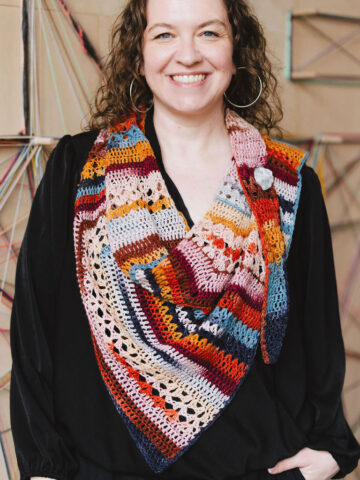
Colorway Shown: 72 - Blue-Ochre-Red-Rust (2 balls
Gauge: 13 dc = 4” blocked
Finished Size: 62" x 51" x 31"
Helpful Links and Tutorials:
Sideways Sampler Shawl Part 3 Tutorial - COMING TOMORROW
CSDC - Chainless Starting Double Crochet
Special Stitches and Abbreviations
Pm - place stitch marker in stitch or space just made
Puff - [yo, insert hook in indicated stitch, yo and pull up a loop] twice, yo and pull through all 5 loops on hook
Dpuff - [yo, insert hook in indicated stitch, yo and pull up a loop] 3 times, yo and pull through all 7 loops on hook
Tpuff - [yo, insert hook in indicated stitch, yo and pull up a loop] 4 times, yo and pull through all 9 loops on hook
Big V - (2 dc, ch 1, 2 dc) worked into the same st or ch sp
V - (dc, ch 1, dc) worked into the same st or ch sp
X - skip the next dc and ch-1, dc in the next dc, ch 1, dc in skipped dc working in front of the first dc
CSDC/dc2tog - Pull up a loop to the height of a dc st, secure the top of the loop to the top of the hook, yo with the loop itself, insert hook into first st of the row, yo and pull up a loop, yo and pull through the first 2 loops, yo and insert hook into next st, yo and pull up a loop, yo and pull through the first 2 loops, yo and pull through all 3 rem loops on hook. (Substitute: Ch 2, dc in the next st - ch 2 does not count as a st)
Wide V - (dc, ch 2, dc) into the same st or ch sp
Cluster - [yo and insert hook into indicated st or ch sp, yo and pull up a loop, yo and pull through 2 loops on hook] 3 times, yo and pull through all 4 loops on hook (aka, dc3tog with all posts worked in the same st or sp)
NOTES
Use a stitch marker in the “corner” increase stitch or space from Row 1 through Row 61 - (pm). This marked st or space is referred to as the corner in the subsequent row.
Do not fully close the magic circle until the Border is finished.
When working “between the previous and next st,” insert the hook between the post of the stitch just worked into or skipped, and the post of the next st in the previous row.
When making the border, not all rows end with dc stitches - in these sections, simply work evenly following the pattern to create a continuous line until you return to a dc section.
Sideways Sampler Shawl - Part 3 Instructions
Row 53: CSDC in first st, skip next st, [2 dc in next st, ch 2, 2 dc in next st, skip 2 sts] 11 times, (2 dc, ch 1 (pm), 2 dc) in corner, [skip 2 sts, 2 dc in next st, ch 2, 2 dc in next st] 11 times, skip next st, dc in last st; turn. (94 dc)
Row 54: CSDC in first st, [(2 dc, ch 2, 2 dc) in next ch-2 sp] 11 times, (3 dc, ch 1 (pm), 3 dc) in corner, [(2 dc, ch 2, 2 dc) in next ch-2 sp] 11 times, dc in last st; turn. (96 dc)
Row 55: CSDC in first st, [(2 dc, ch 2, 2 dc) in next ch-2 sp] 11 times, skip 4 sts, 2 dc in next st, (2 dc, ch 1 (pm), 2 dc) in corner, 2 dc in next st, [(2 dc, ch 2, 2 dc) in next ch-2 sp] 11 times, dc in last st; turn. (98 dc)
Rows 56 - 61: CSDC in first st, dc in each dc to corner, (dc, ch 1 (pm), dc) in corner, dc in each rem dc across; turn. (110 dc in Row 61)
Increases Finished - Begin Decreases (no more corners)
Row 62: CSDC in first st, [skip next st, dc in next 3 sts, dc in skipped st enclosing 3 dc just made] 13 times, skip next st, dc2tog in next st and corner; turn. (54 dc)
Row 63: CSDC/dc2tog, dc in next 3 sts, [skip next st, dc in next 3 sts, dc in skipped st enclosing 3 dc just made] 12 times, dc in last st; turn. (53 dc)
Row 64: CSDC in first st, [skip next st, dc in next 3 sts, dc in skipped st enclosing 3 dc just made] 12 times, dc in next 2 sts, dc2tog; turn. (52 dc)
Row 65: CSDC/dc2tog, dc in next st, [skip next st, dc in next 3 sts, dc in skipped st enclosing 3 dc just made] 12 times, dc in last st; turn. (51 dc)
Row 66: CSDC in first st, [skip next st, dc in next 3 sts, dc in skipped st enclosing 3 dc just made] 12 times, dc2tog; turn. (50 dc)
Row 67: CSDC/dc2tog, dc in each rem st across; turn. (49 dc)
Row 68: CSDC in first st, dc in each rem st until 2 sts rem, dc2tog; turn. (48 dc) Do not break yarn, just go to Part 4 (as soon as it's up)!
I hope you enjoy making Part 3 of the Sideways Sampler Shawl and are excited for Part 4! If you share on socials, I would love to see it, so be sure to share your photos and let me know how yours is coming along! You can always tag me @mooglyblog!
The Fine Print
Written pattern copyright Tamara Kelly 2026, all rights reserved. Please do not reprint or repost this pattern, but please do link to this page to share this pattern with others. If you wish to make items for sale from this pattern or translate it to another language, please visit the About page for details. Thank you to Katia for providing the yarn for this pattern.


Leave a Reply