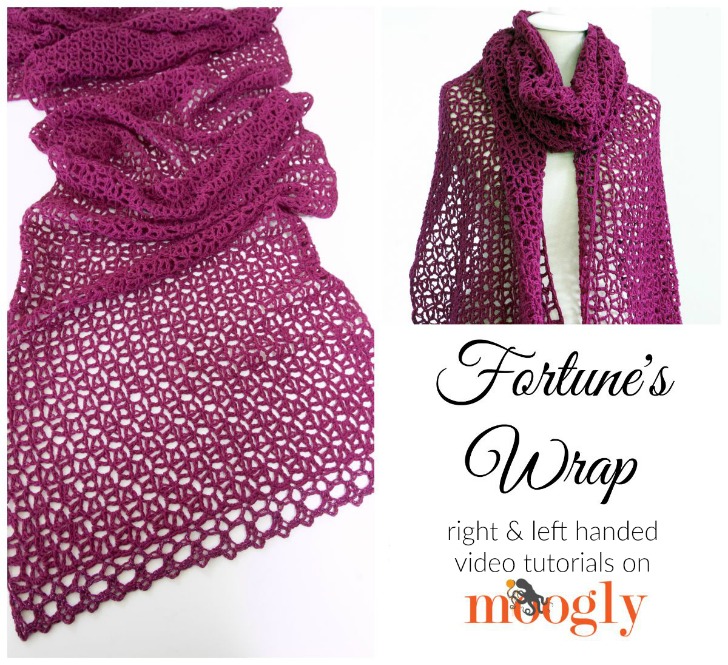
Fortune's Wrap is a corner to corner pattern with little twist that makes it light and lacy! If you aren't familiar with corner to corner (commonly abbreviated C2C) or diagonal box stitch patterns, then the way they come together can be a little confusing at first. The Fortune's Wrap Tutorial is here to help!
 Disclaimer: This post includes affiliate links.
But first, let's begin at the beginning. If you don't know how to get started with the Fortune's Wrap pattern, then CLICK HERE to go to the Fortune's Shawlette tutorial! Here you'll learn how to make the first 25 rows of the Fortune's Wrap pattern - just don't make the border yet!
Then come back here and learn how to creat the rectangular shape with decreases!
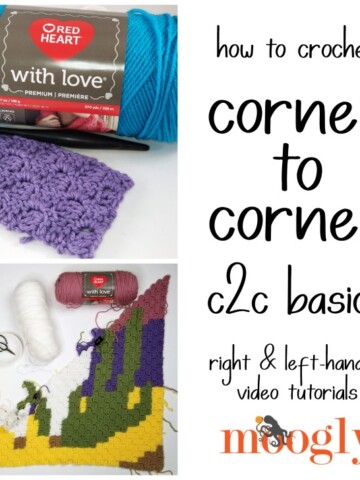
How to Crochet Fortune's Wrap Corner to Corner Decreases: Right Handed
How to Crochet Fortune's Wrap Corner to Corner Decreases: Left Handed
As Seen in This Video: (click for more info)
- Clover Amour US-K, 6.5mm hook
- Lion Brand Lion's Pride Woolspun
- Fortune's Wrap crochet pattern - FREE
Here's how the Corner to Corner patterns work:
1. You increase on both sides until you have the width you want - along either edge, they should be the same!
2. Then, you start decreasing on one side while continuing to increase on the other. It doesn't matter which is which, as long as it's consistent! Adding a stitch marker to one side to mark it as the increase side can be a big help.
3. Then, when you have the length you want along the longest side, you start decreasing on both sides, ending with just one block and a rectangle!
And that's it! I hope this crochet video tutorial helps you to understand not only the Fortune's Wrap crochet pattern, but also other corner to corner patterns! If you like the way I teach, be sure to check out my Increases and Decreases class on Craftsy:

Thanks so much for watching! Get Moogly on your favorite social media sites: Facebook, Twitter, G+, Pinterest, Instagram and Tumblr, and sign up for the free Newsletter so you don’t miss a thing! Thank you to Lion Brand and Clover USA for providing the materials for this tutorial.

Mandy says
Hi Tamara, I commented on the Fortune's lace scarf, but I want to make an infinity scarf using this pattern and Patton's lace yarn which is a light gossamer acrylic mohair. Do you have any suggestions on what size crochet hook I use and how many cast on stitches?
Tamara Kelly says
Hi Mandy!
I would use an H or I hook, and chain to whatever you want the width of the cowl to be - that's mostly personal preference. 🙂 If you are working in the round rather than sewing the ends together, then I'd chain the approximate length wanted, work the first row, and *then* join to work in the round, removing the extra stitches. Here's a tutorial for what I'm referencing: click here
Mandy says
Thanks Tamara for the great info and suggestions. I will be joining the ends of the scarf as I once tried to do it lengthwise and join but the piece kept getting tangled up and was hard to work. Seems to go much faster when I join the piece after it's done.
Tamara Kelly says
I hope it helps! 🙂
Sara says
Hi! I love this pattern! I've finished my first one and am now on the second. (gifts for Christmas) Do you use the same edging for the wrap that you use on the shawlette? My first edging came out a bit funny. Still looks good though! Thank you for sharing this!
Tamara Kelly says
Thank you Sara! 😀 I think the edging pattern on the wrap is a little easier, as it doesn't have to turn a corner! 🙂
Eva K Carvajal says
Thank you for your lovely patterns and free giveaways plus tutorials. Such a well put together blog.
Tamara Kelly says
Thank you so much!
Pisani Jennifer says
Hi, I have been stuck at row 26 and 27!for hours now, looking at your video doing then frogging b/c it doesn’t look right. I am fairly a beginner although I have made other items you have done with success. Is there any other advice or guidance would Ben greatly appreciated. Any chance you have video that gets us though rows 26-29 so we can see what it looks like better? Thank you in advance for any assistance.
Jennifer
Tamara Kelly says
Hi Jennifer!
Maybe this video will work better for you? https://www.youtube.com/watch?v=mQPVlaRE4Gw&t=4s
Lisa says
I wish you would go into more detail about the sc edging stitches. I put them where I thought they should go and spaced them evenly but I ended up with a lot more stitches than your numbers. Consequently my edging is ruffled almost. It looks ok but I am curious how you go about spacing to get the number of sc on the short sides that you say we should have.