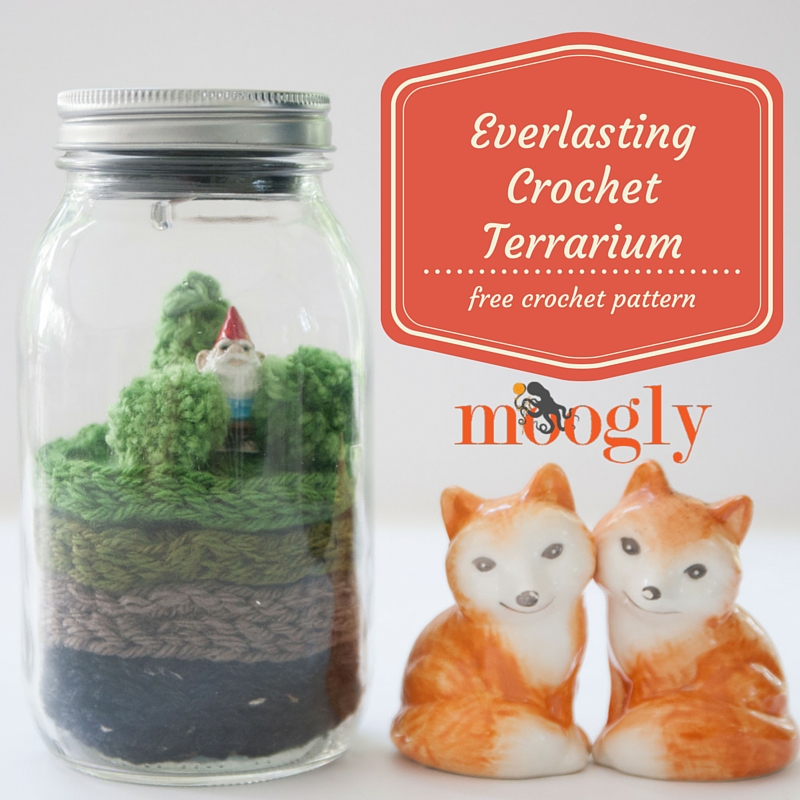
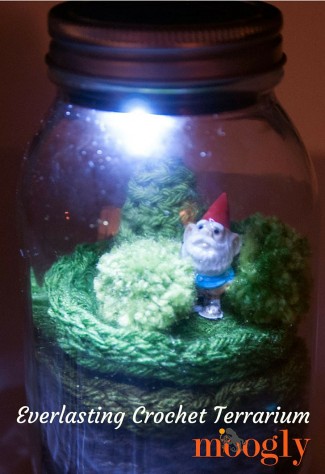
I love terrariums, and gnomes, and fairy gardens, and canning jar crafts... and I have a black thumb. I can grow a few edibles out on the deck, but keep actual house plants alive? Fuggedaboutit. And I know I'm not alone! So I've come up with a cute terrarium, right in a canning jar, no green thumb or pricey fairy "garden furniture" required - and it even lights up! Introducing the Everlasting Crochet Terrarium!
 Disclaimer: This post includes affiliate links.
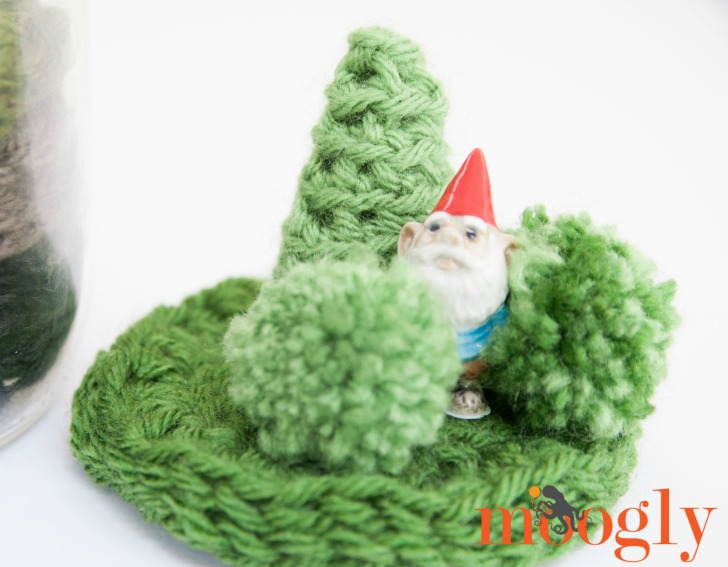
The Everlasting Crochet Terrarium is perfect for beginning crocheters, and is ready for your custom touches! While I was on a road trip earlier this summer I picked up a sweet little gnome figurine, and now he has a home.
Everlasting Crochet Terrarium
 Add this pattern to your Ravelry Queue and Favorites
- US-J, 6.0mm hook (Furls Fiberarts Recommended)
- 170 yds Lion Brand Vanna's Choice (100% acrylic; Aran/10 ply; 170 yds/155 m; 3.53 oz)
Color A: Obsidian - 50 yds
Color B: Taupe - 40 yds
Color C: Olive - 30 yds
Color D: Kelly Green - 30 yds
Color E: Fern - 20 yds - Quart Sized Canning Jar
- Solar LED Canning Jar Lid
- Optional: Clover PomPom Maker Set, Extra Small
- Optional: any figurines or other fun items you want to include
- Gauge: Large Circle should fit comfortably inside jar -adjust hook size as needed.
- Helpful Video Tutorials: Magic Circle; DC (double crochet); HDC (half double crochet); BLO (back loop only)
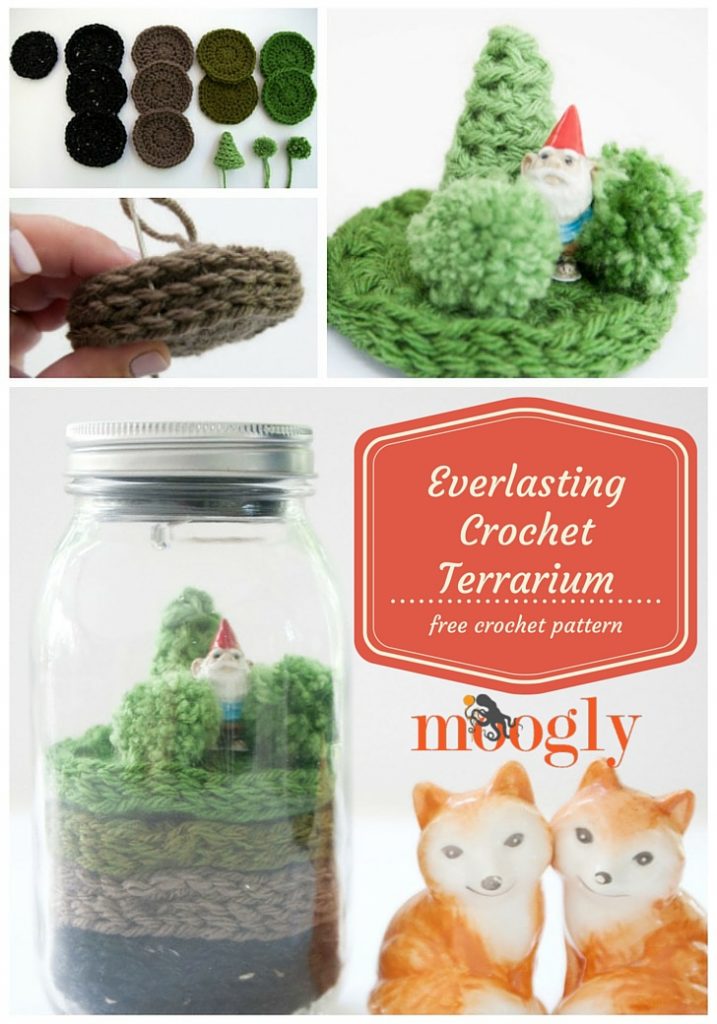
Small Circle Instructions
Make 1 with CA
Round 1: Make a magic circle, ch 2 (does not count as a st), 12 dc in the ring; join. (12 sts)
Round 2: Ch 2, 2 dc in each st around; join and break yarn. (24 sts)
Large Circle Instructions:
Make 3 with CA
Make 3 with CB
Make 2 with CC
Make 2 with CD
Round 1 and 2: Repeat Round 1-2 of Small Circle.
Round 3: Ch 1, hdc in the 1st 2 sts, 2 hdc in the next st, *hdc in the next 2 sts, 2 hdc in the next st; repeat from * around, join and break.

Evergreen Tree Instructions (optional)
Make as many as desired with CE (one shown)
Round 1: Make a magic circle, ch 1, 4 sc in the ring; do not join (worked in a spiral). (4 sts)
Round 2: Working in BLO, *sc in the next st, 2 sc in the next st; repeat from * around. (6 sts)
Round 3: Working in BLO, *2 sc in the next st, sc in the next 2 sts; repeat from * around. (8 sts)
Round 4: Working in BLO, *sc in the next 3 sts, 2 sc in the next st; repeat from * around. (10 sts)
Round 5: Working in BLO, *sc in the next 4 sts, 2 sc in the next st; repeat from * around. (12 sts)
Round 6: Working in BLO, *2 sc in the next st, sc in the next 5 sts; repeat from * around. (14 sts)
Round 7: Working in BLO, *sc in the next 6 sts, 2 sc in the next st; repeat from * around, break and finish off, leaving a long tail. (16 sts)
Moss Balls... aka PomPoms (optional)
Make as many desired (shown in ¾" size with CE and 1" size with CD and CE held together)
Follow the instructions for your PomPom maker, or whatever method you prefer. Leave 2 long tails.
Assembly Instructions
- Holding wrong sides together, use CA yarn and a yarn needle to sew small circle to one CA large circle. Do not sew over the edges or sew them so tightly so that the fabric puckers - just enough to hold them together.
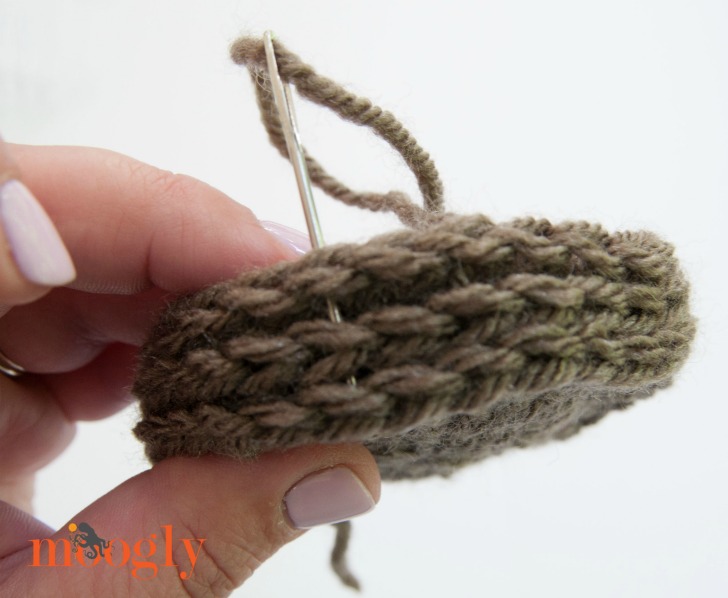
- Holding wrong sides together, sew other 2 large CA circles together. Repeat with all 3 CB circles (center circle it does not matter how it faces), and the 2 CC circles.
- Using the long tails, sew Evergreen Trees and Moss Balls to the right side of a CD circle, in the positions desired.

- Holding wrong sides together, sew CD circles together.
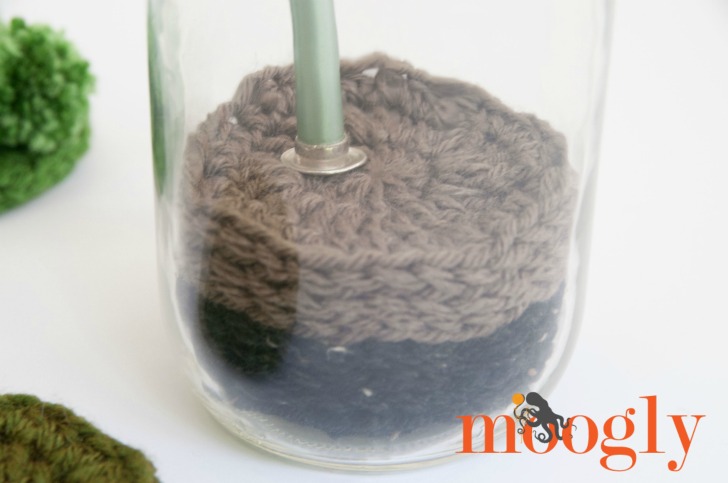
- Insert the sewn circles into the jar starting with the small/large CA circle, with the small circle facing down. Insert the other circles as desired, ending with the CD circle (trees facing up). TIP: Use a knitting needle, skewer, or chopsticks to help arrange and pat down the circles as you go.
- Add any other figurines or bits desired.
- Screw on the Solar LED jar lid (turning it on first if needed.)
And that's that! A terrarium that will never die, but will instead bring charm and whimsy and smiles to your table!
Of course, this pattern is ripe for customization! Change the circle numbers and colors, add other bits on top - I can't wait to see what you all do with it!
Written pattern copyright Tamara Kelly 2016, all rights reserved. Please do not reprint or repost this pattern, but please do link to this page to share this pattern with others. To print or download this pattern for personal use, please use the green Print Friendly button at the bottom of the pattern, or go to Print Friendly.com and paste in the URL of this post. If you wish to make items for sale from this pattern, or translate it to another language, please visit the About page for details. Thank you to Lion Brand Yarn for providing the yarn for this pattern!


Judi Paul
Tammara, I LOVE this pattern. I can't wait to make one. I love small projects, and this is just perfect! Thanks sooo much. Judi
Tamara Kelly
😀 Thank you so much Judi! I'm so glad to hear it!
Sharon
Oh! I love it so much. What a great idea. My imagination is on fire! ❤️
Tamara Kelly
😀 Thank you!! There are so many possibilities!
Alexis
This pattern is so cute, and I love the little layers of "dirt" in the jar! I can't wait to make it! 🙂
Tamara Kelly
😀 Thank you Alexis!
Erica
Wow! What a great idea. Thank you, Tamara!
Tamara Kelly
Thank you so much Erica!
Patty
So cute!! It will be perfect on my porch!! Thank-you!
Tamara Kelly
😀 Thank you!!
Renae Maxton
OMG! I love this idea! You have a great imagination!
Tamara Kelly
😀 Thank you so much Renae!
PAT
II LOVE THIS WHERE DO YOU GET THE SOLAR CANNING JAR LID
Linda
Pat, I just googled it because I have not seen these before. There are tons of them on Amazon and it looks like Michaels may sell them as well.
Tamara Kelly
Yes, I got mine at Michaels! 🙂
Tamara Kelly
Thank you Pat! I picked mine up at my local Michaels craft store! 🙂 I've also seen them on Amazon!
Debbei
So did you just buy the lid or the whole jar? Thanks!
Tamara Kelly
I bought a regular jar, and the lid was purchased separately. 🙂 I got both at Michaels Craft Store.
Debbie
Thanks I'll check them out!
Jen b
You make the best stuff!
Tamara Kelly
😀 Thank you so much Jen!
Debbie
This is the cutest thing ever! I'm looking to buy some little gnomes on-line, could you tell me how many inches tall your gnome is? Thanks!
Tamara Kelly
Hi Debbie! I'm traveling away from home right now, but as I recall it's about 1.5 inches tall!
Debbie
Thanks! Have fun in your travels ?
Dianne
Just found this... soo neat! 2 thoughts, I have a bunch of battery votives I think would work in the lid (use what is handy) and fairies would be awesome for nightlight for my girls! What a great project!
Tamara Kelly
Oh I love that Dianne!! What a fantastic idea! 😀 I'd love to see a photo when it's done!
Ashley J
The terrarium is awesome!
Where did you get the cute foxes??!! I want to make a terrarium with the cute little foxes!!
Tamara Kelly
😀 Thank you! I got them locally a couple years ago, but there are a few pairs on Amazon: http://amzn.to/2kTof4Y
ELIZABETH RIVERA
OMG This is the cutest. I love to collect Gnomes so I just love this version. It makes a funny gift also. So simple and yet so creative.
Tamara Kelly
😀 Thank you so much!
Twig
If you don't sew them together it seems all the large circles (minus top one which would be for whimsy) would work as coasters? Like, the terrarium is the whole set and then when you need coasters you can just take them out. I'm gonna do it like that. Will probably forget to report back tho =)
(also I really really love your patterns!)
Tamara Kelly
Oh my gosh you are brilliant! I love it!!! (And thank you!)