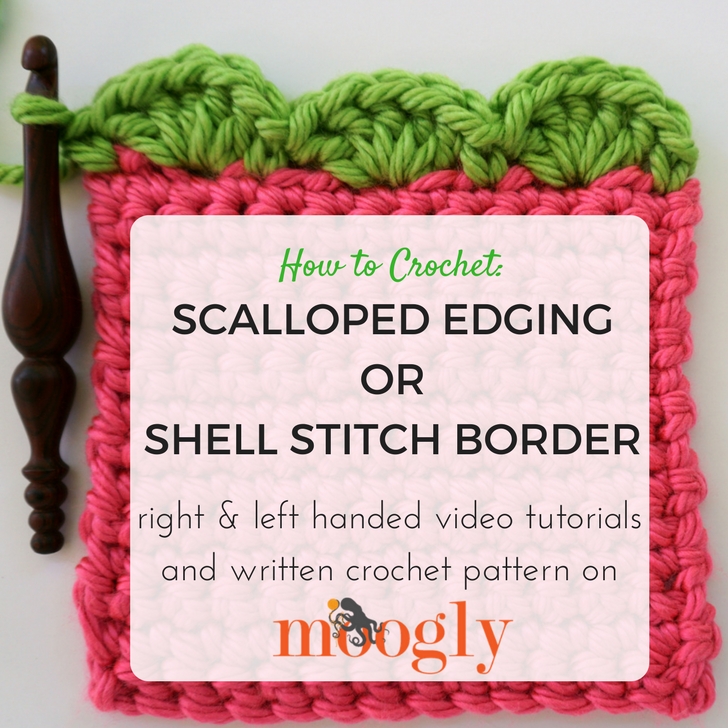
One of the very first edgings or borders I learned in crochet was the simple Scalloped Edging, or Shell Stitch Border. It's easy, feminine, and adds just the right touch to blankets, hats, little girl's dresses - the applications are endless!
 Disclaimer: This post includes affiliate links. Materials for this video were provided by Lion Brand and Furls.
How to Crochet: Scalloped Edging or Shell Stitch Border - Right Handed
How to Crochet: Scalloped Edging or Shell Stitch Border - Left Handed
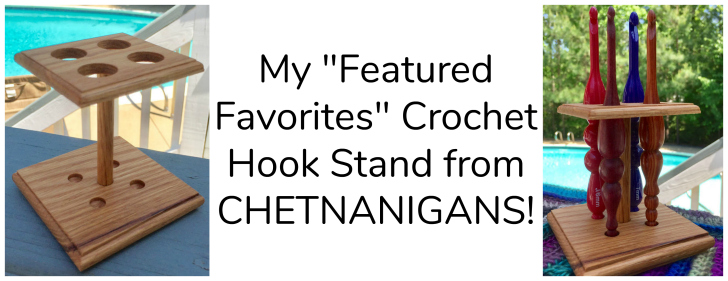
As Seen in this Video (click for more info)

Written Instructions for the Scalloped Edging or Shell Stitch Border
The stitch repeat in it's simplest form, as a multiple of 4, worked in the round: *sc in the next st, skip 1 st, 5 dc in the next st, skip 1 st; rep from * around.
The stitch repeat in it's simplest form, as a multiple of 4, +1, worked in a row: *sc in the next st, skip 1 st, 5 dc in the next st, skip 1 st; rep from * across, sc in the last st.
But what makes this border so great is how easy it is to adjust! Let's say you really need an edging that works with a multiple of 5, not 4. In that case, I'd skip 1 st on one side of the 5-dc shell, and skip 2 sts on the other side. Or I might work 2 sc sts instead of 1, spreading the shells out just a bit more.
Or you might need it to be a repeat of 6! To adjust this pattern for that scenario, work it as follows: *sc in the next st, skip 2 sts, 7 dc in the next st, skip 2 sts; rep from * (around, or across etc)
Do you see what I did there? Not only are we skipping 2 sts on each side of the shell, I've increased the shell itself to 7 dc sts, making it big enough to easily "cover" those 2 skipped stitches.
It's totally adjustable for any situation, and with the ideas above, hopefully, you can see how you'd "fudge" it when you get to a corner and the stitch count isn't just right - just skip an extra stitch, or skip one fewer! Add extra sts to the shell if needed, add an extra sc... it's a fun one to play with!
Now you can see just how versatile the crochet shell stitch border or scalloped edging pattern really is! It's so easy to "make it work" with this one, and you don't have to worry about memorizing some crazy pattern - you can get a lovely effect with the simplest stitches!
I hope you enjoy crocheting the Scalloped Edging or Shell Stitch Border, and add it to one of your projects! If you do, please share it with me on social media - I'd love to see what you've made!
Get Moogly on your favorite social media sites: Facebook, Twitter, G+, Pinterest, Instagram and Tumblr! And sign up for the free newsletter at the top of the page so you don’t miss a thing! Thank you to Lion Brand Yarn and Furls Crochet for providing the materials for this video.

Judi Paul says
Thanks,Tamara, your tutorial was very timely as I am planning to pout a scallop border around my G-Granddaughter's afghan and I was wondering just how I would do it. Judi
Tamara Kelly says
😀 I'm so glad to hear it! Thank you Judi!
Marie Sneed says
Thank you for your video with visual demonstrations. Appreciated your expertise on how create a crochet. Love it!
Tamara Kelly says
Thank you so much!
Jean Jones says
Just finishing up an afghan and had no idea what type of boarder to use. This will be perfect. Thank you!
Tamara Kelly says
😀 I'm so glad to hear it, thank you Jean!
Shehla | The Blue Elephants says
This is one of my favorite ways to make a simple design more feminine. It's so easy!
Tamara Kelly says
😀 I agree, thank you Shehla!
Gigi says
Thank you Tamara. I was trying to figure out a border for an afghan I just finished and since I have never done a border this is perfect!!!
Robyn says
Both videos are for right hand even though one is titled left hand. I'm a leftie!!! Was looking forward to a video that showed me how not to have my work "backwards" for once.
Tamara Kelly says
I'm sorry Robyn, the left handed video is playing the leftie version for me? I'm not sure what you're seeing.
Renee says
Thank you for sharing how to “fudge “ the scallop pattern to fit any size. Very helpful. Does it matter if you start on the right or wrong side of the project? Thank you
Tamara Kelly says
If you're only doing on round of the edging, or if the project has a definite right side, I'd do it from the Right Side so it shows on the same side as the project. 🙂
Trish says
Hi, this is very pretty and such a wonderful tutorial. When working a border, is there a trick to counting how many stitches you have along the side to determine how to choose how many shells one needs? I put a single crochet around first.
Tamara Kelly says
Thank you! There is a discussion of that above, in the written instructions. You can adjust it as needed to work with pretty much any number of stitches!