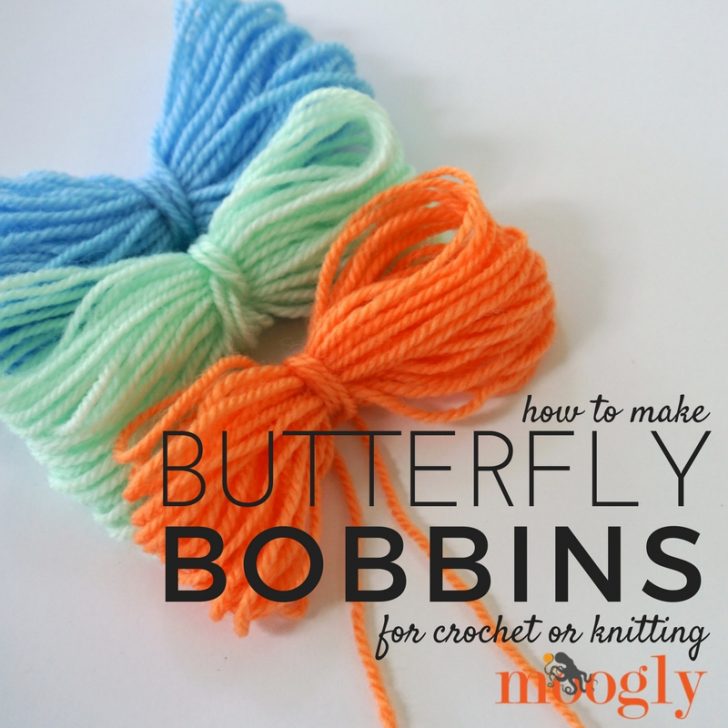
A few years ago I did a Make and Take at a fiber event taught by Laurinda Reddig of ReCrochetions - and she taught us how to make butterfly bobbins! That wasn't the point of her demo, but it is a skill that's come in handy on a variety of projects since - both crochet and knit! So here's how to make Butterfly Yarn Bobbins!
 Disclaimer: Lion Brand Yarn provided the materials for this video.
This post includes affiliate links.
There's not really a difference in making these right or left handed so there's just one video for this one. If you feel like you need a version just for lefties, please let me know and we can add it!
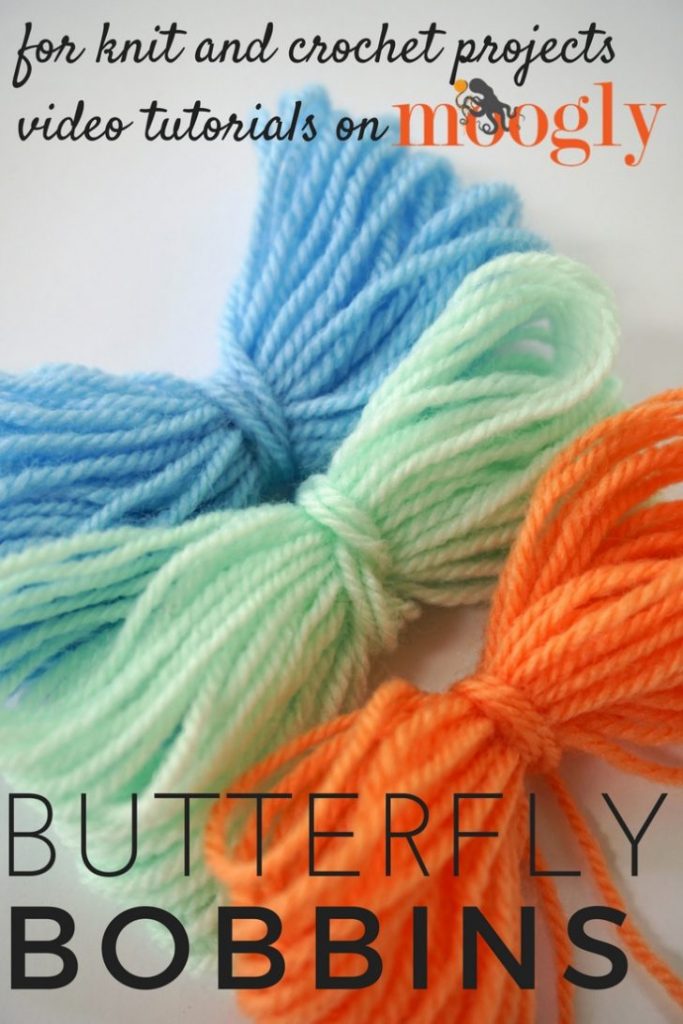
How to Make Butterfly Yarn Bobbins
Why Bobbins?
Now... why make yarn bobbins? There are two common scenarios:
1 - End of the Yarn: There are maybe a couple dozen yards of yarn left on your ball of yarn, and they are becoming a tangled mess! Putting them into a yarn bobbin keeps these last few yards tangle free and ready to use.
2 - Colorwork: This could be tapestry crochet, intarsia, corner 2 corner - any time you're using more than one color, with more than one of them "attached" to your work at once, bobbins help keep the yarn neat and tidy, and make crocheting or knitting with more than one color easier.
Bobbins are great for colorwork because they are much smaller than full-size skeins. Therefore, they much easier to move around and manipulate on the back of your work. And because they are so small and lightweight, you can keep them very close to the back of your work, minimizing their chances of getting tangled up with the other colors.
And bobbins are perfect for when you need to have 2+ sections of the same color that aren't connected, like when creating images. By creating yarn bobbins, you can use just what you need for each section instead of having to use two skeins - making your crochet more economical too!
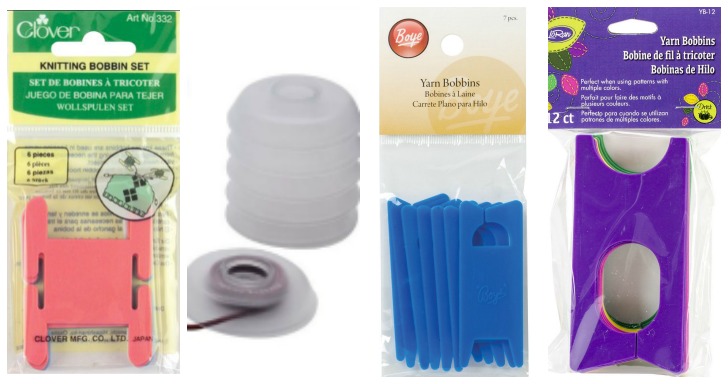
If you can't get the hang of the butterfly yarn bobbins, you can also use a small square of cardboard to wrap the yarn around, with a notch to secure it when it's not in use. And there are plastic bobbins in a variety of styles too, for those who prefer a sturdier but reusable option.
I hope this tutorial has helped make your next knit and crochet project easier! Thanks for watching! And be sure to Pin this tip for later!

Get Moogly on your favorite social media sites: Facebook, Twitter, G+, Pinterest, Instagram and Tumblr! And sign up for the free newsletter at the top of the page so you don’t miss a thing! Thank you to Lion Brand Yarn for providing the materials for this video.

Ren-in-AZ says
Brilliant! Thank you for sharing this helpful technique.
Tamara Kelly says
😀 Thank you so much, I'm so glad you enjoy it!
Darlene says
Never have I been so glad I can "Live long and prosper" with my hand! Yeah, a new technique I picked right up. Love it!!!
Tamara Kelly says
😀 I'm so glad you like it Darlene! Thank you!
Christine says
Great vid! Very nice and plainly explained and demonstrated. Thank you, T !
Tamara Kelly says
Thank you so much! 😀
Lyn Zalk says
WOW!!!! Thanx ~I've always wound my yarn leftovers in this manner but NEVER tied them off the way you have which is such a boon...... Now they are workable and this will be a game changer for those times not only wanting to do color-work, but for all of the times I make 'scrapghans, scarves or shawls!!!!!
Tamara Kelly says
I'm so glad you like it Lyn! 😀 Thank you!!
Katja says
Awesome sauce. Another great skill to put to use! Thank you for sharing!
Tamara Kelly says
😀 Thank you so much Katja!
Adrienne says
Perfect! I'm getting ready for Block 6, 2018 and I thought I knew how to do these, but no! Great video, as always. I appreciate the brevity, you don't make a 30 minute video for 3 minutes of needed instruction.
georgiana Woods says
How much yarn do you place into the bobbin, enough to complete image that I'm creating on the afghan I am crocheting?
Tamara Kelly says
While that would be most convenient, it depends how much you'll need - you want to keep it a manageable size, but make it big enough it doesn't fall apart either. It's usually a learning curve for each project. 🙂
Pat says
PatWgreat idea will try