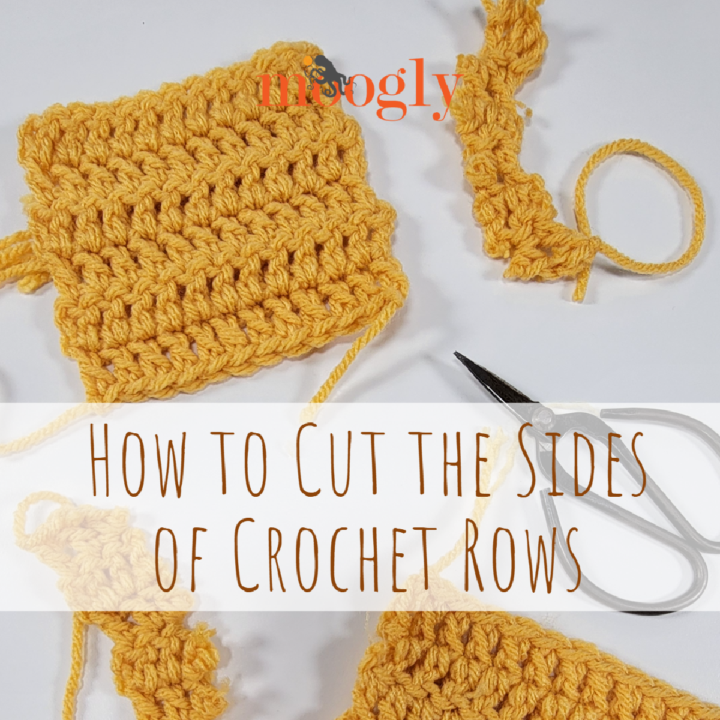
Sometimes a crochet project needs a little surgery! Previously, I covered how to remove the beginning rows of crochet, but that led to the next question - how do we remove the ends of rows, or the side of our work? When your piece is just too wide, and for whatever reason (we don't judge!), frogging and re-crocheting isn't an option, then it is absolutely possible to cut the sides of crochet rows safely. It sounds scary, but it doesn't have to be! In this video tutorial, I’ll walk you through exactly how to cut the sides of crochet rows step by step, so you can confidently modify your crochet projects and save your hard work.
Disclaimer: This post includes affiliate links.
Can You Really Cut Crochet Fabric?
Usually, cutting your crochet stitches is the last thing you want to do! I've snipped the wrong strand before - and know the heartbreak. But when done intentionally, it can open up possibilities you might not have considered before!
Normally, reworking stitches is preferable. But not always! You might need to do a repair on a gift, be up against a deadline, or just not have the heart to redo that section one more time. You can use this to get creative, removing specific stitches to create special effects! I do recommend that you try it out on a scrap swatch before trying it on your precious project. Knowing how crochet fabric behaves when cut can open up all sorts of possibilities for fixes, alterations, and creativity!
When You Might Need to Cut the Side of a Crochet Row
There are several situations where cutting crochet rows can come in handy:
- Removing extra width from a project
- Correcting shaping mistakes
- Creating openings or slits in crochet fabric
- Fixing damaged stitches
- Removing a section without frogging the entire project
While this is definitely an advanced crochet technique, it can save hours of work and help rescue projects that might otherwise be abandoned.
How to Cut the Sides of Crochet Rows:
The Supplies Used In This Video:
Final Tips for Cutting and Removing Crochet Rows Successfully
- Before making your first cut, take a little extra time to examine the stitch structure and plan your approach. Understanding the direction the stitches will unravel is the key to controlling the process. Again, it's a great idea to practice on a small swatch before trying this technique on a large or important project.
- Different yarn fibers and stitch patterns can behave differently when cut. Tighter stitches and textured fabrics may respond differently than open stitch patterns or slippery yarns. I recommend working with your project supported on a table, with good lighting.
- Be sure to use your stitch markers to secure loops as they appear, and give yourself a little extra room when you make that cut - you can always unravel more!
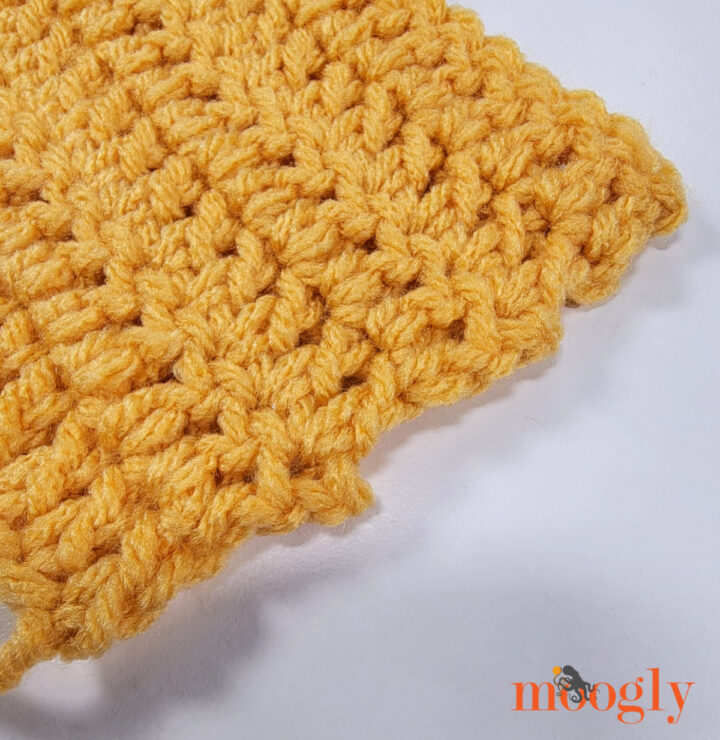
- And lastly, remember that this works best when a final border or seaming will be done along the "surgery edge" to hide any the evidence!
I hope you enjoy this tutorial Cutting into the Sides of Crochet Rows! If this video doesn't answer all your questions, please ask in the comments below - I'm always happy to help.
And here's a Pin for your Crochet Pinterest Board! Make sure you are following Moogly on Pinterest for all the best knit, crochet, and craft pins!

If you make use this tip or make any Moogly pattern, please tag me in your photos so I can see them too, @mooglyblog or #mooglyblog!
Get Moogly on your favorite social media sites: YouTube, Facebook, Pinterest, Tik Tok, Bluesky, and Instagram! And sign up for the free newsletter at the bottom of the page so you don’t miss a thing!


shoshana says
thank you, a wonderful idea