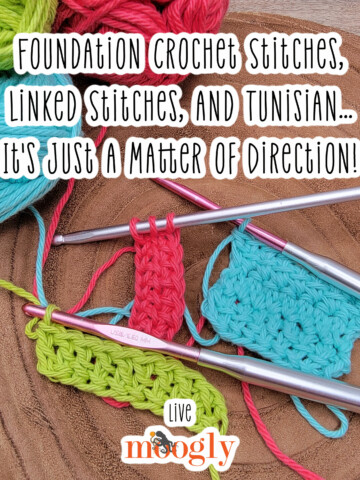
Tunisian Purl Stitch is the next basic Tunisian stitch on the agenda! Master this one and you'll by making all sorts of Tunisian patterns before you know it! If you've been following along with the Tunisian Simple Stitch and Knit Stitch tutorials, then you're ready to give the Tunisian Purl Stitch a try!

Just as in knitting, this purl stitch is worked with the yarn held in front of the fabric, rather than it's usual position behind the fabric. You can work purl, knit, and simple stitches in any combination to create unique and interesting patterns! And unlike the other Tunisian stitches, the Tunisian Purl Stitch doesn't curl, making it a great addition to other projects. Try adding a row of purl stitches to a simple stitch afghan or dishcloth and see how it flattens out! It's a little fiddly to master, but with practice it's a great addition to your skills.
Video Tutorial for the Tunisian Purl Stitch

Written Instructions for the Tunisian Purl Stitch
The Tunisian Purl Stitch can be worked over any number of stitches, at any point in a pattern. In this example I started with the standard Foundation or Base Rows, and then made several rows of Purl sts already.
As with other Tunisian sts, the hook left on the hook at the end of a return pass is the first st of the next row. So moving to the second vertical st of the row, hold the yarn in front of your sts and insert the hook from right to left as if to work a Simple Stitch. Pull the yarn to the back of the hook from underneath, and wrap over the hook to yarn over. Pull through the vertical bar, and leave loop on hook. Repeat this on each vertical bar to the end of the row, working a Tunisian Simple Stitch into the last stitch if desired - it gives a cleaner edge, particularly if you're sewing pieces together!


The return pass of Tunisian Purl Stitch is worked exactly as it is for both the Simple Stitch and the Knit Stitch. Yo and pull up a st through the first loop, then yo and pull through two, yo and pull through two, etc to the end of the row. The last loop left on the hook is the first st of the next row!

And that's really all there is to the Tunisian Purl Stitch! Now you can make Tunisian ribbing and Tunisian basketweave - just alternate purls and knit stitches! I know the hand position  on the Purl Stitch is a little awkward, but experiment and find what works for you - as long as you get the stitch itself, the rest is just what works best and is most comfortable for you!
Be sure to check out and like the moogly Facebook page to get the latest updates, links, and sneak peeks. Moogly is also on Pinterest, Twitter, Tumblr, Sulia, and Google+ – come join the fun! You can contact me via the Facebook page or at TamaraKelly@mooglyblog.com.

Virginia Rowland
I enjoyed your tutorial on the Tunisian purl stitch. Looking forward to more tips from you.
Tamara Kelly
Thank you Virginia!
Virginia Rowland
Tamara on your groovy-ghan afghan is like the Apache Tears afghan. You have more space between the dc. Which I like better. I have the Apache Tears pattern and yours looks better. Thought I'd let you know.
The only difference is; the Apache has Tr instead of dc.
I got the pattern off the internet.
Virginia
Tamara Kelly
I thought they were rather similar! I didn't write either one myself - it's a very old pattern I think. Great that there are different versions to keep it going!
Virginia Rowland
I still like yours the best. I'm glad you took the time to work it up. I've made patterns from a picture. I'm working on the Tunisian Purl to see how it comes out. I could probably make a headband with that pattern.
Thank you again