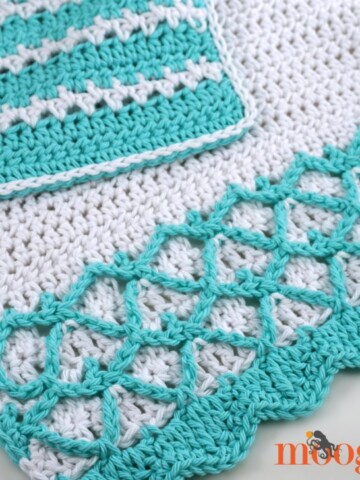
Previously on Moogly, I shared a video tutorial for the Picot Single Crochet (PSC) stitch, and the Granule Stitch pattern. That inspired a reader request for a bath mitt to compete the Pampering Bath items already available - and the Pampering Picots Bath Mitt was born!
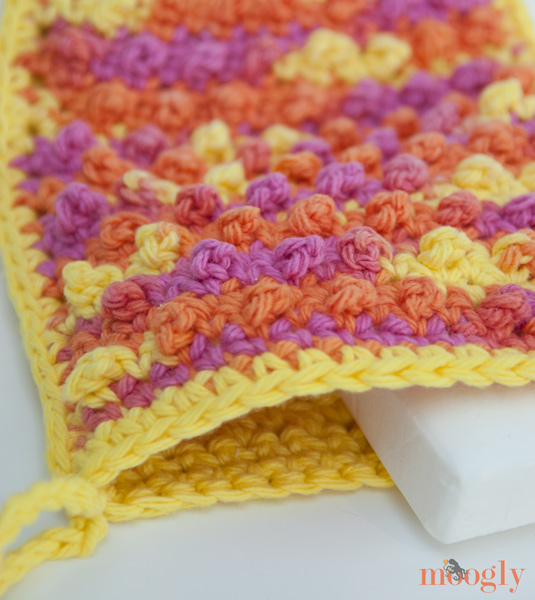

This is a fantastic beginner pattern (also perfect for a week when I'm swamped with middle child's birthday preparations)! If you can sc and dc, you can make this bath mitt! The PSC stitch is super easy, as the video tutorial shows, but it gives an amazing texture. The Pampering Picots Bath Mitt is a wonderful pattern for new crocheters to make for holiday gifting!
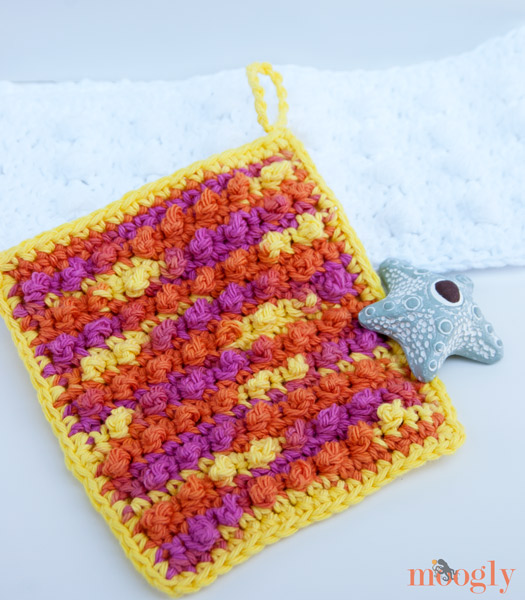
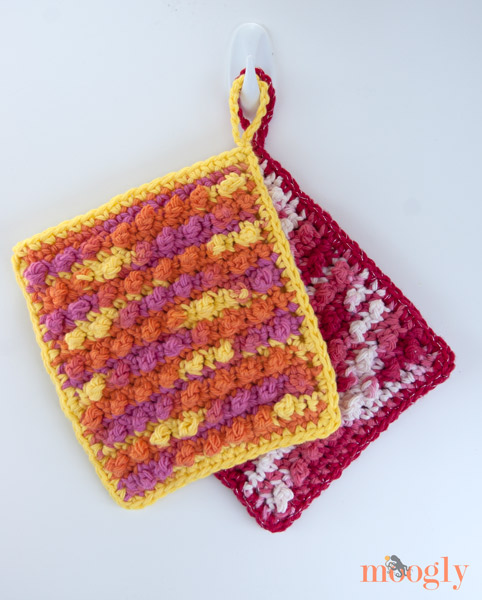
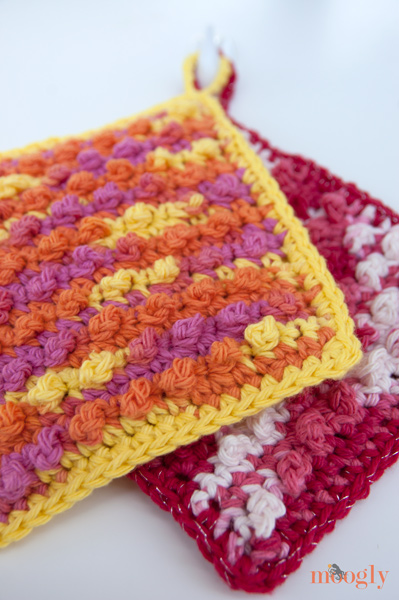
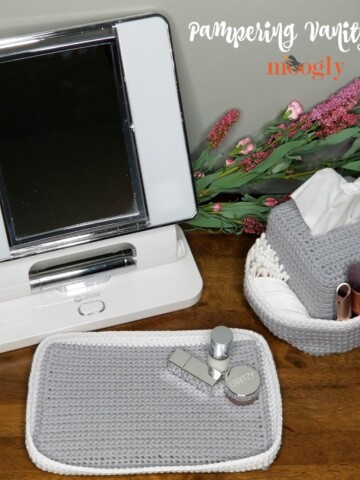
The loop is optional, and the colors are up to you - there are lots of great yarns that will work, but anything made of cotton, linen, or even bamboo would be lovely! The bath mitt is made in two pieces that are worked flat and then crocheted together - mix and match the pieces for a custom mitt!
Pampering Picots Crochet Bath Mitt
Add this pattern to your Ravelry Queue and Favorites
- US - I, 5.50mm hook
- 70 yds total (1.4 oz) Worsted Weight cotton (Recommended: Lily Sugar'n Cream)
- yarn/tapestry needle
- Click for Tutorials: sc, dc, psc/granule st, working into the edge
Instructions for the Picot Single Crochet side:
(see tutorial page linked above for photos and video!)
Row 1: Ch 18, sc in the 2nd ch from the hook and each remaining ch across. Turn. (17 sts)
Row 2: Ch1, sc in the 1st st. *Psc in the next st, sc in the next st. Repeat from * to end. Turn. (17 sts)
Row 3: Ch 1, sc in each st to end. Turn. (17 sts)
Row 4: Ch 1, sc in the first 2 sts. *Psc in the next st, sc in the next st. Repeat from * until 1 st remains. Sc in the last st. Turn. (17 sts)
Row 5: Repeat Row 3.
Rows 6 - 21: Repeat Rows 2 - 5 four more times. Break yarn and use the needle to weave in ends.
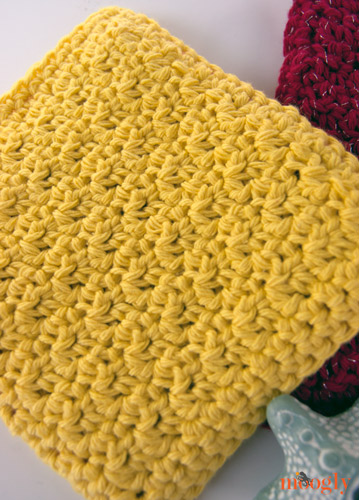
Instructions for the Flat/Back side:
Row 1: Ch 18, sc in the 2nd ch from the hook and each remaining ch across. Turn. (17 sts)
Row 2: Ch 2, dc in the 1st st. *Sc in the next st, dc in the next st. Repeat from * to end. Turn. (17 sts)
Row 3: Ch 1, sc in the 1st st. *Dc in the next st, sc in the next st. Repeat from * to end. Turn. (17 sts)
Rows 4 - 15: Repeat Rows 2 - 3 six more times.
Row 16: Ch 1, sc in each st across. (17 sts) Break yarn and weave in ends.
How to Assemble the Pampering Picots Bath Mitt:
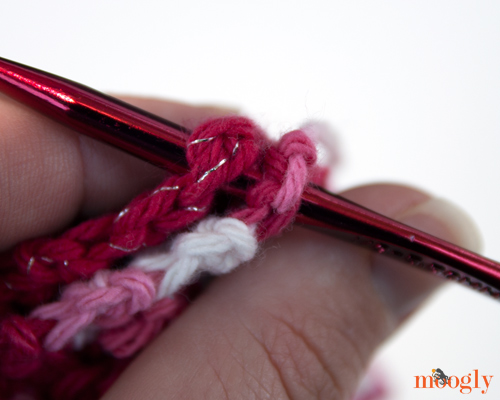
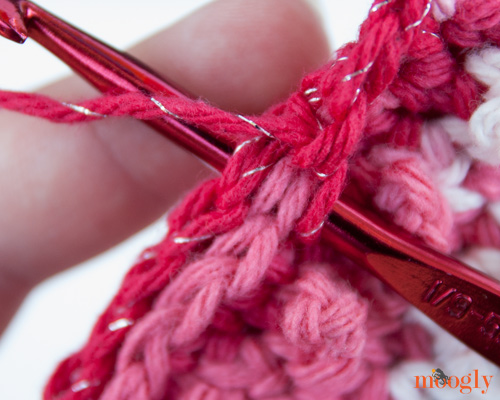
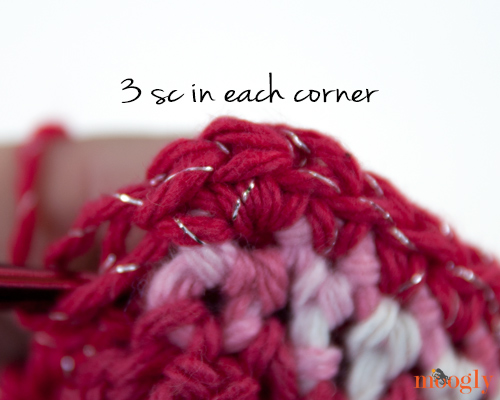
- Crochet the Sides and 1 End Together: Hold the Picot and Flat pieces together, wrong sides together, so the picots face you. Insert your hook through both layers on one side, as shown below. Work sc stitches, going through both layers with each stitch, along one side, across one end, and down the other side. Work 3 sc into each corner.
- Crochet around the opening: Ch 1 and sc along the side facing you - just the one side, this is working around the opening of the mitt. Keep crocheting around the opening, along the back piece until you've crocheted all the way around the opening of the mitt. Sl st in the first sc of the opening, and ch 15 (or to length desired) for the hanging loop. Break the yarn and use the needle to sew the end of the loop to the last sc st.
And that's it! You've made a bath mitt! For experienced crocheters, this pattern will be a breeze, and for new crocheters it's a great skill builder - and a fun gift idea for the holidays! I hope you've enjoyed the pattern for the Pampering Picots Bath Mitt - tell me what you think in the comments!
The Fine Print
Written pattern copyright Tamara Kelly 2013. Please do not reprint or repost this pattern, but please do link to this page to share this pattern with others. If you wish to make items for sale from this pattern, please visit the About page for details. TamaraKelly@mooglyblog.com.


Romy Williams
Absolutely love, love, love this! Just watched the tutorial and it's so easy. Will make several for upcoming birthdays and for Christmas gifts. Thanks, Tamera, for sharing your wonderful creativity with us!
Tamara Kelly
Thanks so much Romy! I'm so glad you like it!
Penny
I love this! And you always pick the nicest yarn colors. I'm gonna make 1 or 10 of these 🙂
Tamara Kelly
😀 Thanks Penny!
Kara
Great idea! And love the bright, happy colors 🙂
Tamara Kelly
Thank you Kara!
Karla Hartzell
What is the finished size of this little cutie??
Tamara Kelly
Oops, meant to add that to the pattern! Approximately 5.5" wide x 6" long. If you want it longer, just add more rows. 🙂
Romy Williams
I made one this evening and it turned out great! I also made the hanging loop to fit over my thumb which is perfect to keep it from sliding around on my hand. Can't wait to use it!
Tamara Kelly
😀 I'm so happy to hear it!
Vicki
Funny thing, though I haven't checked in a day or 2, I was thinking about trying to work this up as a bath mitt myself--hadn't gotten to the point of leaving off the thumb--silly work responsibilities interfere with my mental meanderings sometimes...I will make this, most definitely!
olivia
ooh, love!!!!!
Virginia Rowland
Pampering Bath Mitt. I made the front and back,and when I crocheted the two sides together,I decided to make a purse out of it by chaining 100 and crocheting in the bump on the back of the chain, it made a perfect strap for the purse. Enjoyed doing the Psc stitch. Enjoy your site so much... Virginia
Tamara Kelly
Fun idea Virginia! Thanks so much!
Paul Richards
LOVE! This pattern! So I was wondering if at all possible if you would be able to post pictures of the end product. I completed the pattern but for some reason mine did not look like yours. lol My two pieces separetly match the pattern but when i put them together they didn't match up... PLEASE! HELP! lol
Tamara Kelly
There are a couple pictures of the finished ones in the post. They should be the same size, but you can add/subtract rows to make it work with your own tension levels. 🙂
Paul Richards
But was it me or do the rows on the pattern not add up?
Tamara Kelly
The sides have different row counts because the stitches create different row heights. So tension here can have significant effect, so you may need to add/subtract. 🙂
Sarah
I made 3 of these for my kids and they LOVE them! Now to make them as gifts! Thank you! 🙂
Tamara Kelly
😀 Fantastic! Thank you Sarah!