The Happy Autumn Leaves crochet pattern is a great way to perk up your home for Fall! You can use any yarn and the hook to match, felt it, hang it, clean with it, you name it! And it's made with pretty simple stitches... except for the first round of edging, which puts our tall stitches skills to work! So here's a video tutorial to show how it's done!
 Disclaimer: This post includes affiliate links.
Happy Autumn Leaves Edging Tutorial
As seen in the video (click each for details!):
- US – H, 5.0 mm hook (Furls Fiberarts Tulipwood)
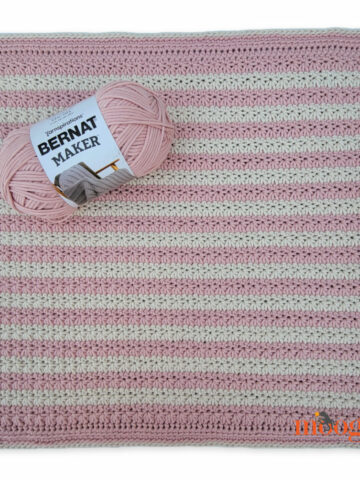
- 40 yds worsted weight yarn (Bernat Handicrafter)
- 8 stitch markers (Clover Lock Ring Markers)
- Happy Autumn Leaves crochet pattern
In this video, I demonstrate how to work the long stitches in Edging Round 1 for the Happy Autumn Leaves. In the pattern, I include this graphic:
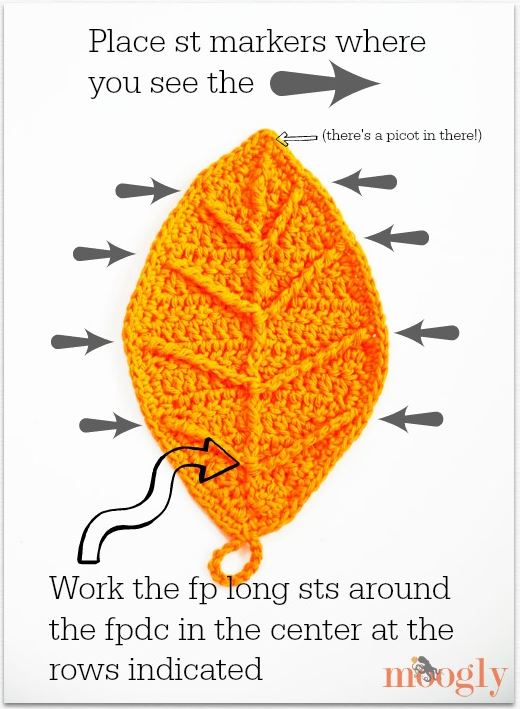
And in the video, you can see the stitch markers in place! The nice thing here is that the stitch markers mark where you start the long stitches - and for all except the first and last, where you attach them! So don't be afraid to crochet right over them and take them out once you've finished the round.
More info on Tall Stitches can be found on the Tall Stitches Video Tutorial, and in the pattern (as well as below) I've linked that tutorial for easy reference. I've written the instructions for Edging Round 1 in standard format (but broken into lines to be easier to read) in the full length pattern, and I'm going to write out the long stitches even more simply here:
Marker 1: fpQuadTr around Row 14;
Marker 2: fpQuinTr around Row 11;
Marker 3: fpQuadTr around Row 8;
Marker 4: fpDtr around Row 5;
Marker 5: fpDtr around Row 5;
Marker 6: fpQuadTr around Row 8;
Marker 7: fpQuinTr around Row 11;
Marker 8: fpQuadTr around Row 14;
Do you see the pattern? Don't forget the picot at the top, and sc evenly around between markers, and you'll be all set. Then work Edging Round 2 - just a simple sc all around, with 3 sc in the picot at the top and ch loop at the bottom. And done! If the leaf is trying to curl up in a boat, wet blocking or some steam should relax it right down flat.
I hope this video tutorial has helped you make the Happy Autumn Leaves! Thanks so much for watching, and don't forget to subscribe, like, and follow Moogly on all your favorite social media sites! See the top of the page for all the links!


Britney
No matter what I do the tension on the stitch is too tight yet the yo are loose and uneven like the working loop ? gahh i give up!
Tamara Kelly
I'm sorry you're having trouble Britney! Those super tall stitches aren't easy.
Amanda
I did the FPDC and BPDC perfect and mine you can hardly see, It does look like a line up the middle :/
Tamara Kelly
Oh dear! How strange. Can you tell me what kind of yarn you used?
Kymm
Is there a video for making just the leaves?
Tamara Kelly
Hi Kymm! For the leaves there is the written pattern: https://www.mooglyblog.com/happy-autumn-leaves/
H S Yusuf-Hassan
Helllo what does the Leaf meaasure?
Tamara Kelly
Hello! That info is included in the written pattern: https://www.mooglyblog.com/happy-autumn-leaves/ 🙂