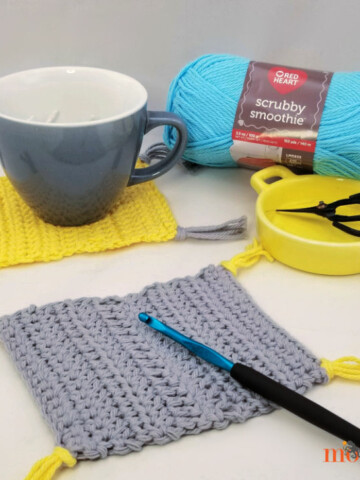
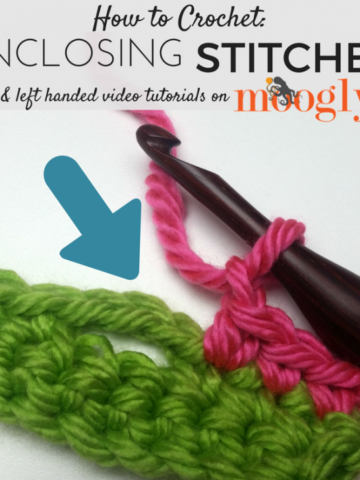
Another video tutorial for beginner crocheters! This one shows you what to do when a pattern says to crochet in the front loop only or the back loop only - commonly abbreviated as flo and blo.
How to Crochet in the Front Loop Only and Back Loop Only: Right Handed Version
How to Crochet in the Front Loop Only and Back Loop Only: Left Handed Version
The front loop and the back loop are always relative to you as the crocheter. Whichever one is closest to you is the front loop, and the one furthest away is the back loop. If you flip your work over to work back the other way, the front loop becomes the back loop, and vice versa! Easy Peasy!

Did you find this video helpful? What other stitch videos would you like to see? Let me know in the comments!
 Be sure to like moogly on facebook for fun links, sneak peeks, and to get all the latest moogly updates!


Laura
Hi!
A question about the magic circle.....I've been working on a hat pattern for my son that calls for a magic circle. It tried my hand at "adapting" the pattern because the sizing was too small for his head. I used the magic circle to start with and dc about 44 dc's into it. When I pulled it closed, it didn't seem to close all the way. Would you have any recommendations on a better way to do something like that with so many stitches? Would you have any ideas for a hat with a brim for a little boy? The book that this pattern is out of is somewhat confusing, but I am determined to finish!
Thank you for all the fun patterns and inspiration that you put on your blog!
Laura
moogly
I don't think you'll be able to close up 44 dcs - they just take up too much space! That's a lot of stitches to start with - most hats that's I've seen made with dc start with up to 12sts. I've never heard of one starting with so many, unless it's worked from the brim up (which would negate the need for a magic circle, of course). My recommendation for up-sizing would be to start with the number of sts that the pattern calls for and then to add more increase rounds (to add circumference) before starting the "sides" of the hat. Then, if needed, add more rows on the sides to create the needed length.
I haven't made a brimmed hat in a while, but this one is really popular right now, with lots of projects, and it seems like a clearly written pattern just reading it over: http://vallieskids.blogspot.com/2009/06/meagan-wants-you.html
Thanks for reading Laura! Good luck with your hat!
Debbie
Oh hooray! This shows me what I was doing wrong on a hat I've been working on! I'm going to pull my brim apart now and re-do it. Thank you for this!
Tamara Kelly
😀 You're welcome!
Melanie G
Your videos are really good...at a very good moderate speed and your voice is easily heard and understood. Thank you for sharing your talents.
Tamara Kelly
Thank you Melanie!
Paulette Wood
Thanks for this video, it really helped me alot.
Tamara Kelly
😀 Thank you Paulette, I'm so glad!
Diane Amunds
When the pattern reads "working into the 33rd loop for each stitch of the round" how do I know if it's front or back loop and is it front or back all the way through or does it alternate?
Thanks
Diane
Tamara Kelly
Hi Diane! I'm not sure where to find a 33rd loop, so I'm guessing you meant 3rd loop. 🙂 The third loop is different from the front or back loop - here's a tutorial on that one: https://www.mooglyblog.com/third-loop-half-double-crochet/
Jayne Warren
Hi, have only just discovered your webpage - what a godsend, so easy to follow for beginners like me - just wanted to say ‘thank you’ xx
Tamara Kelly
Thank you so much Jayne! ♥