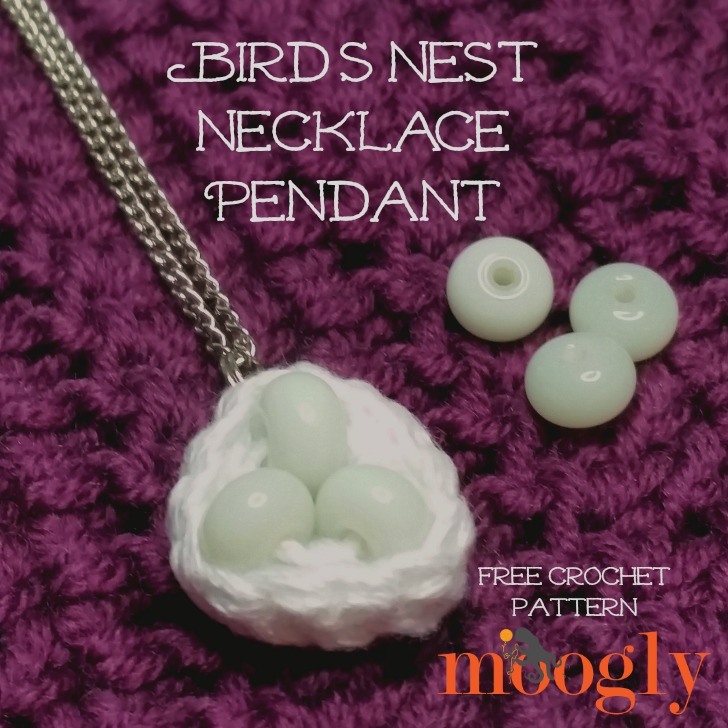
I love sentimental jewelry. And I love pretty beads, and recycling, and crochet. And this week, I had a lot of fun combining all 3 - and creating the Bird's Nest Necklace Pendant!
 Disclaimer: This post includes affiliate links.
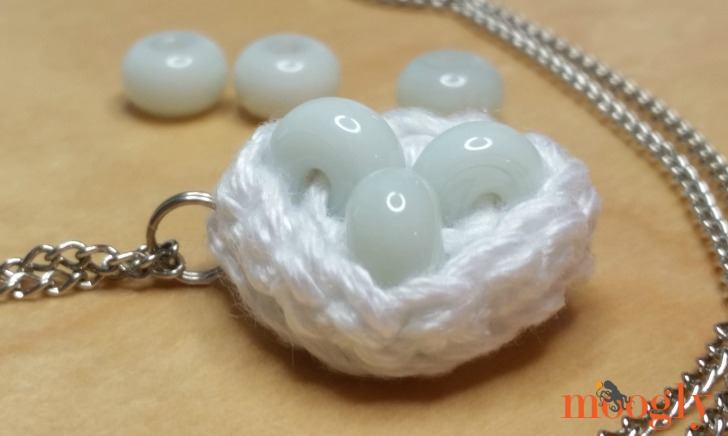
This project was inspired by some gorgeous beads from Harvey at The Big Purple Barn! He specializes in recycled lampwork beads, and he sent me some absolutely beautiful beads made from a vintage Jim Beam Bottle! They are a delicate creamy blue-green - I don't know if my photos do them justice! But they were reminded me a bit of little eggs, in need of a nest.
I've seen the handmade wire and bead bird's nest necklaces - but I wanted to do one in crochet! With 3 of these lovely beads, to represent my own little birdies, who've flown off to school once again. The free Bird's Nest Necklace Pendant is the perfect quick make on a quiet afternoon!

Bird's Nest Necklace Pendant
Add this pattern to your Ravelry Queue and Favorites
- US - D, 3.25mm hook - Furls Odyssey hook used
- 5 yds Lion Brand 24/7 Cotton (100% cotton; Worsted/10 ply/”4″; 186 yds/170 m; 100 grams/3.53 oz) - White used
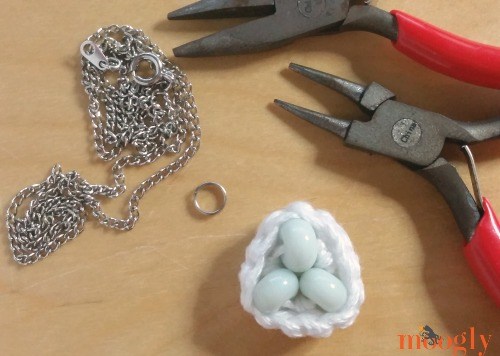
- Beads - 3 beads from The Big Purple Barn Salvage Glass Beads used
- 1 Jump Ring or Split Ring - Split Ring used
- Finished size: .75 inch across
- Helpful Video Tutorials: Magic circle, sc (single crochet), FLO/BLO (front loop only/back loop only)
STEP 1 (prep the beads):
String beads on a 12 inch length of yarn. Tie a double knot in the yarn, to form a tight circle/triangle with the beads. Set aside.
STEP 2 (crochet):
Round 1: Make a magic circle, ch 1, sc 6 in the ring; join with a sl st. (6 sts)
Round 2: Ch 1, 2 sc in the 1st st, sc in next st, holding ring of beads in front of work, sc under yarn between 2 beads and through same st of Round 1, *2 sc in the next st, sc in next st, sc under next section of yarn between 2 beads and through same st of Round 1; repeat from * once, join with a sl st. (12 sts)
Round 3: Ch 1, sc in FLO of each st around; join and break yarn. (12 sts)
NOTE: If you need a bigger "nest" for your chosen number of beads, add more rounds as needed, increasing by 6 sc each round. Work the last of these rounds tacking down the beads as in Round 2, then work Round 3 as written (with a different stitch count).
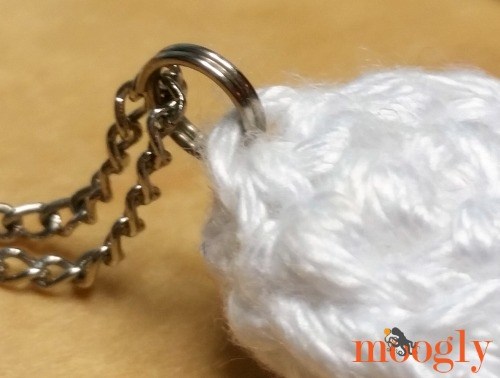
STEP 3 (assembly):
Add a jump ring or split ring to the unworked BLO you want the pendant to hang from - I chose one directly behind a bead. You may need small pliers if you are using a jump ring. Thread the pendant on your chain/necklace of choice.
I hope you enjoyed this pattern, and make it your own! Add more beads, less beads, customize the colors to your children's birthdays - the options are limitless! I can't wait to see what you all make with it!

Written pattern copyright Tamara Kelly 2016, all rights reserved. Please do not reprint or repost this pattern, but please do link to this page to share this pattern with others. To print or download, use the Print Friendly button below. If you wish to make items for sale from this pattern, or translate it to another language, please visit the About page for details. Thank you to Lion Brand Yarn for providing the yarn for this pattern, and to The Big Purple Barn for providing the beads!

Irma Hendricks
so cute!
Lelie
I love this! I've made the bird's nests with wire before, but using yarn is a great idea. Can't wait to make one (or two or three...)
Tamara Kelly
Thank you so much Lelie!
tw conroy
So lovely and delicate - simple to make too! Thank You...
Tamara Kelly
Thank you!! 😀
Tina Wedlake
Oh ! That is just darlin'. (As we say here in the South.)
That really is adorable.
Tamara Kelly
Thank you so much! 😀
Michelle Tran
Very adorable Mrs. Kelly
Kathleen Ruth
I LOVE this! And what a GREAT way to use us those little scraps of yarn!
Tamara Kelly
Thank you! 😀
Jean Tobey
Very cute! I've made the wire wrapped ones. I'm going to try doing a crochet one using 26 or 28 gauge wire.
Tamara Kelly
😀 Thank you Jean!
Melanie Tipton
I'm simply amazed every time I get my moogly email. This is beautiful. I collect bird nests, I am a bird watcher this little birds nest is gonna be one of my go to pieces from now on. Thank you Tamera.
Tamara Kelly
Thank you so much Melanie! 😀